Gents,
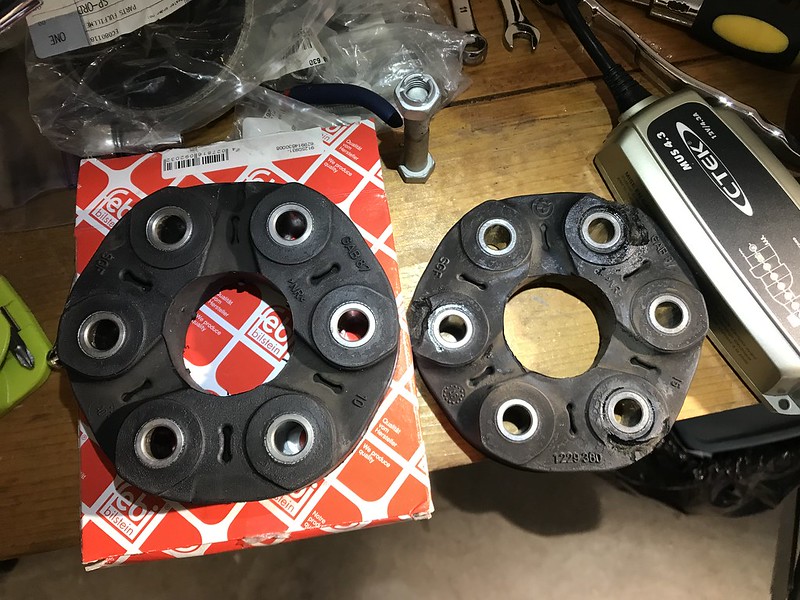
I was milling around under the truck when I noticed a few chunks taken out of my flex disc on the transfer case side. I went ahead and ordered the Febi part and went about the install. Like usual I didnt intend to make a DIY so I didn't take too many pictures but may go back eventually and add some posed photos for better explanation.
Notes: You must remove the exhaust and it is a pain to realign the pipes with the downpipes when putting it all back together. I ended up having to pull the downpipes out, install the exhaust, then reinstall the downpipes. Raising the exhaust back is really a two person job
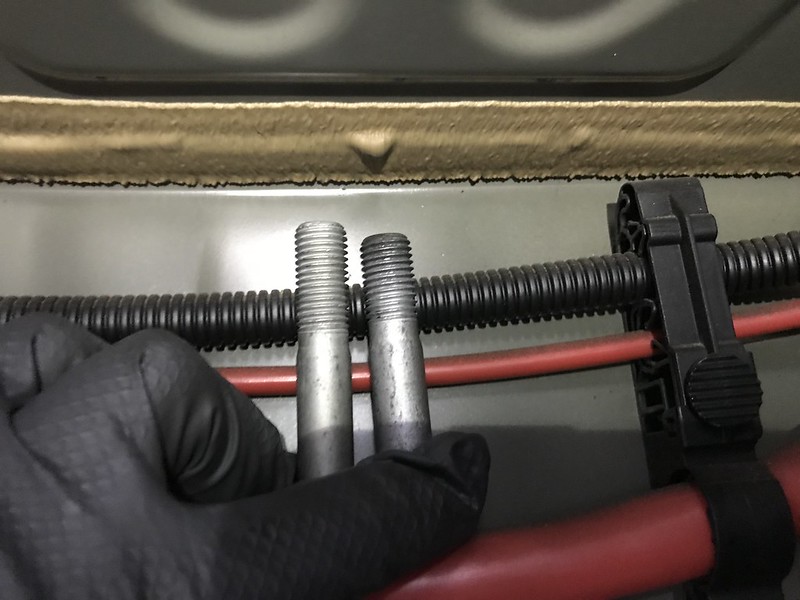
I messed around with it for an hour then got the wife to help. The manual transmission neutral release for the 2007-2009 trucks are under the cup holder; the release for 2010-2013 is under the vehicle on drivers side of tranny. Using the manual parking brake over ride caused a code that I had to clear using a scanner. I ordered new bolts and nuts for the drive shaft/t-case connection, but the replacement bolts were too long and would have prevented me from reinstalling the drive shaft. I reused the old bolts and used the new nuts.
DIY: E70 X5M GUIBO FLEX DISC REPLACEMENT
NOTE: I RECOMMEND THAT ALL MAINTENANCE IS COMPLETED BY A CERTIFIED MECHANIC;This DIY is merely a record of what I did to complete this vehicle maintenance; I DO NOT RECOMMEND COMPLETING THIS YOURSELF.
PARTS:
1 x Flex Disc (Guibo)
26111229360
6 x Drive Shaft-Guibo-Tcase nuts
26127536563
2 x Exhaust Gasket (Front pipes-Downpipes)
18307577959
TOOLS:
1/4 Drive Ratchet
1/4 Drive Extension
3/8 Drive Ratchet
3/8 Drive Extensions
3/8 Drive Torque Wrench
16mm Socket
13mm Socket
11mm Deep Socket
10mm Socket
10mm Deep Socket
8mm Socket
Flat Head Screw Driver
8mm Allen Wrench
2 x Hydraulic Jacks
STEP 1: Safely lift vehicle and place on Jack Stands
Note: This thread describes how to lift vehicle (at the bottom):
https://www.xbimmers.com/forums/show....php?t=1429596
STEP 2: Remove Undercarriage Covers
a) Remove 2 mid-vehicle Plastic Undercarriage covers using 10mm socket, 8mm socket, and flat head screwdriver.
b) Remove 2 rear-vehicle plastic undercarriage covers using 10mm socket, 8mm socket, and flat head screwdriver.
c) Remove aluminum air diffuser using 8mm socket (3 screws)
d) Remove Front Subframe Bracing Plate using 16mm socket (6 bolts) [You may have to loosen three phillips head screws on the front plastic undercarriage cover to pull this out]
STEP 3: Remove Exhaust
Note: I referenced this:
http://www.hotcarparts.de/bilder/Akrapovic/EBA/X5M.pdf
a) Loosen and remove nuts securing front pipes to downpipes using 11mm deep socket (2 nuts each pipe 4 total)
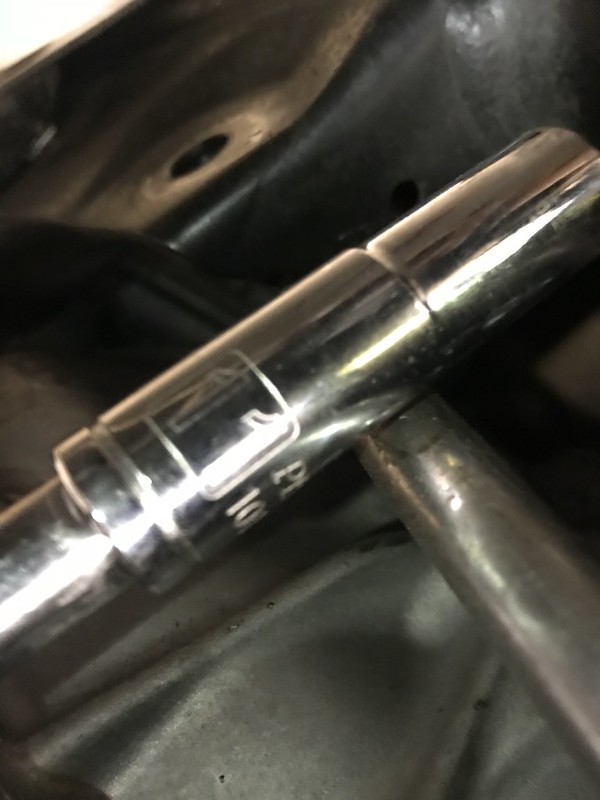
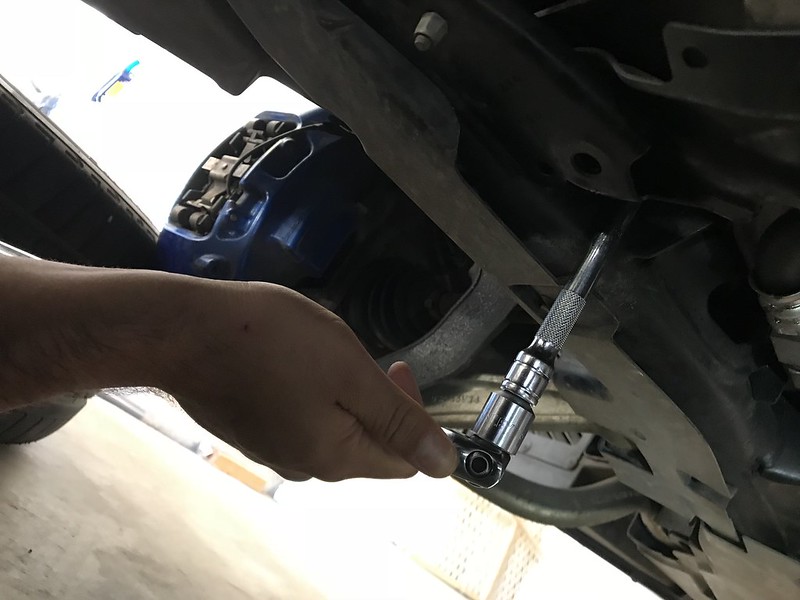
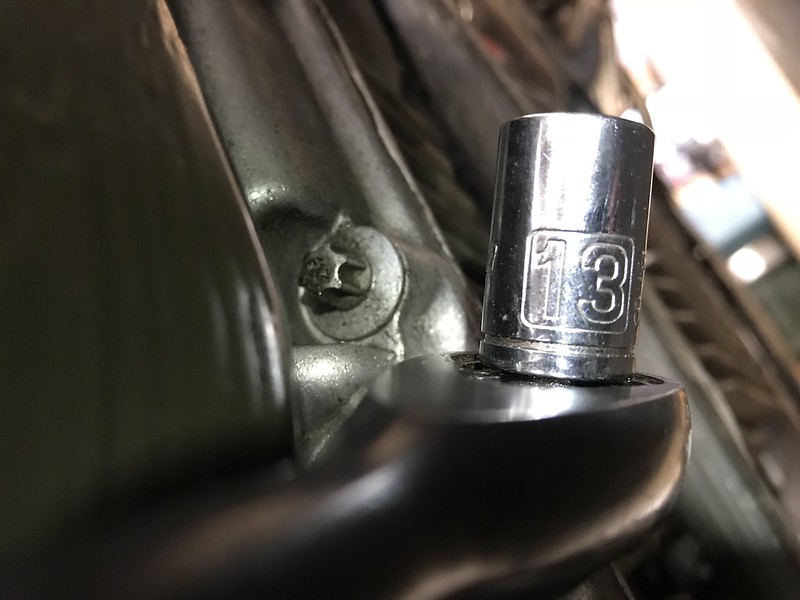
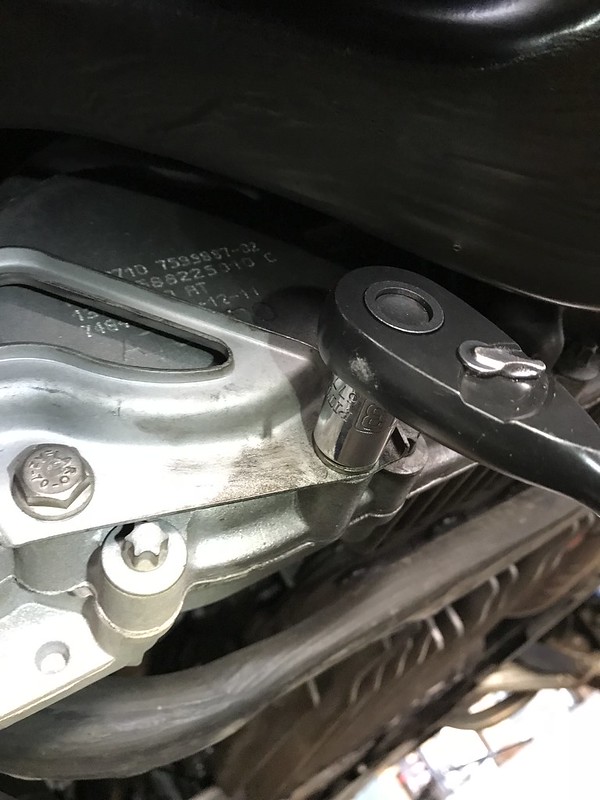
b) Loosen and remove bolts securing front pipes to transmission and transfer case using 13mm socket (2 bolts per bracket 4 total)
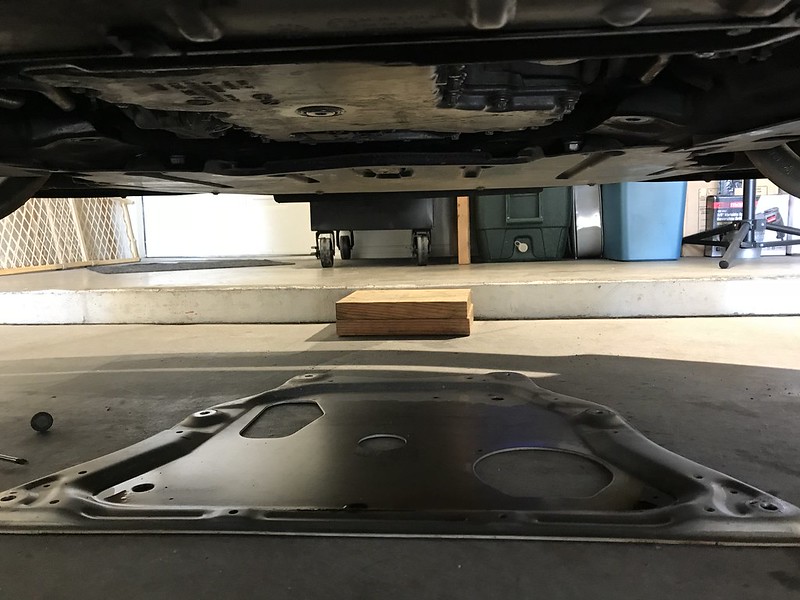
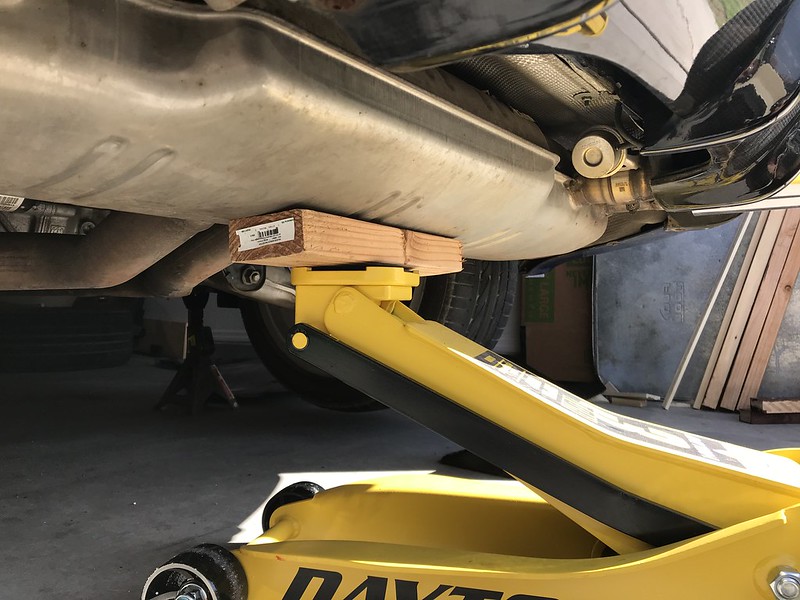
c) Support front pipes with jack and section of 2 x 4

d) Lubricate and disconnect rubber brackets from mid pipes (1 per pipe 2 total)
e) Support Muffler with a second Jack and bit of wood
f) Pull vacuum lines off exhaust valves (1 each set of pipes 2 total)
g) Loosen and remove nuts securing muffler brackets to vehicle chassis using 11mm Deep Socket (2 nuts each side of muffler 4 total)
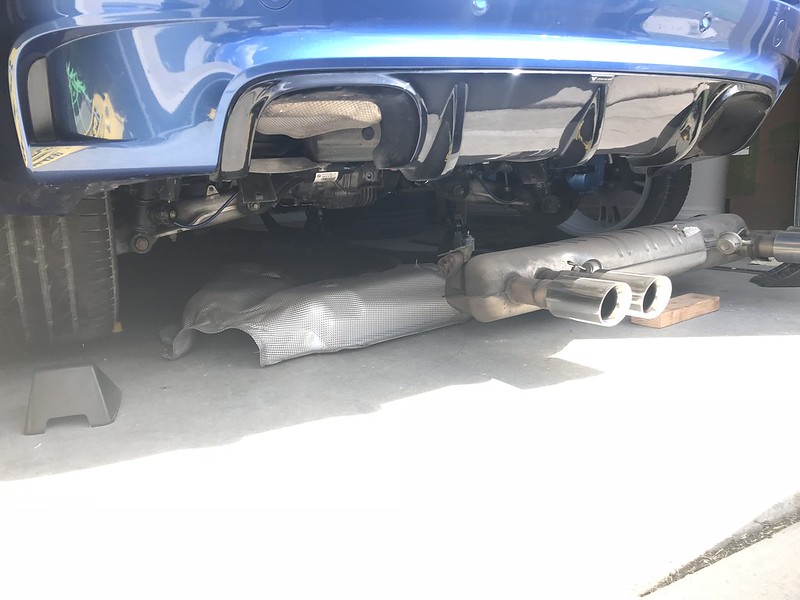
h) Lower Muffler to the ground and place cardboard underneath it
i) Lower front jack and slide exhaust to the rear and down
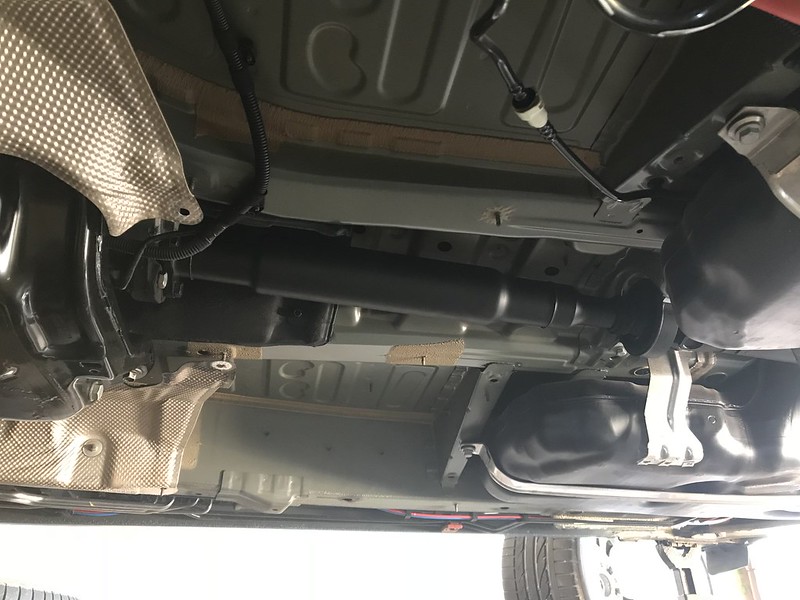
STEP 4: Remove Heat Shielding
a) Remove the 2 heat insulation sections covering the drive shaft using 8mm and 10mm sockets.
STEP 5: Replace Guibo Flex Disc
Note: I used this for reference:
https://www.newtis.info/tisv2/a/en/e...-shaft/GP8D5tj
a) Put vehicle transmission into neutral using Allen key
b) Turn off parking brake electronically if possible (May have to start vehicle) or manually using pull wire in drivers side cargo compartment area, next to rear tail light.
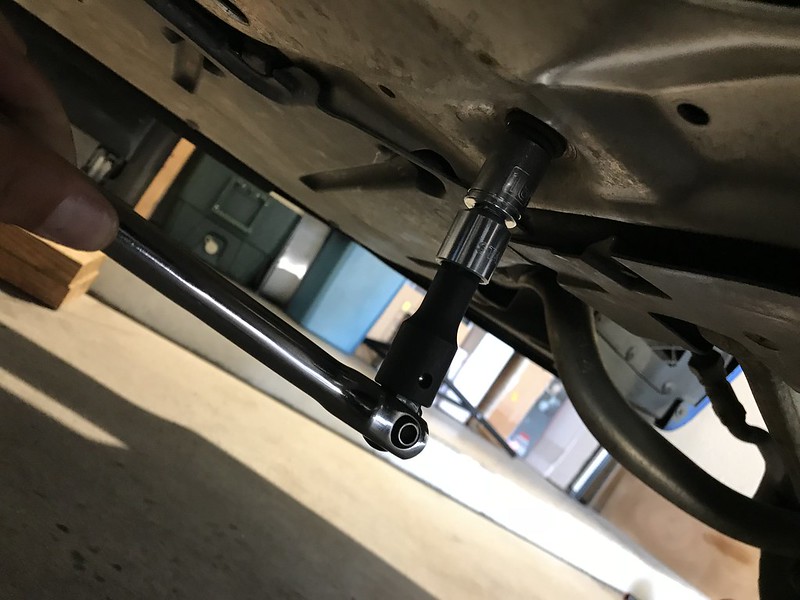
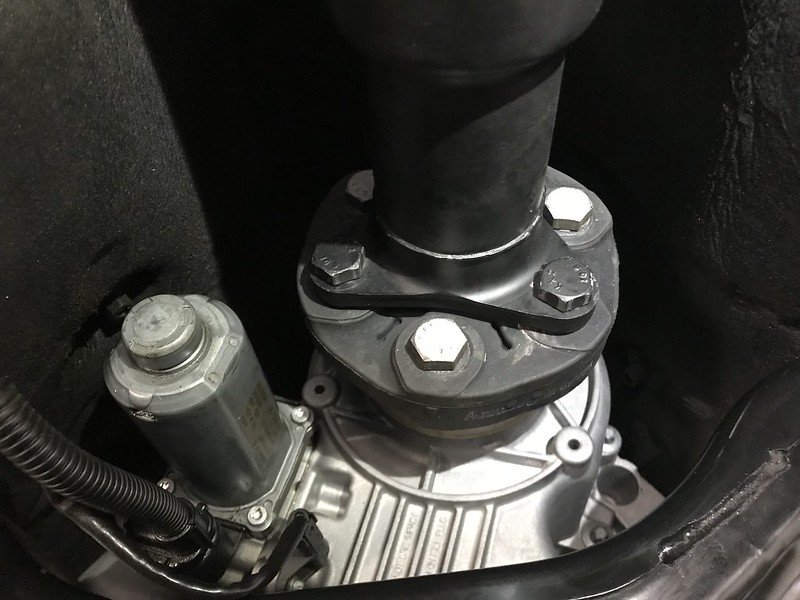
c) Unbolt Drive Shaft from transfer case using 18mm socket and 18mm wrench (6 bolts total)
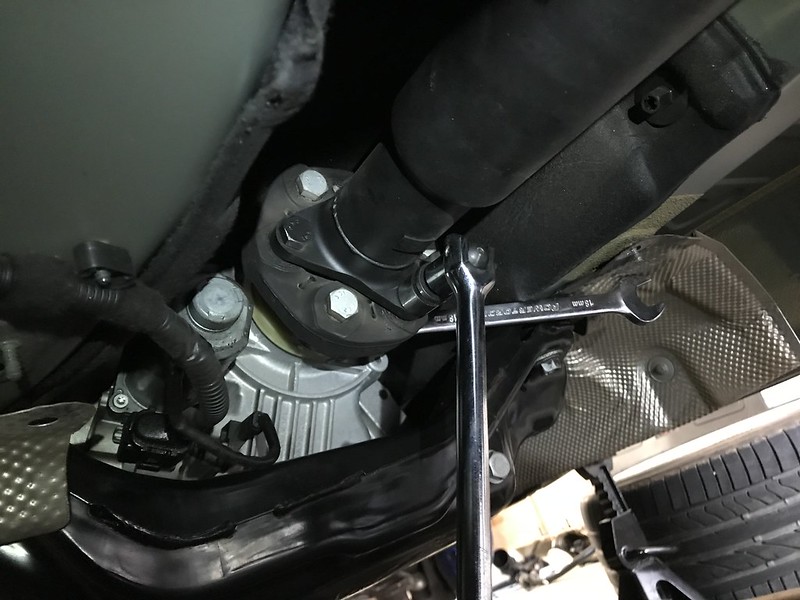
d) Slide drive shaft straight to the rear and off the transfer case, remove flex disc paying attention to orientation.
e) Put on new flex disc with same orientation and put the drive shaft back onto the transfer case
f) Ensure that the flex disc arrows point to mounting points
g) Replace bolts and nuts securing the drive shaft to the transfer case and torque to 40ft lbs and then a 90-degree rotation (6 total)
STEP 6: Reinstall Heat Shield
a) Reinstall two heat insulating sections using 8mm and 10mm sockets
STEP 7: Reinstall Exhaust
Note: I referenced this:
http://www.hotcarparts.de/bilder/Akrapovic/EBA/X5M.pdf
a) Align the exhaust under the vehicle and to the rear of the front pipe path
b) Manually lift the front pipe section into its travel path and let rest on subframe
c) Lift Muffler and push exhaust forward, pivoting on the front subframe; hold in place
d) Slide jack and bit of wood under the muffler and jack up while holding in place
e) Align muffler brackets with bolts on chassis and lift all the way up
f) finger tighten nuts securing muffler to chassis
g) Reattach the rubber brackets to the mid pipes
h) Align front pipes with bolts on downpipes and manually raise until the bolts fit through front pipe flange (It is recommended to replace the gasket between the downpipes and the front pipes)
i) Finger tighten nuts on bolts securing front pipes to down pipes
j) Reattach the brackets securing the front pipes to the transmission and transfer case using 13mm socket and torque to 16 ft lbs (2 bolts per bracket 4 total)
k) Torque nuts securing muffler brackets to chassis to 16 ft lbs
l) Torque nuts securing front pipes to down pipes to 16 ft lbs
STEP 8: Reinstall Undercarriage Covers
a) Replace 2 rear-vehicle plastic undercarriage covers using 10mm socket and 8mm socket.
b) Replace 2 mid-vehicle Plastic Undercarriage covers using 10mm socket and 8mm socket.
c) Replace aluminum air diffuser using 8mm socket (3 screws)
d) Replace Front Subframe Bracing Plate using 16mm socket (6 bolts)
STEP 9: Lower vehicle and take out of Neutral
a) Start vehicle and press park
b) Engage the parking brake
c) Safely Lower Vehicle