X5 E70 LCI Suspension Refresh DIY
This DIY will not have the same depth as the other ones as the complexity here is much lower
The Patient
2012 X5 35i 'LCI' with sport package. Passive suspension.
Original Suspension
My SUV, like many in the US, has the sport package but for some reason has the 'sport suspension delete'.
At 57k miles, the suspension was essentially worthless. It was soft and floaty but if you hit a midcorner bump it would slam into the bumpstops and massively unsettle the chassis.
A solution would be to take corners slower but I think it's easier to just change the suspension.
New Suspension
It can be hard to choose a new suspension but for me it's pretty easy if the car is meant for the road. Bilstein builds a 'B12' kit for many cars which is the Bilstein shocks paired with Eibach springs. I was waiting for B12 to come out with this setup for the X5 and finally I was rewarded with it!
This is exactly what I bought
HERE
This is an OEM+ kit which does a very slight drop and the shocks are very high quality.
I've had this kit in two 330Ci's, one E46M3 and now the X5. In every case I've been very satisfied. The resulting ride is similar to active suspension equipped cars on 'sport', but never crashes like the old stock suspension.
Disclaimer
Working on your car is dangerous and can result in injuries or death to yourself, bystanders and the car. Some people have been known to wake up dead after messing with car lifts, tools, spring compressors, springs and sometimes after just looking at cars, so you may follow what I did but it does not guarantee the same results. Proceed at your own risk! Good luck!
Tools
You do not need spring compressors. I had one just in case but it wasn't needed
You need to set the front or rear of the car depending on which end you're tackling on jackstands, then you need a jack to slightly raise the suspension at some points.
FRONT
The front end is more complicated than the rear. I suggest you start on that end
Jack the X5 up, set up the jackstands and remove the jack so that the front tires are hanging in the air
Remove both front wheels
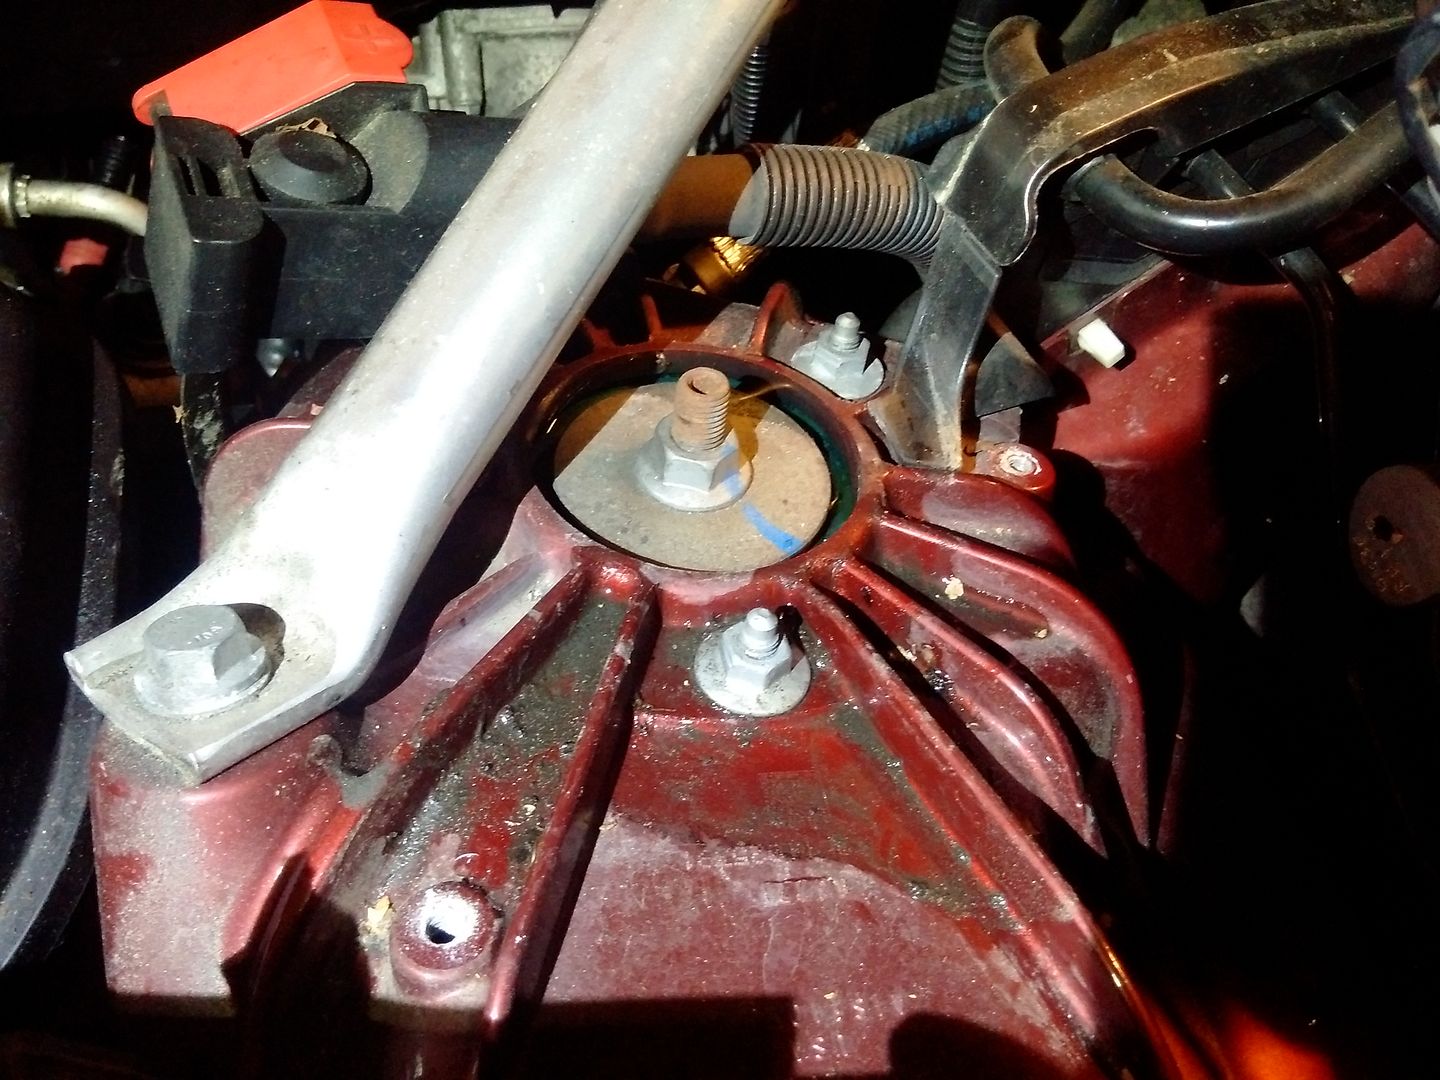
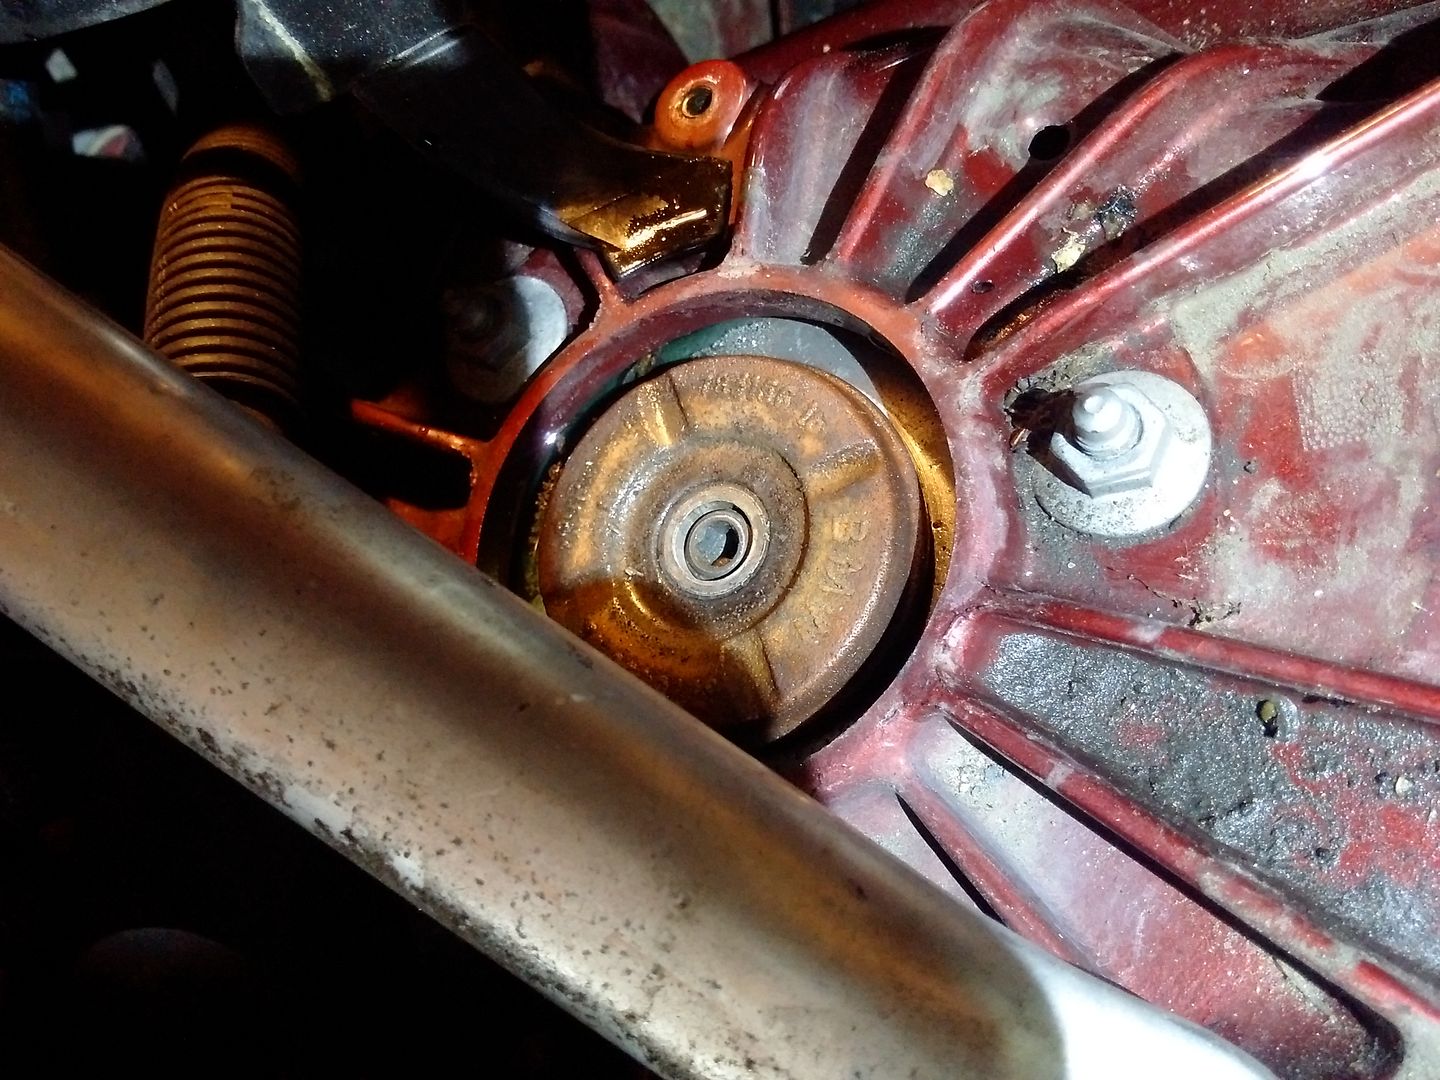
Open the hood. You have to remove some pieces of plastic to access the center bolt which holds the strut onto the car
Bolt seen here. Do not loosen:
The X5 has a double wishbone front suspension which will be atypical for most BMW people. It's more complicated to remove.
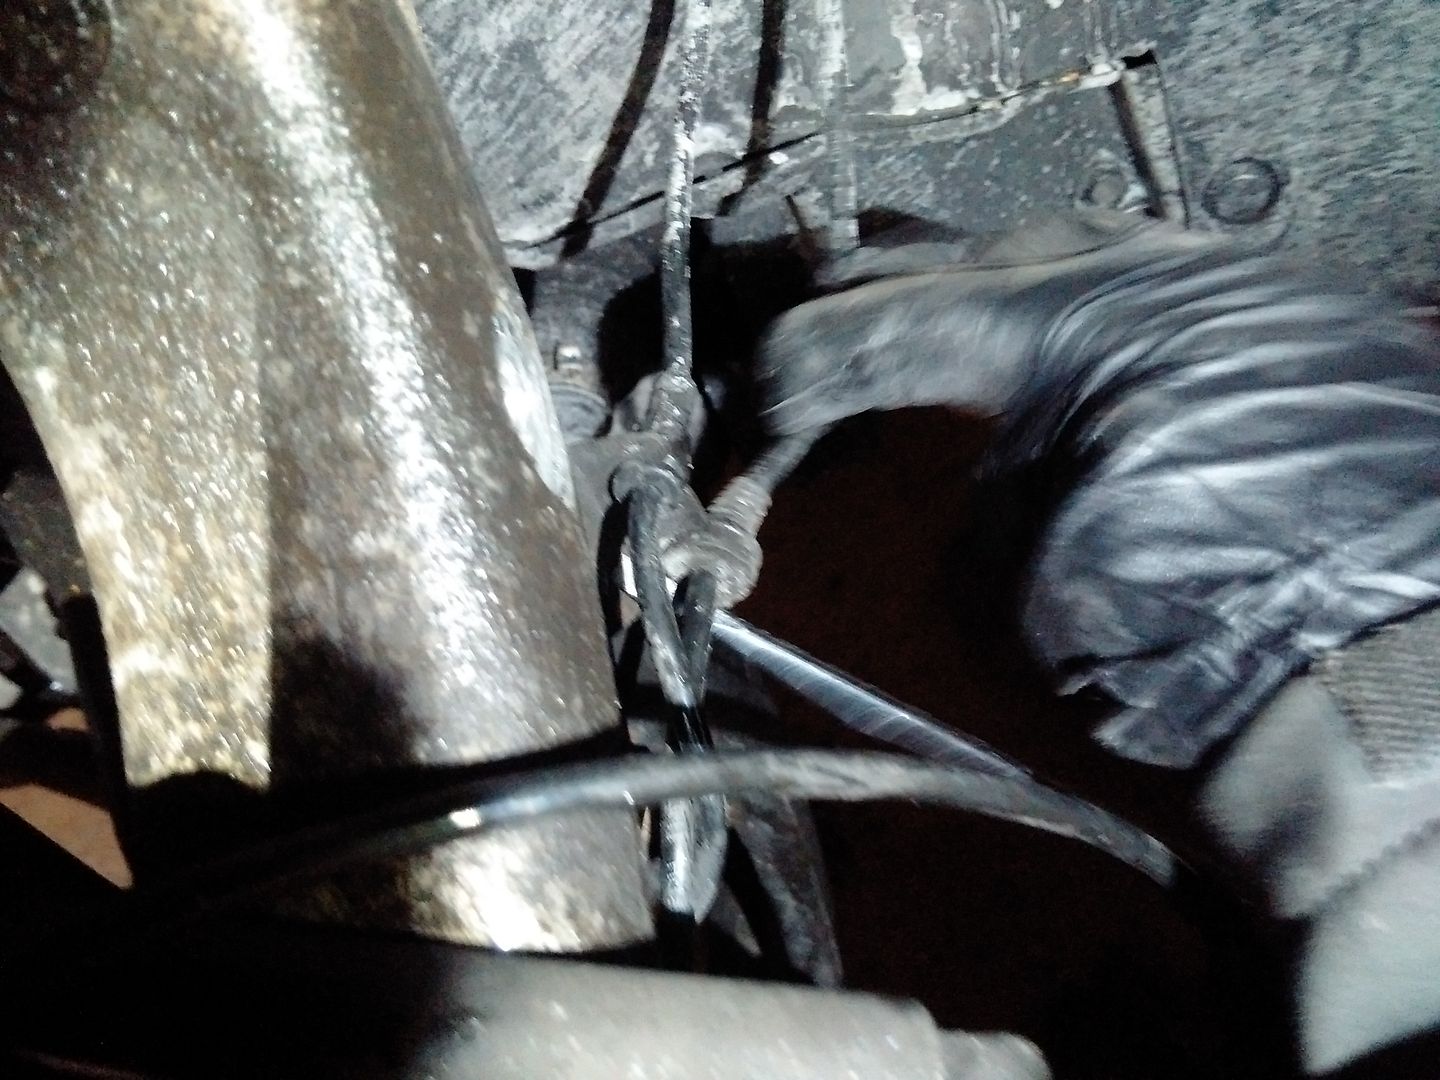
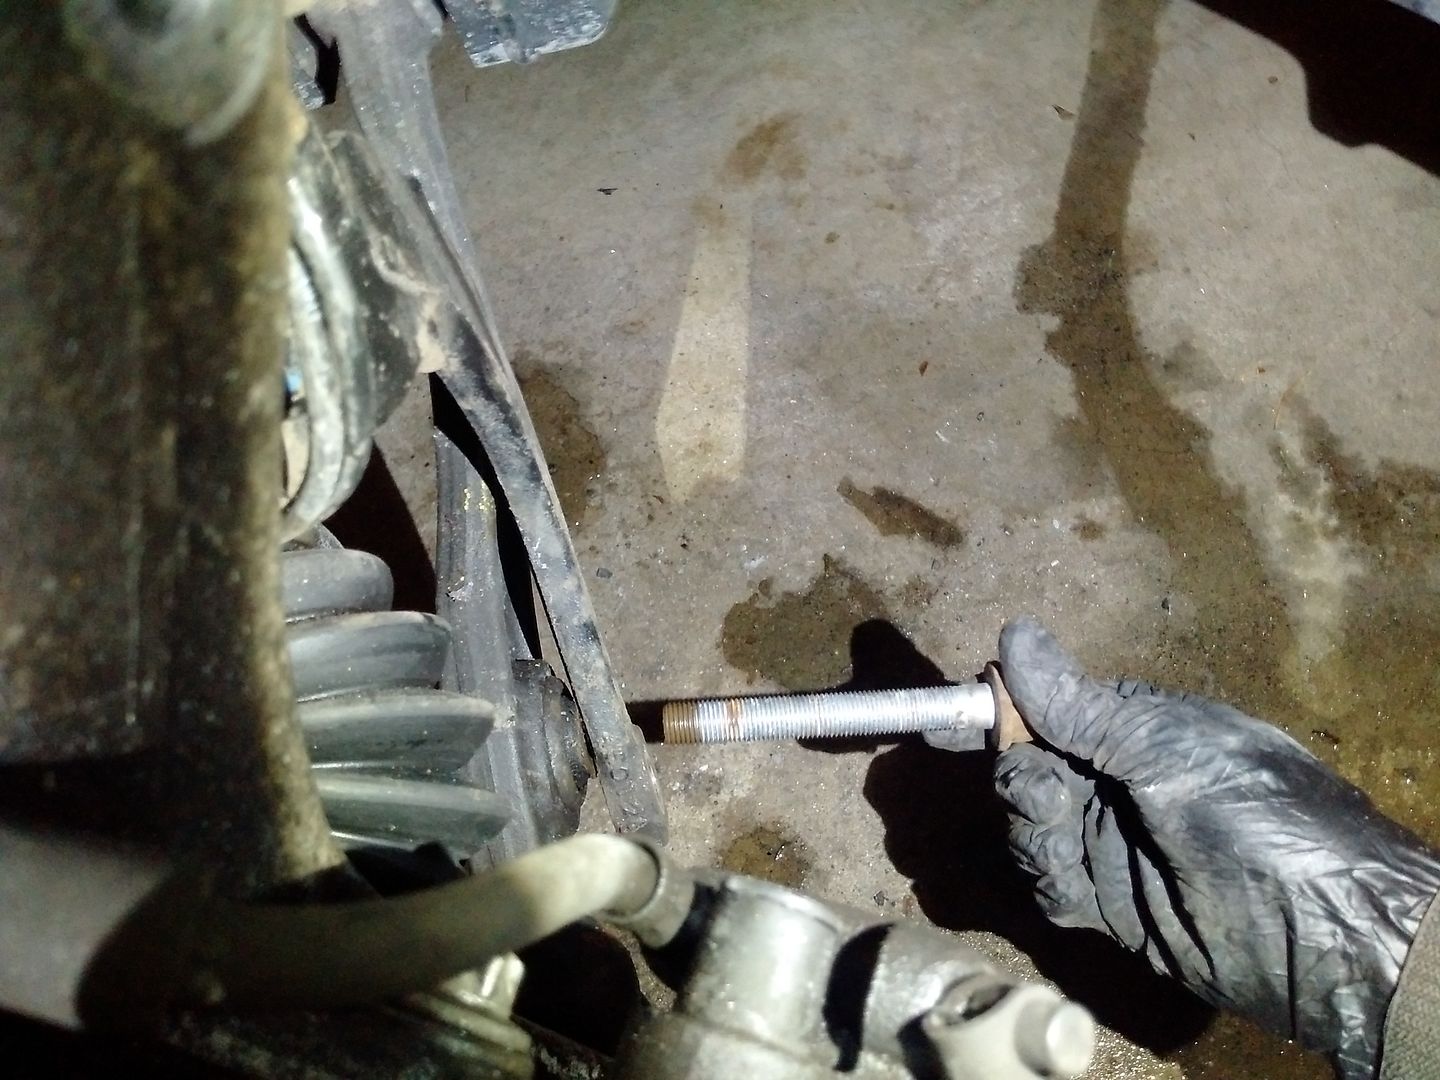
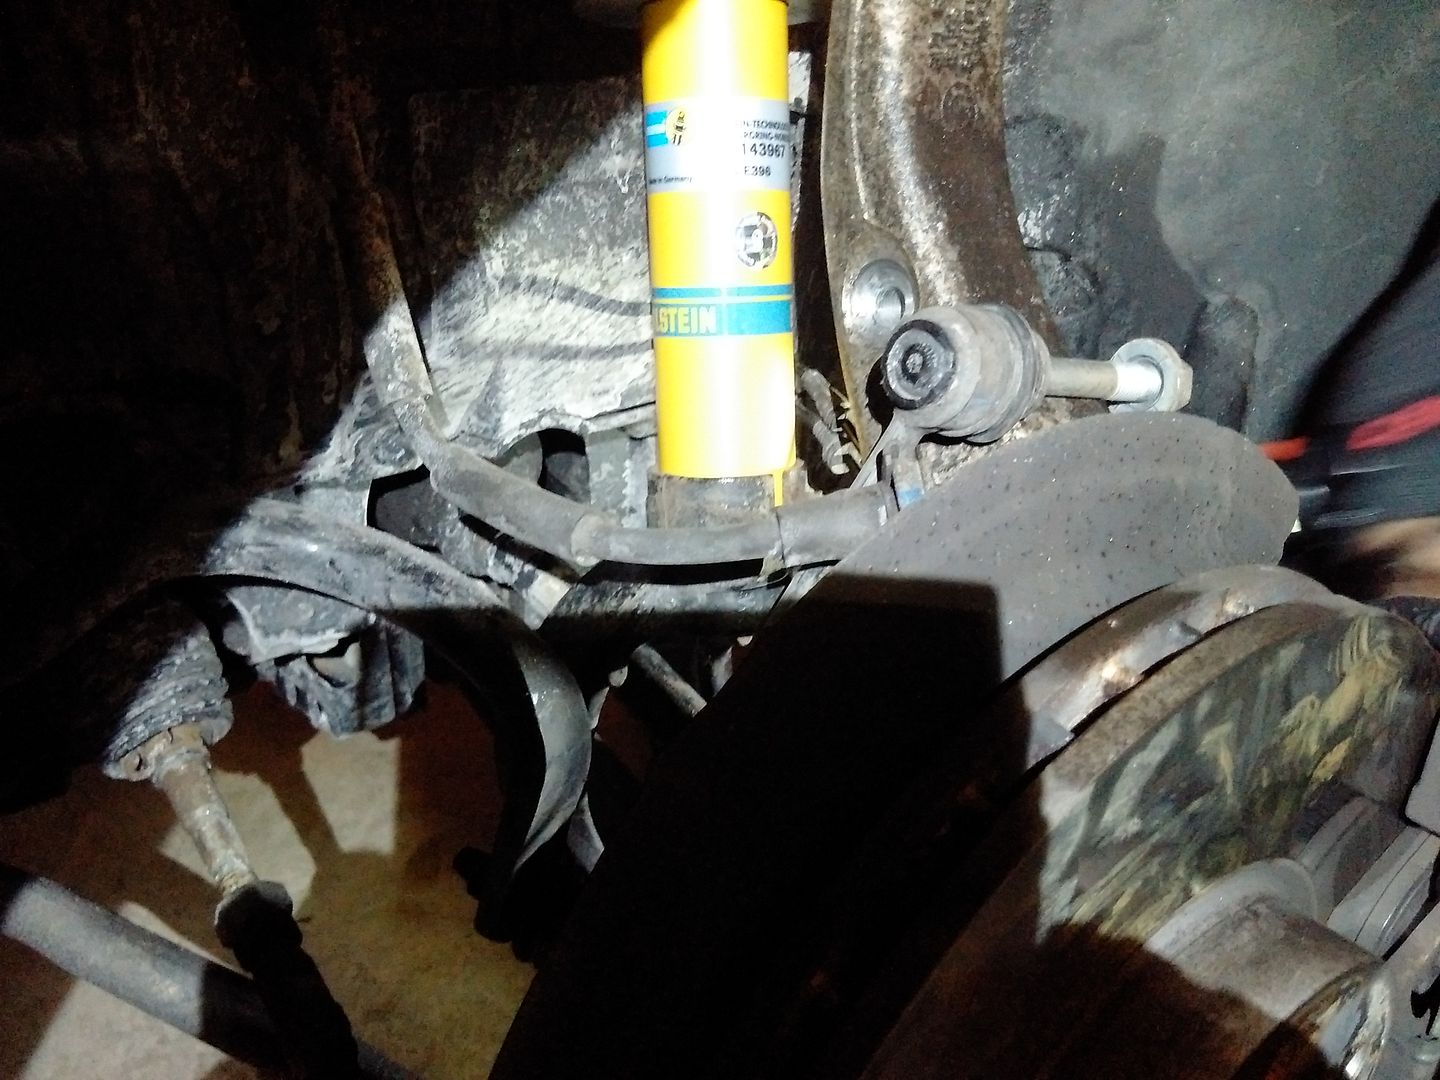
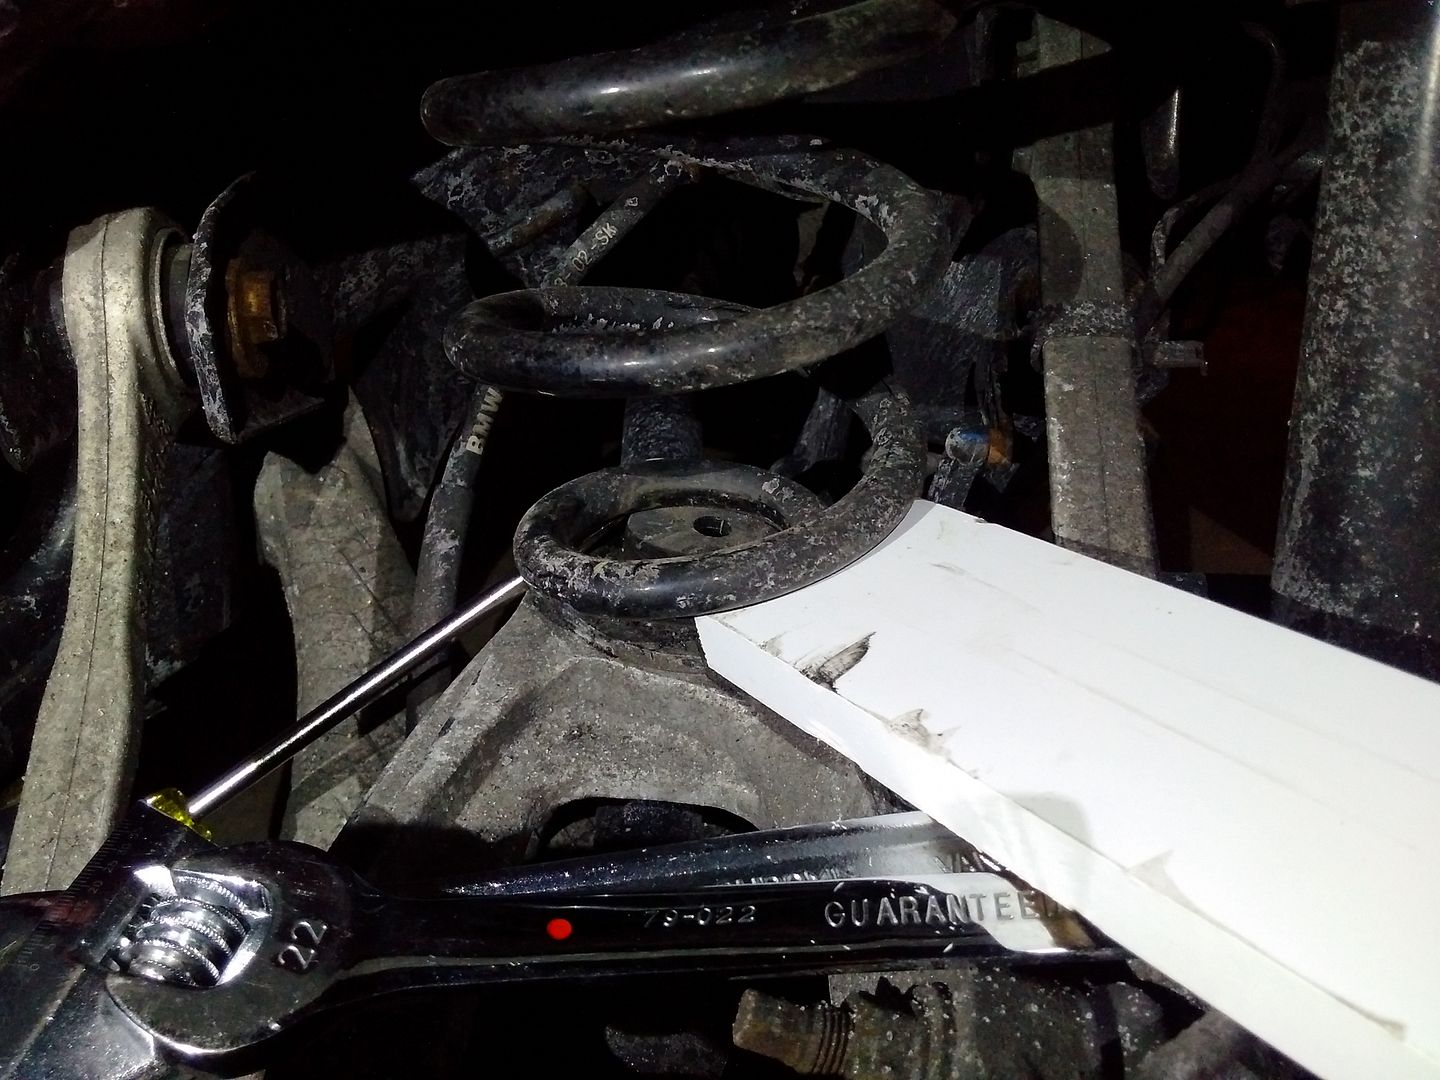
Start with the big bolt I'm pointing to here which is in the bottom wishbone. Fully remove the bolt
Remove the swivel arm of the xenon lights. This is on the driver's side of the car.
After doing the work I realized it was not necessary to remove this, but it's still good practice. You E46 guys know what I'm talking about...
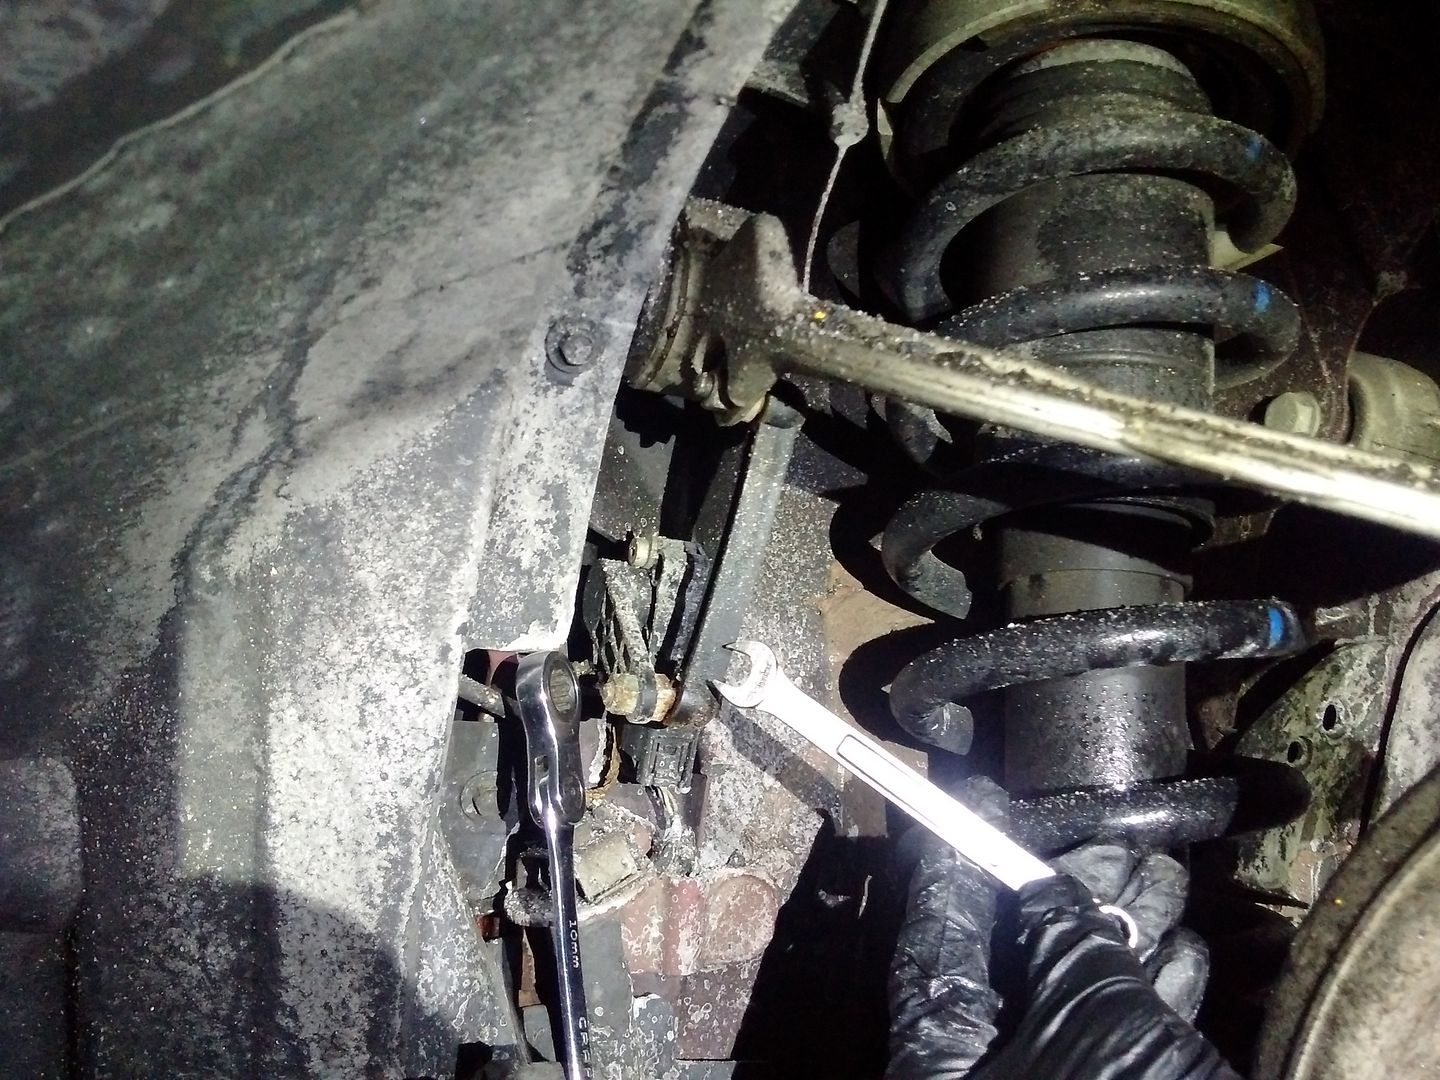
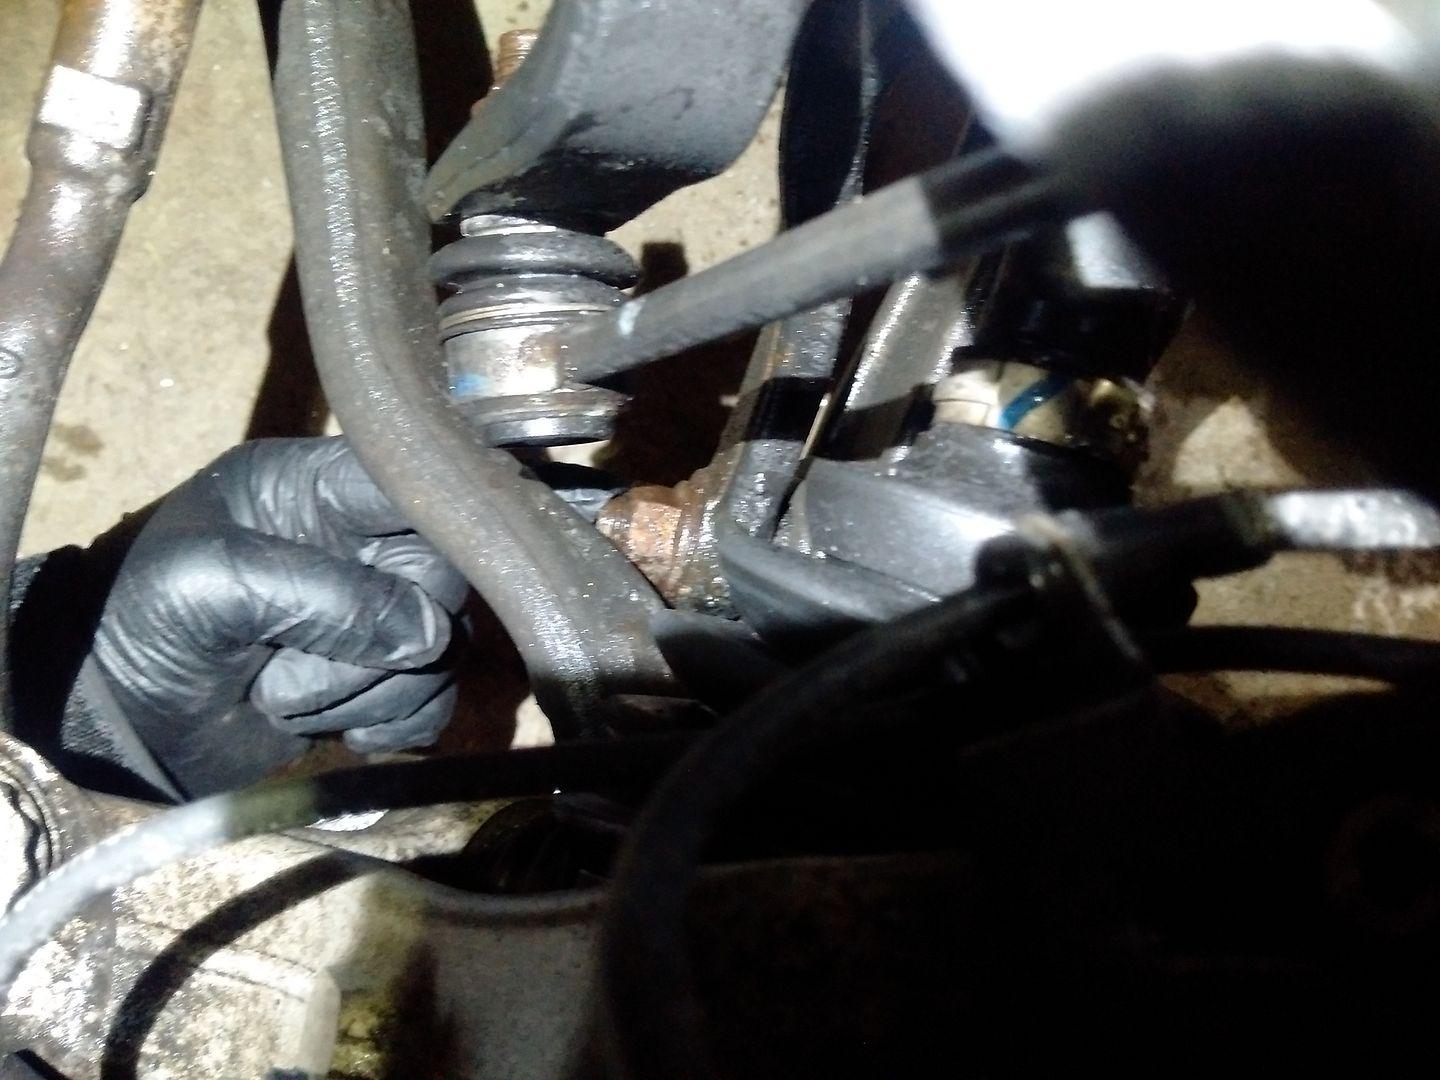
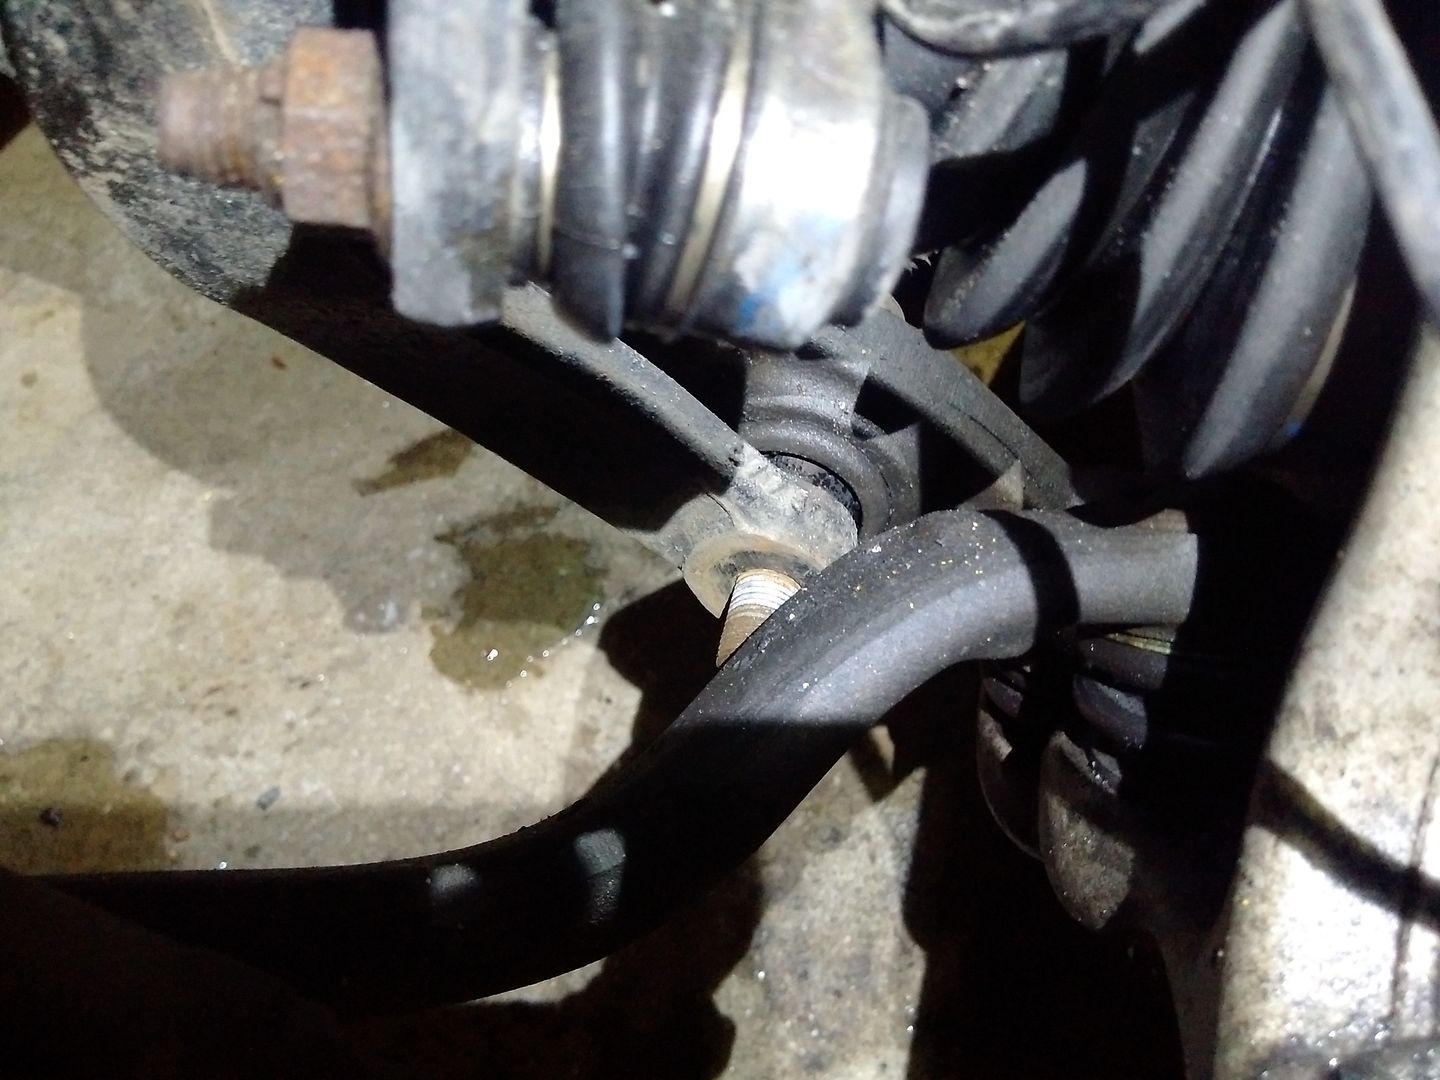
Remove the sway bar link. On one side use an open ended wrench and on the other a torx

Remove the brake lines and sensors from their holder. You do not need to disconnect them

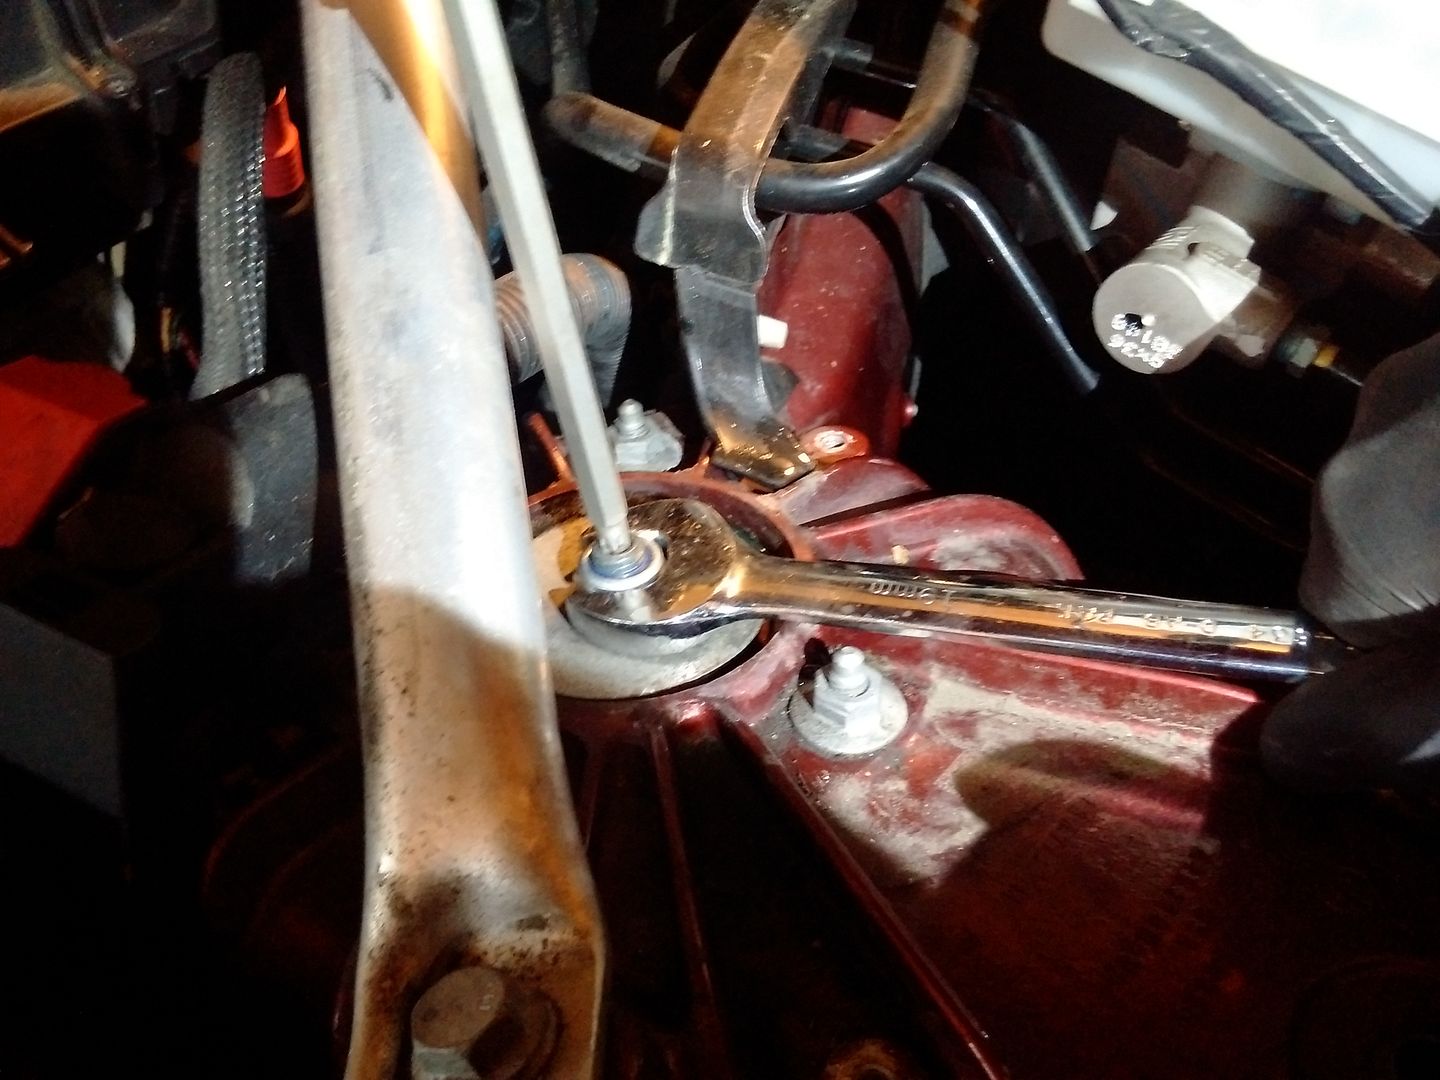
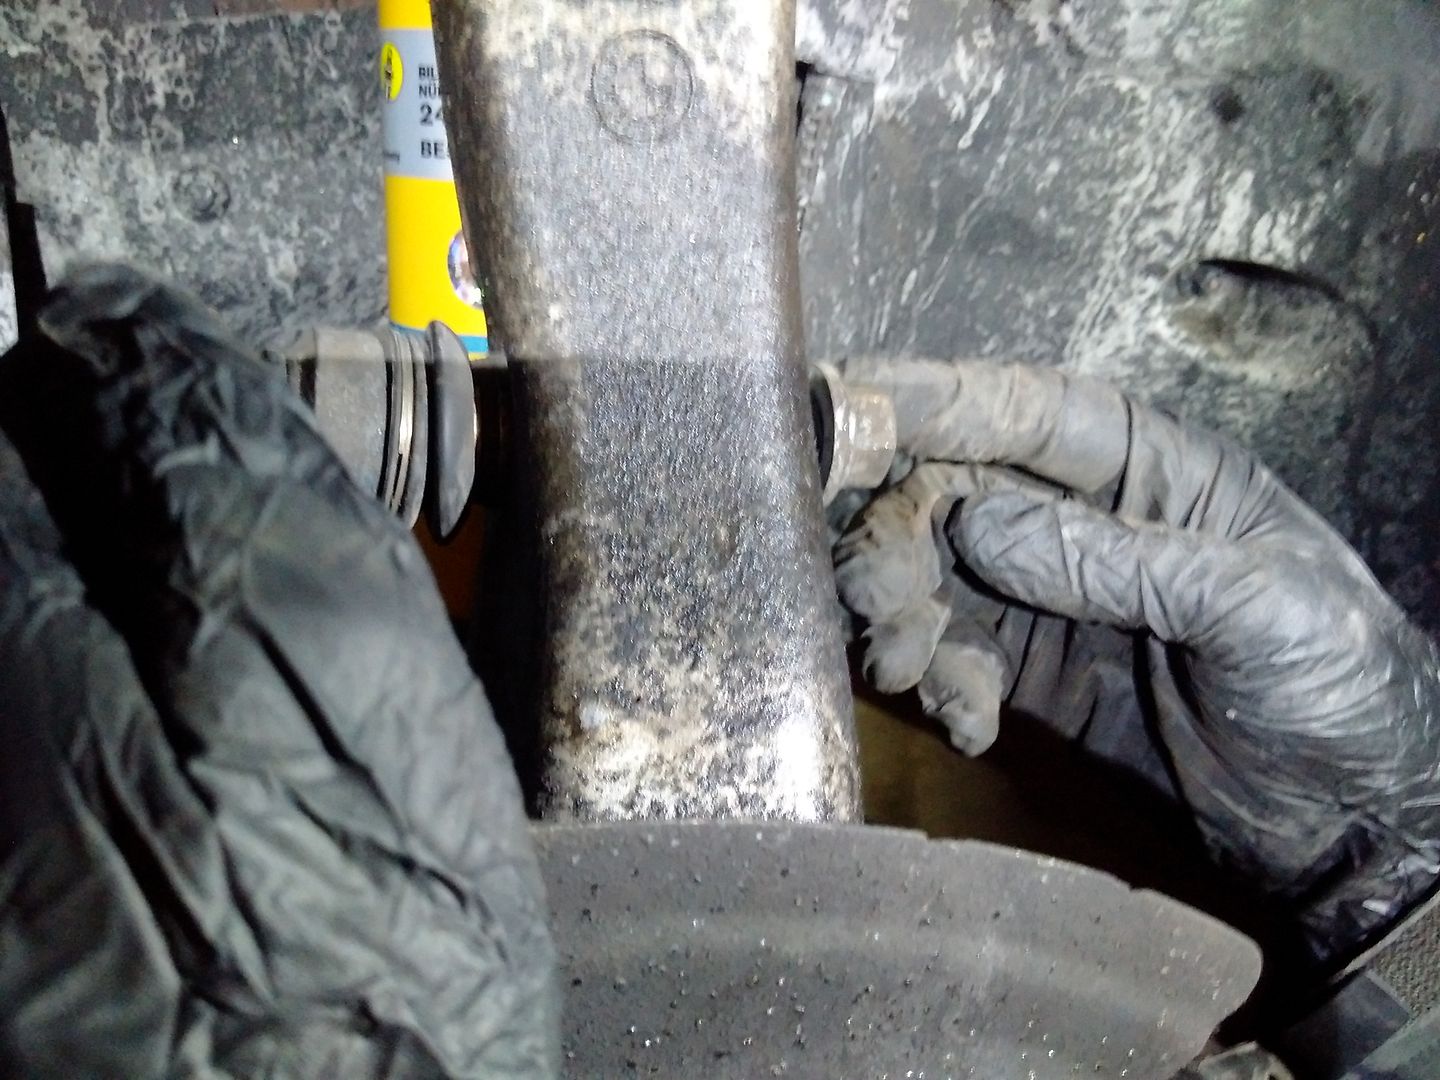
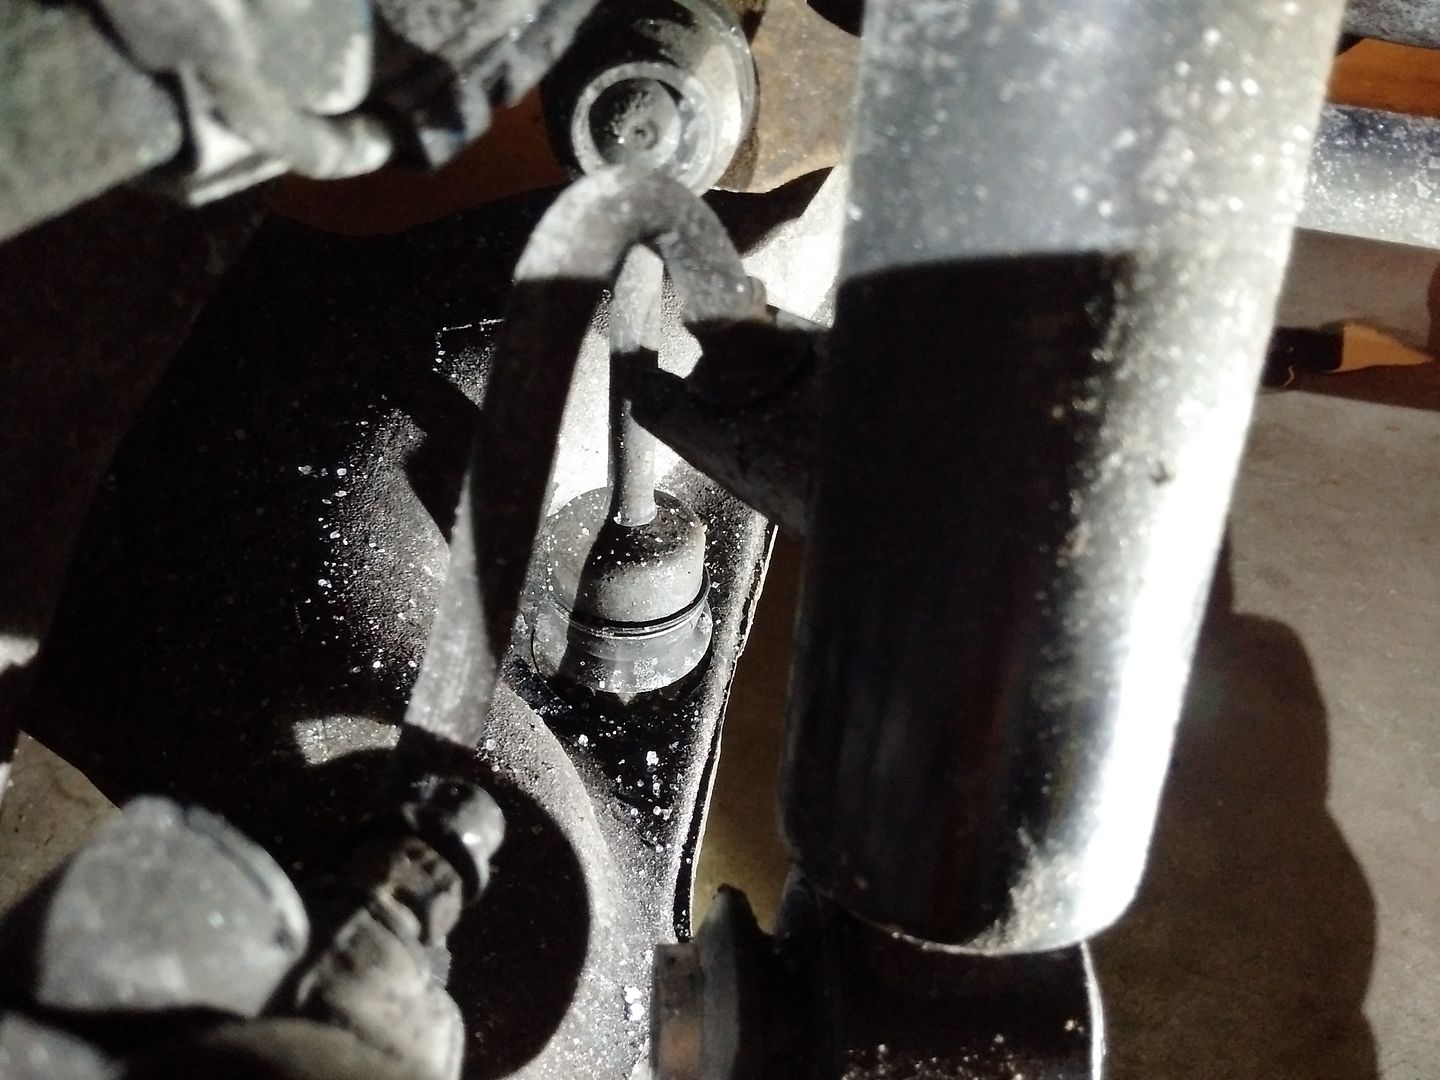
Remove the top bolt of the piece that holds the bottom of the strut.
If it does not release the strut, apply pressure to the brake rotor downwards and it will. I jumped on it a few times while holding onto the car, meanwhile a helper pushed the suspension sideways so it releases outside of the part.
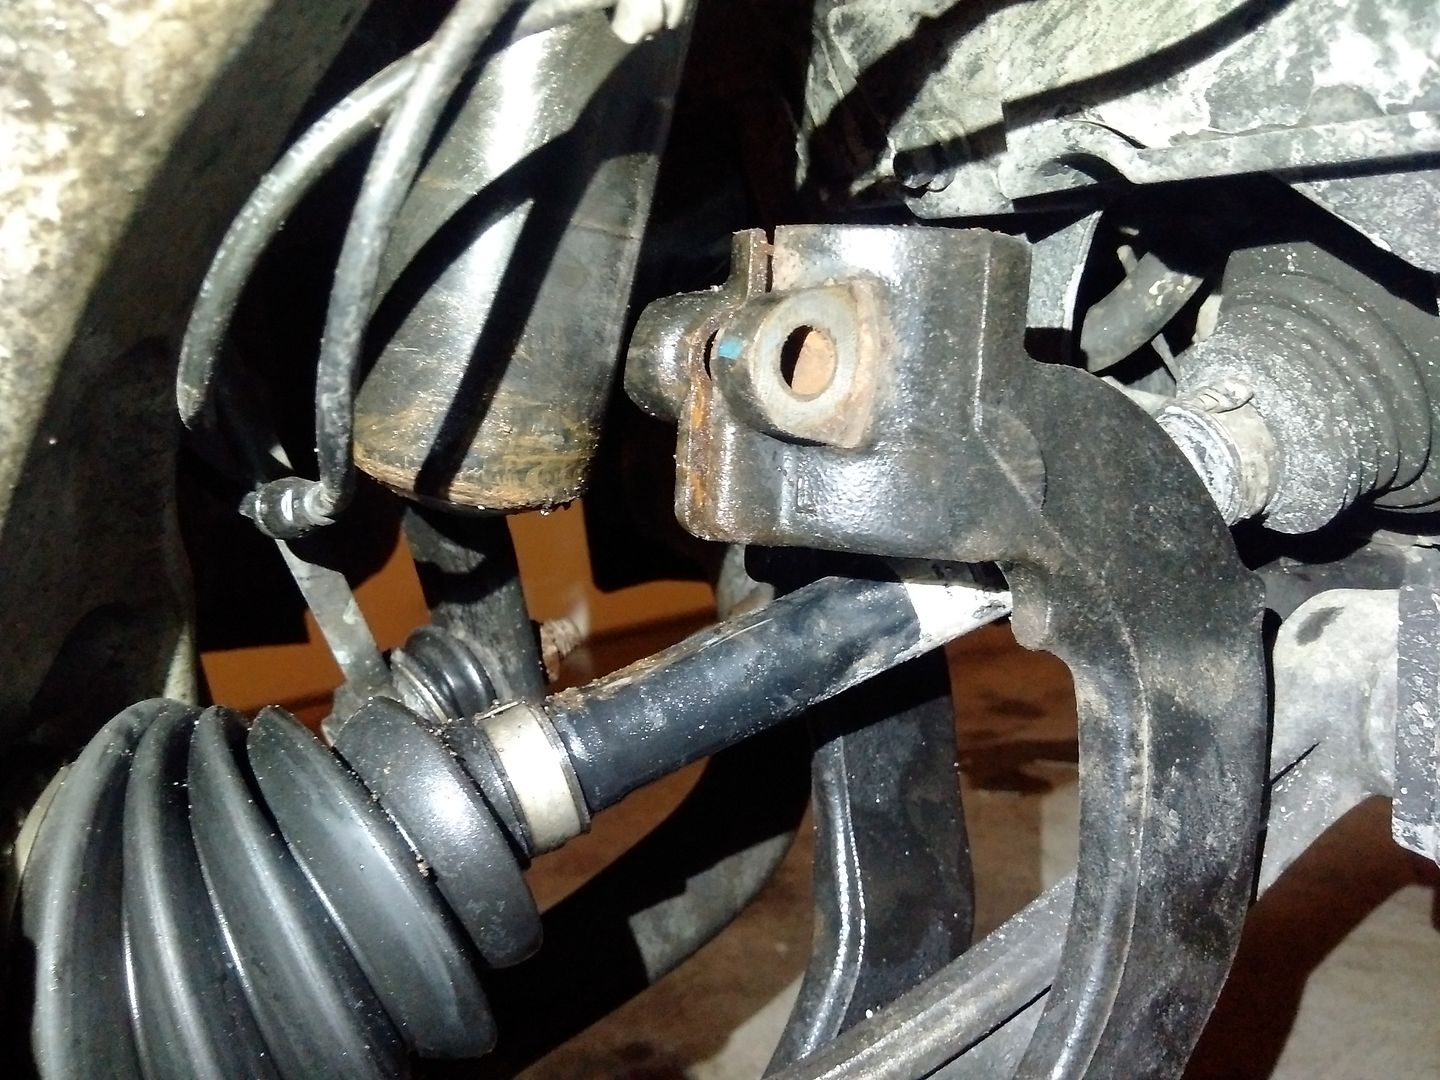
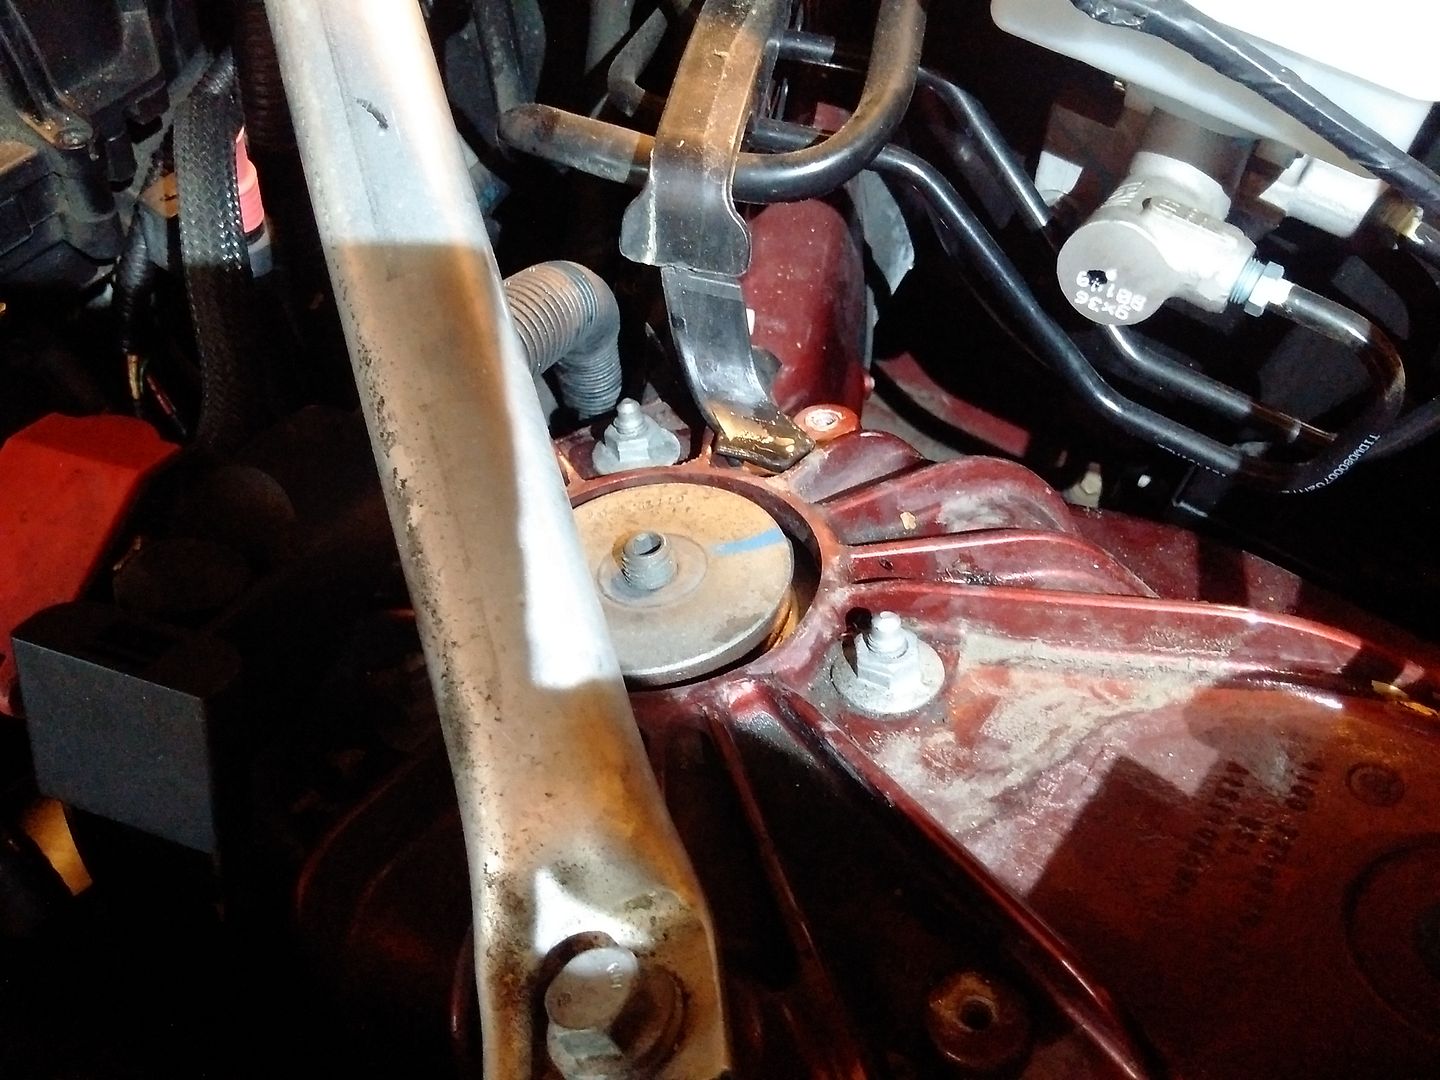
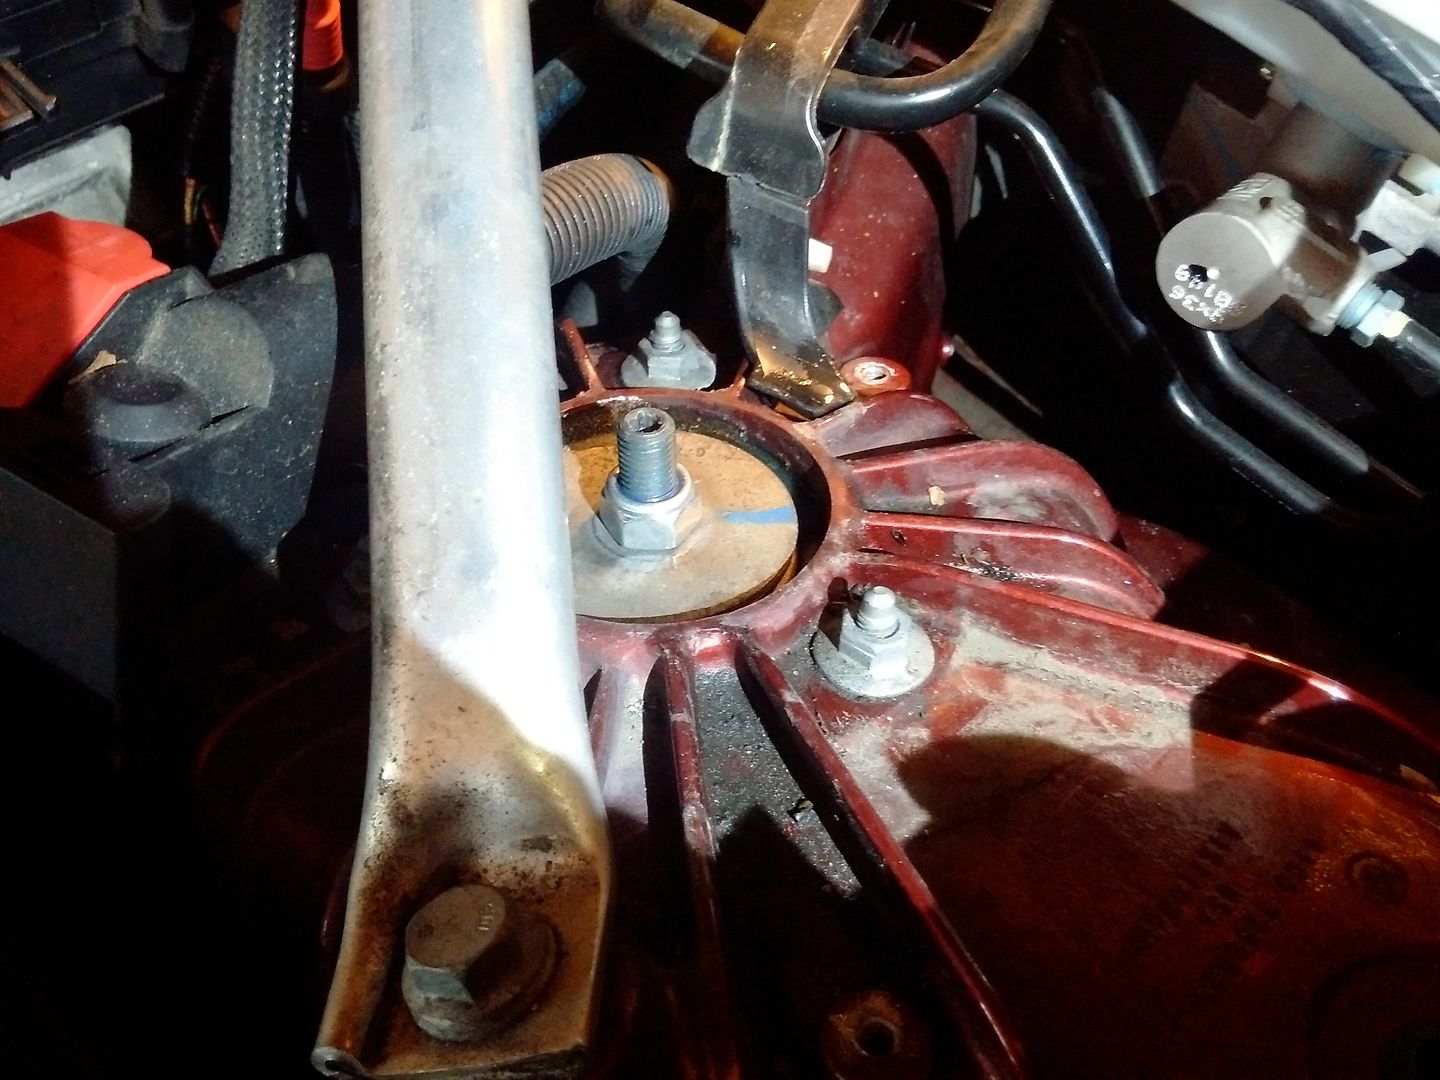
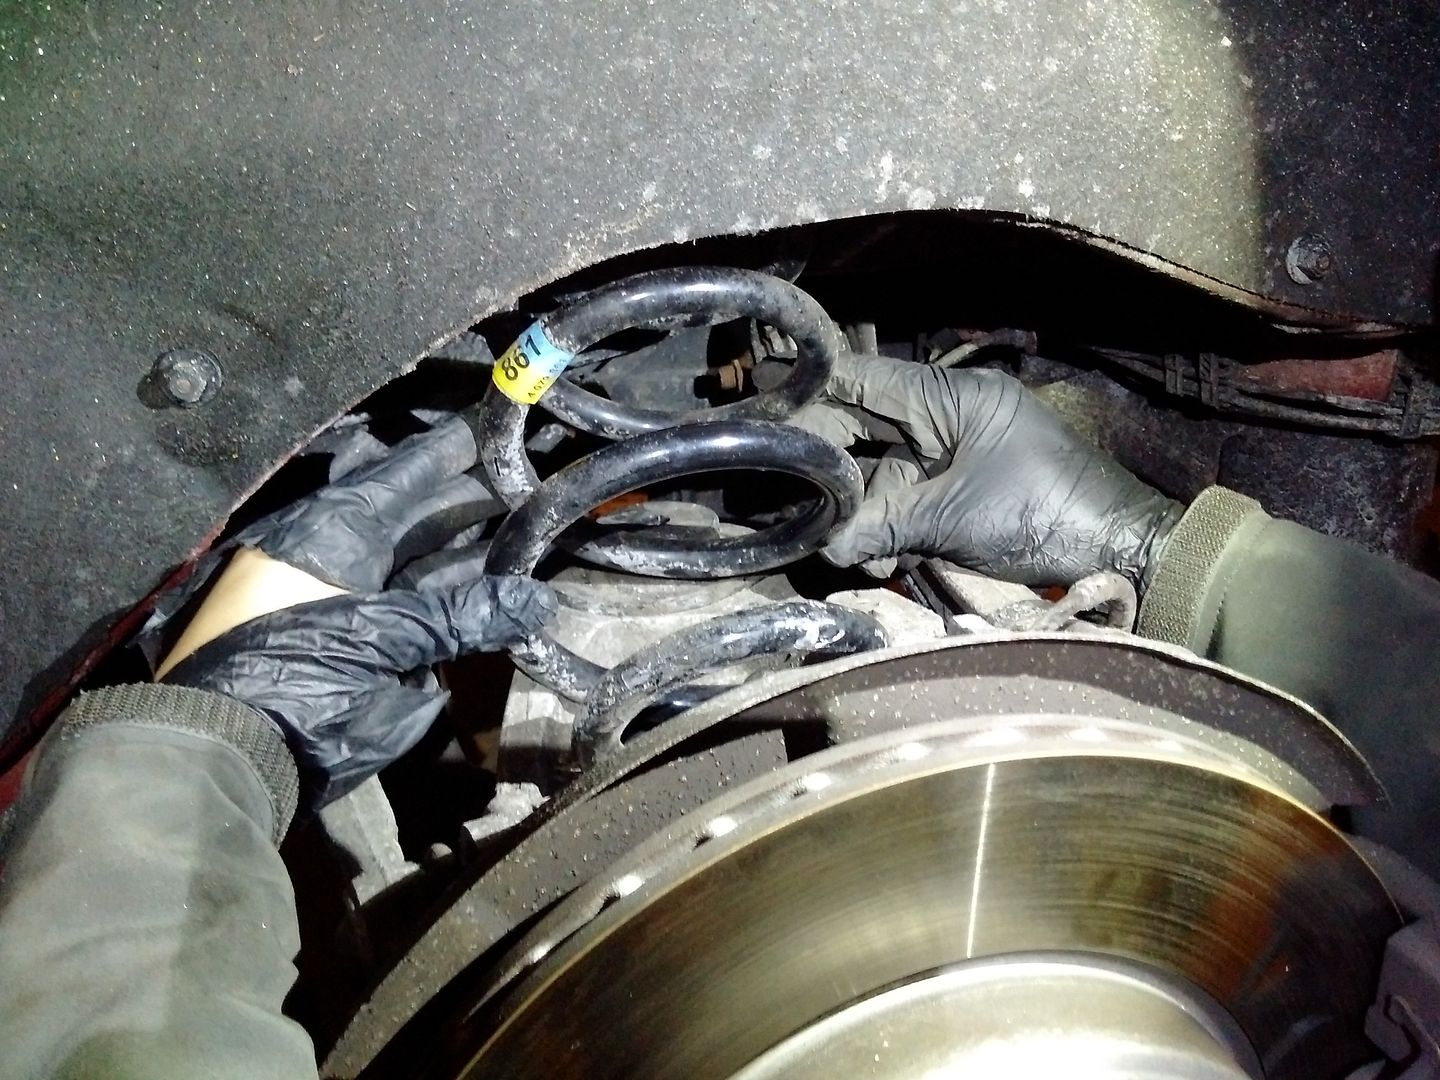
This is what the top inside will look like at this point

Release the top bolt in the engine bay and the strut and spring should just drop out
The new strut and spring needs to be assembled here. Use the spring pad from the OEM strut if yours is in good condition. Mine looked brand new
Put the new strut+spring into the area and make the shaft go into the hole the old shaft was in.
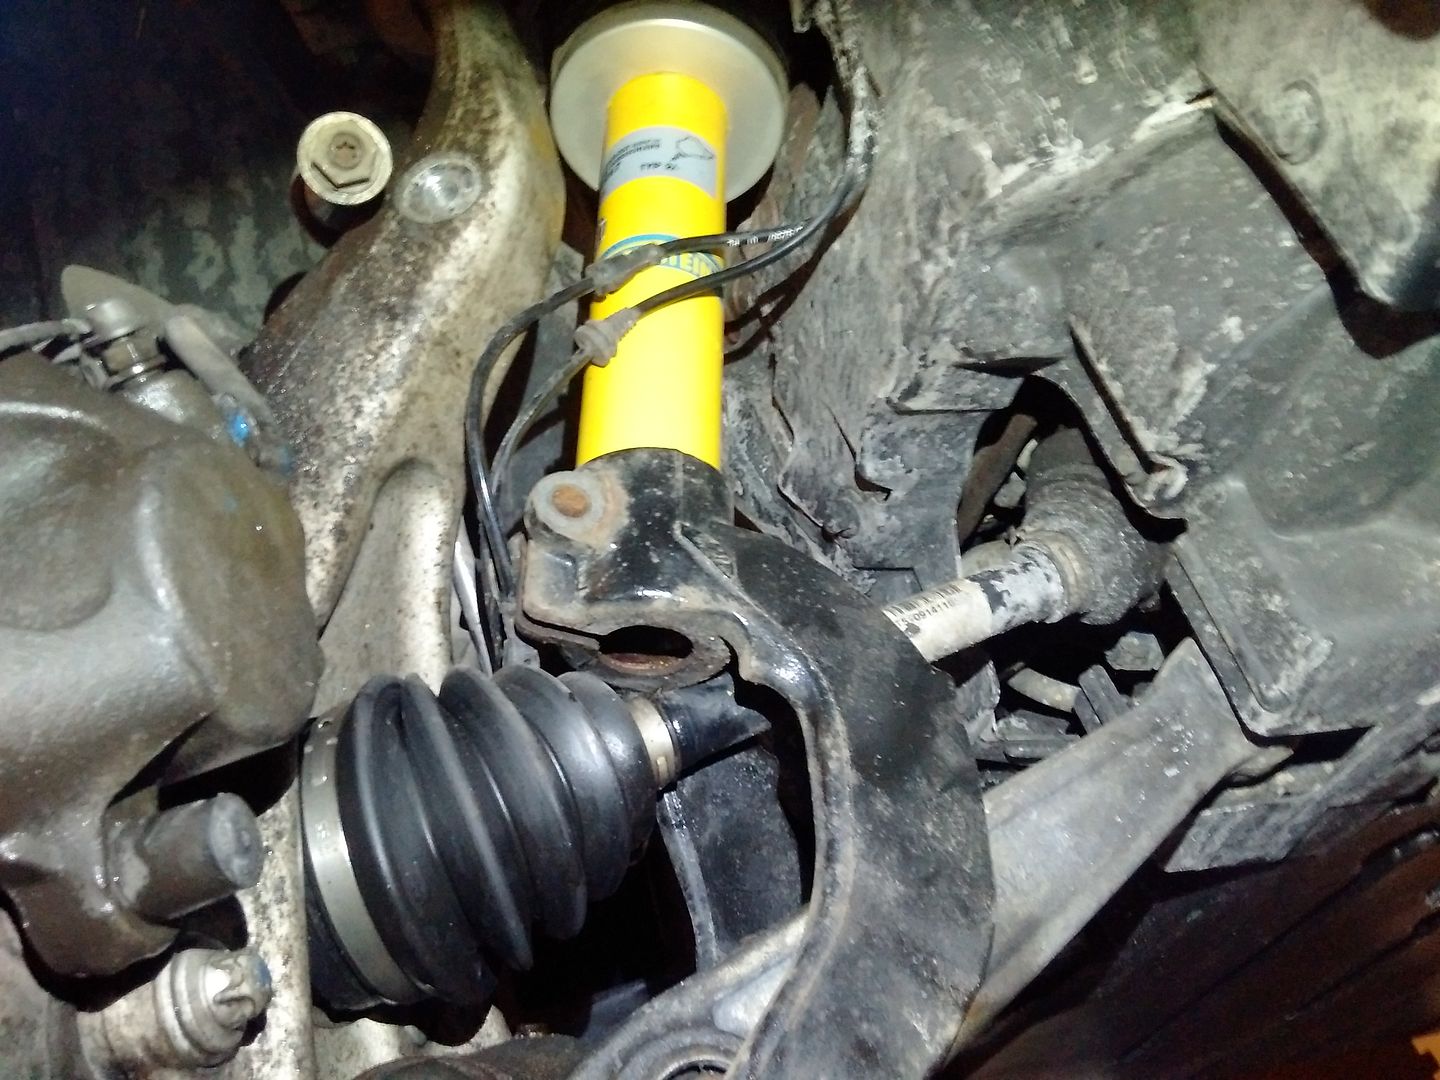
You will not be able to see it in the engine bay immediately, but if you put the jack under the brake rotor you can compress the suspension so eventually the shaft sticks out.

Tighten the shaft with the new bolt. Again, use a torx to hold the shaft from spinning while you tighten it
Reattach the bottom bolt. It's easy to get it lined up as you can use the jack to raise or lower the suspension until it's perfectly lined up
Reattach the sway bar link. Again, you will need to raise/lower the suspension with the jack so it lines up
Finally, compress the suspension until the bottom shaft of the strut is fully inserted into the piece that holds it. Then, tighten the bolt.
Repeat all the steps on the other side of the car. The procedure is identical
REAR
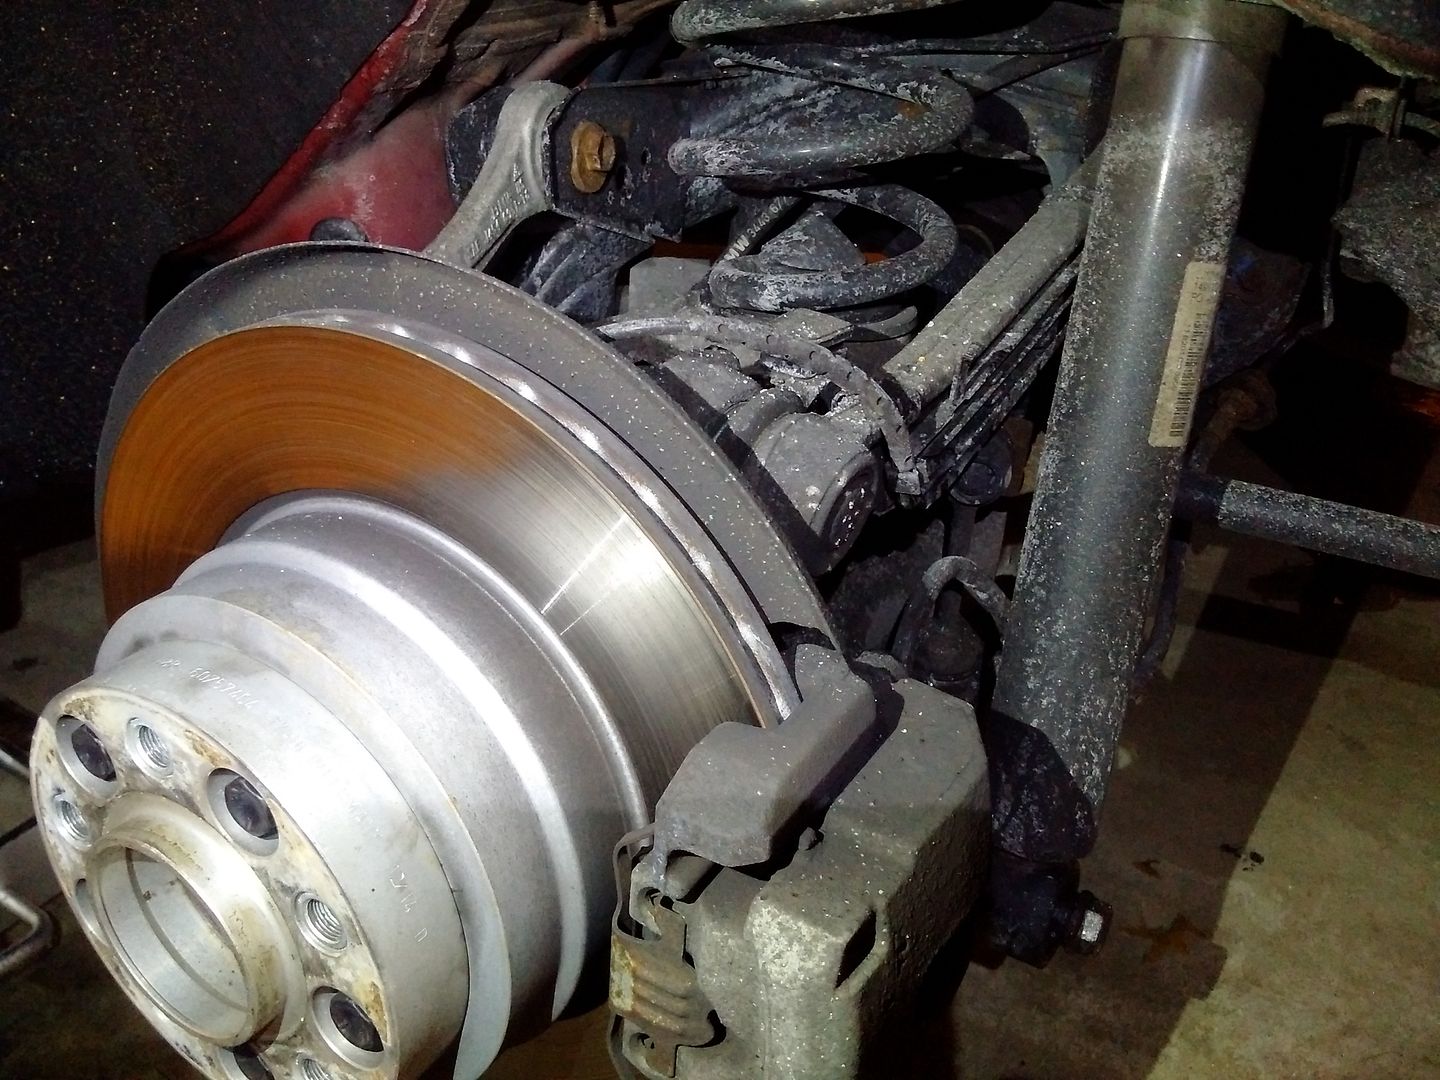
The rear is a lot easier! The strut and spring are separate here so they can be removed individually
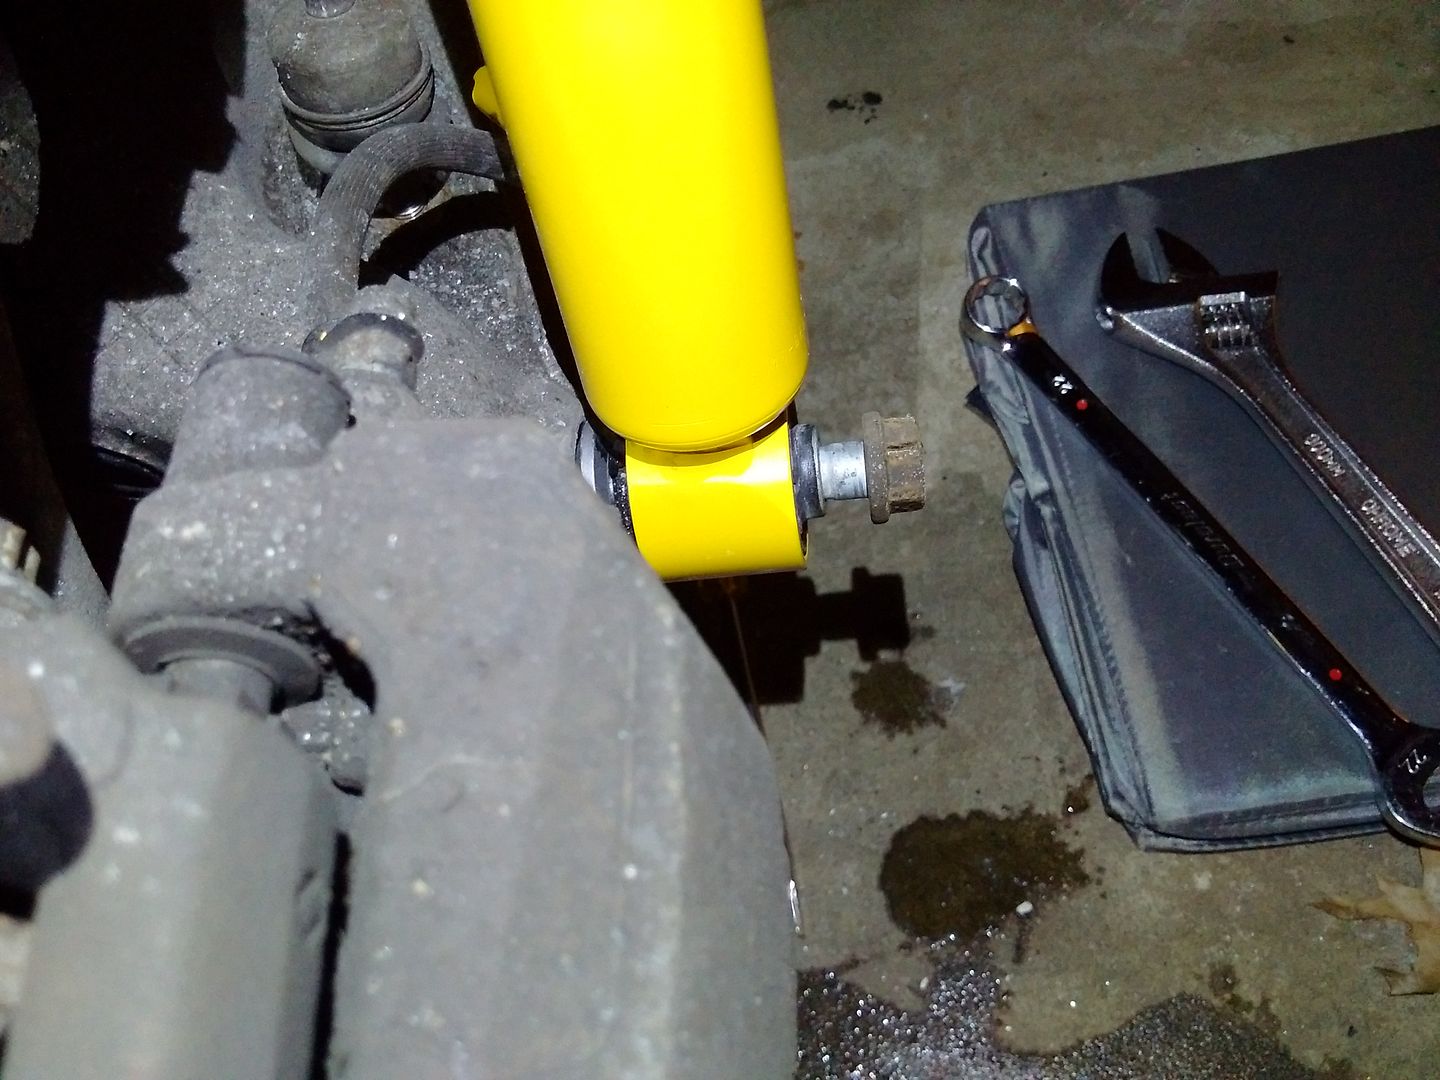
Remove the bottom bolt that holds the strut
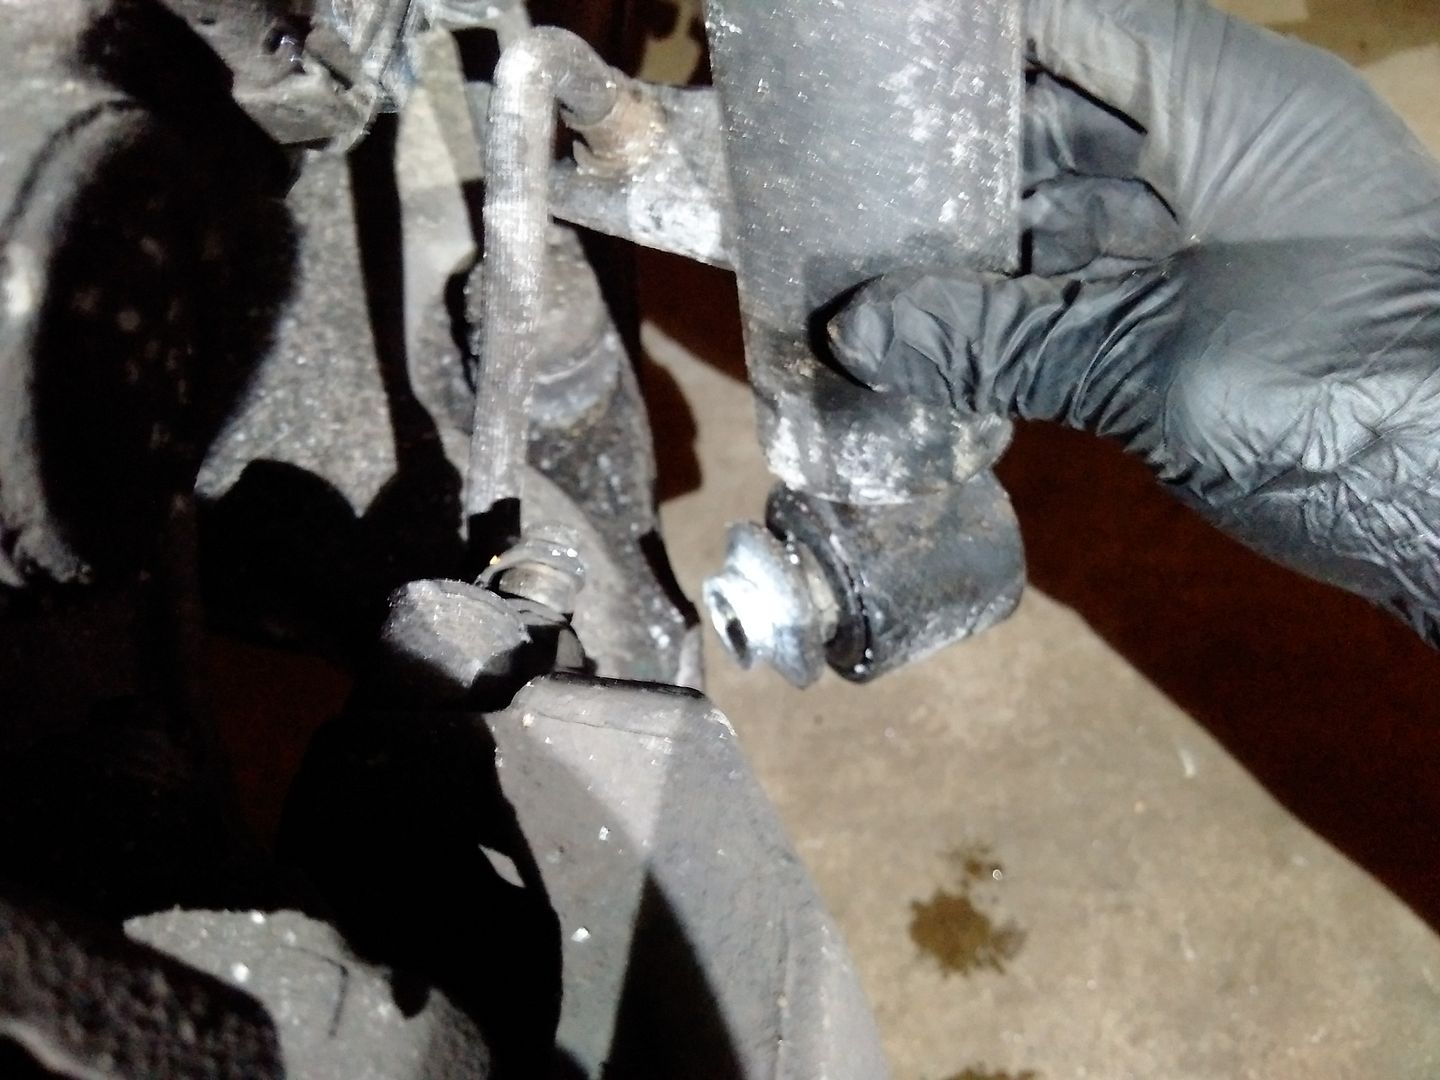
Remove the sway bar link. Like the front of the car, you need a torx and an open ended wrench
Go to the trunk area and remove the bottom liner. You will easily spot the top bolts that holds onto the shaft and is avoiding the strut from falling to the ground. Loosen it and you can remove the old strut.
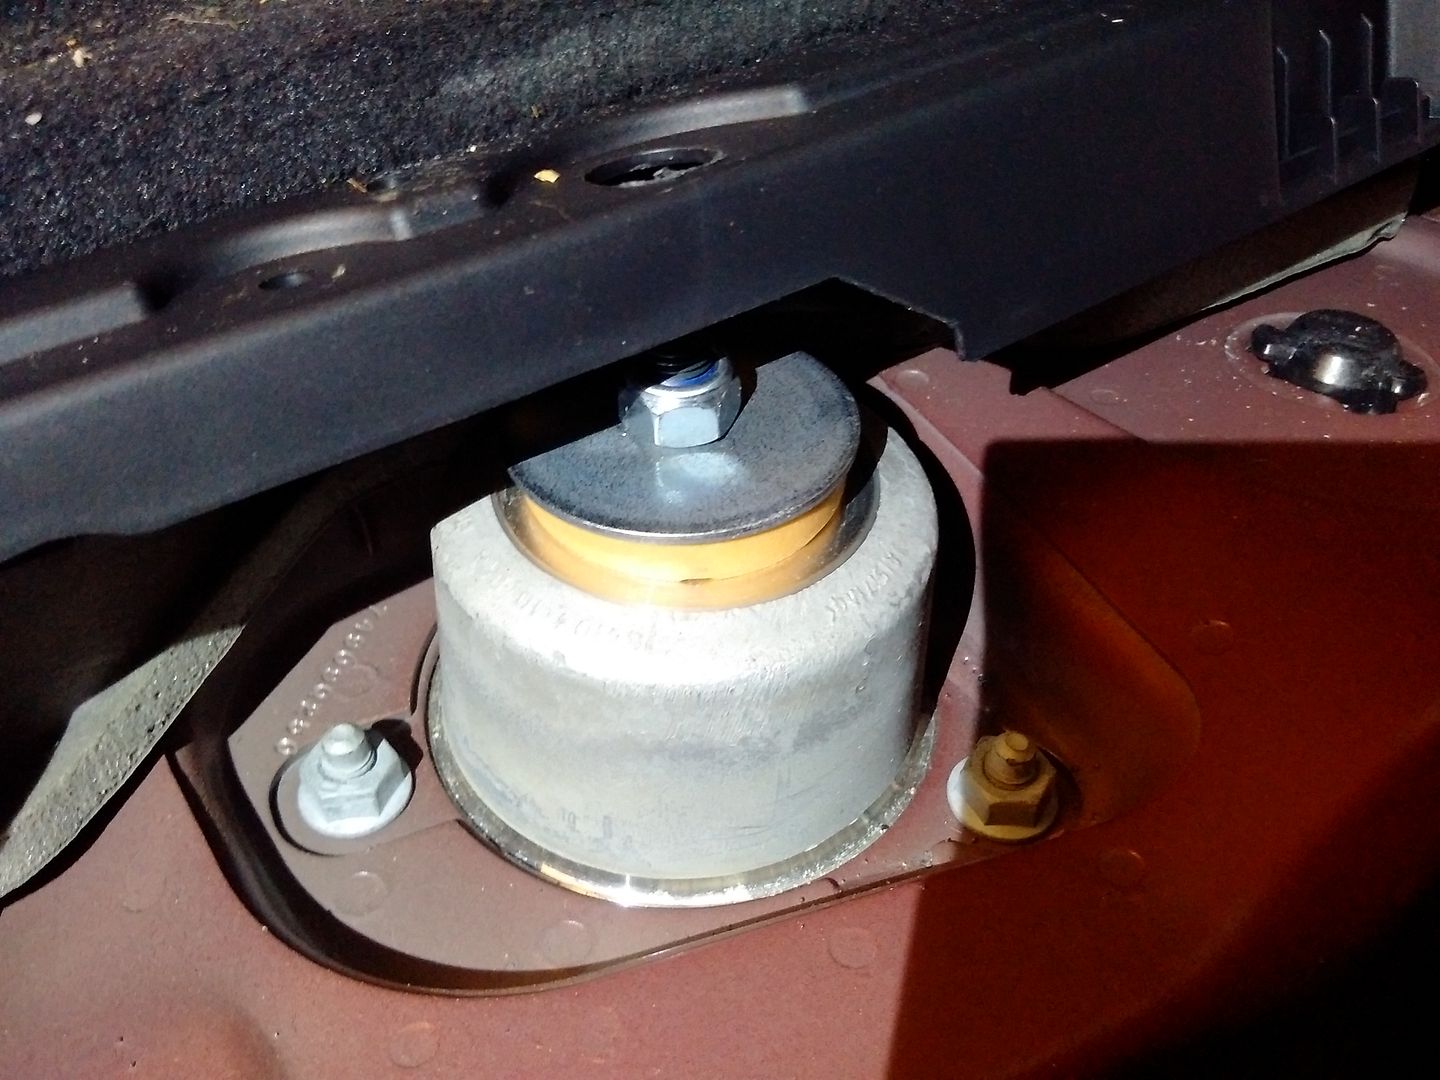
Insert the new strut, first tighten the top and then bolt up the bottom
Now it's time to remove the spring. It's held in there just by pressure, although in the bottom of the spring there's a plug that helps keep it there which is plastic and can be partially removed
Here you can see the plug that must be removed
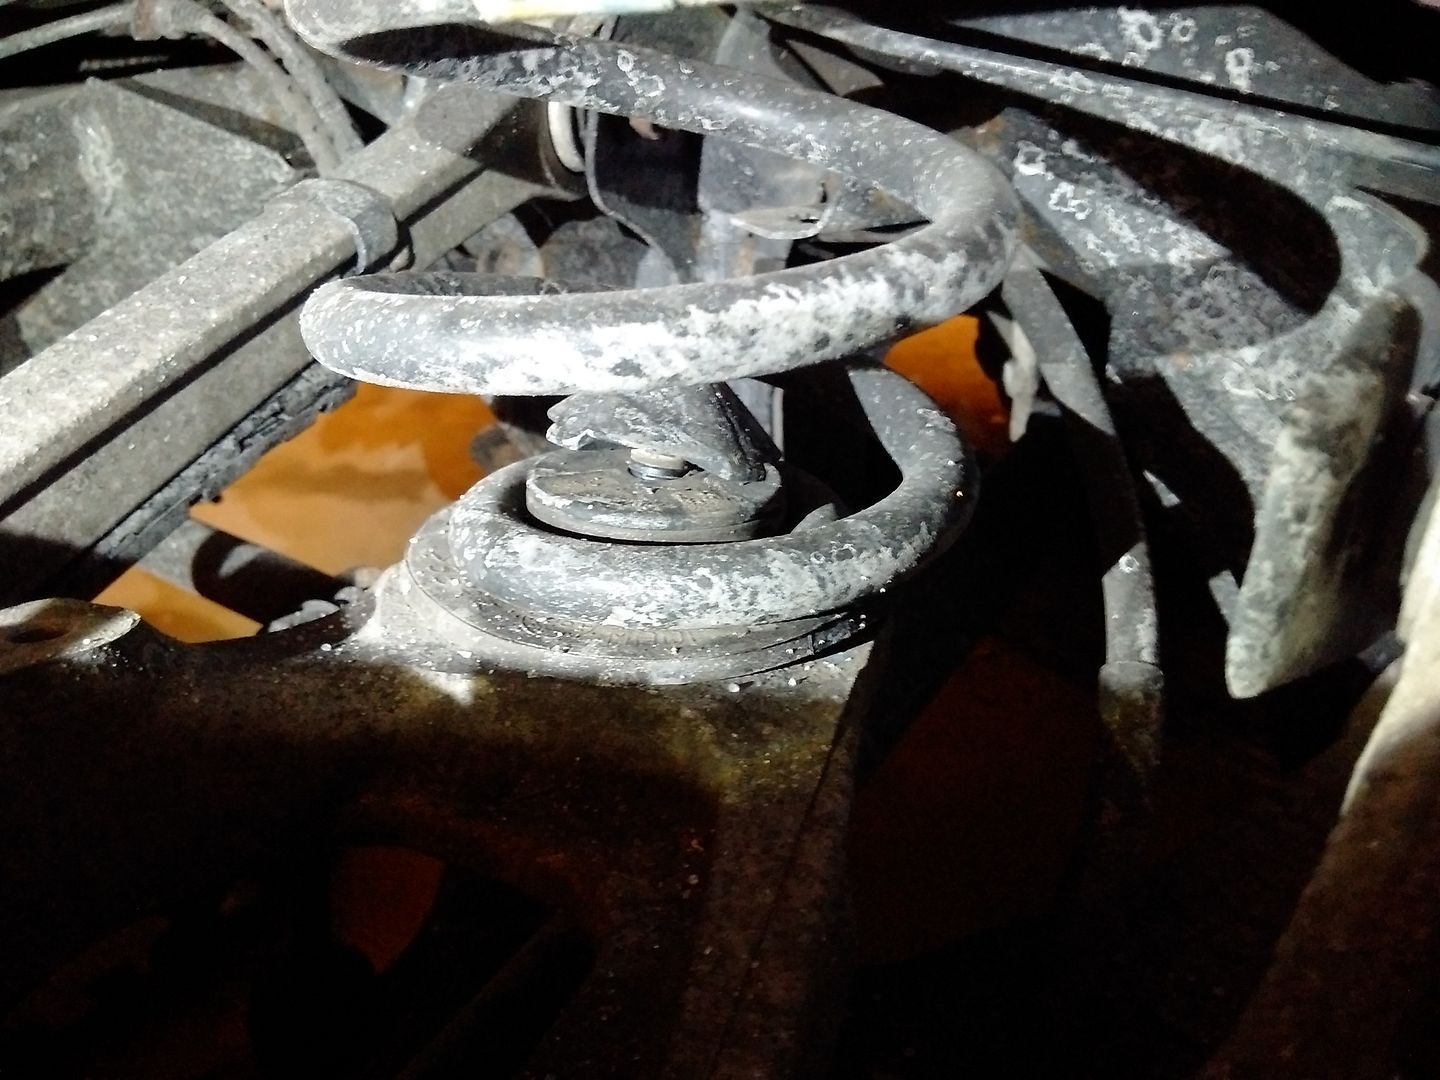
I used a piece of wood to pry it apart as I did not have a pry bar handy. Between standing on the rear hub and prying, eventually it comes apart

The new spring is shorter, so by standing on the hub/brake rotor you can easily slot it back in
Reattach the plastic plug in the bottom center of the spring
Enjoy an X5 that handles correctly!!