This post will evolve as I attempt to wrap the OEM diffuser. I will include my install notes and a detailed DIY on rear bumper removal. For now, I'm going to just provide updates as I work on wrapping the diffuser.
First, I want to rave about Sott Elemento-6 Carbon Fiber wrap. I didn't think I'd ever say this, but it is even better to work with than Vvivid wrap, it is so forgiving. Simply heating returns the film to original state. Now, it won't fix scratches or marring you introduce as you apply.
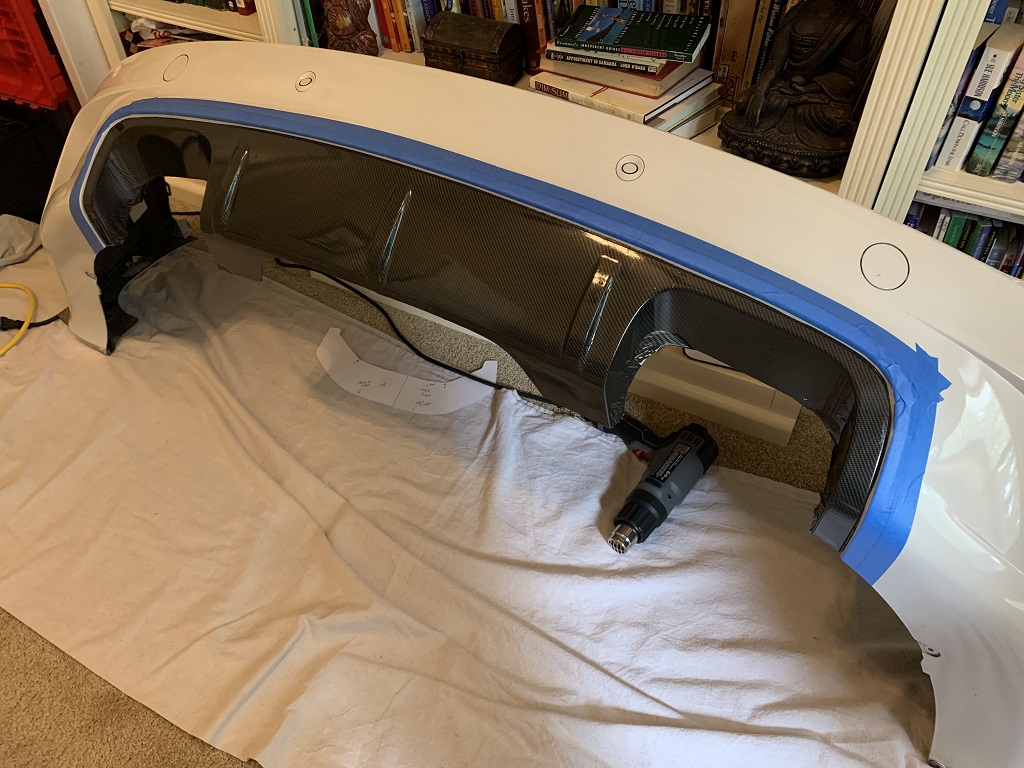
Below are images of my first full attempt at wrapping the diffuser. Overall a
poor result, but I realized early on this would be a test application. I spent time 1) learning to apply around the raised fins, 2) stretching over the exhaust cutouts to see if I could do so with one piece, 3) Trying to figure out to what extent I could continue to remove, repair spots, and reapply and 4) properly apply the film over the 3M knifeless tape so I could get a straight edge.
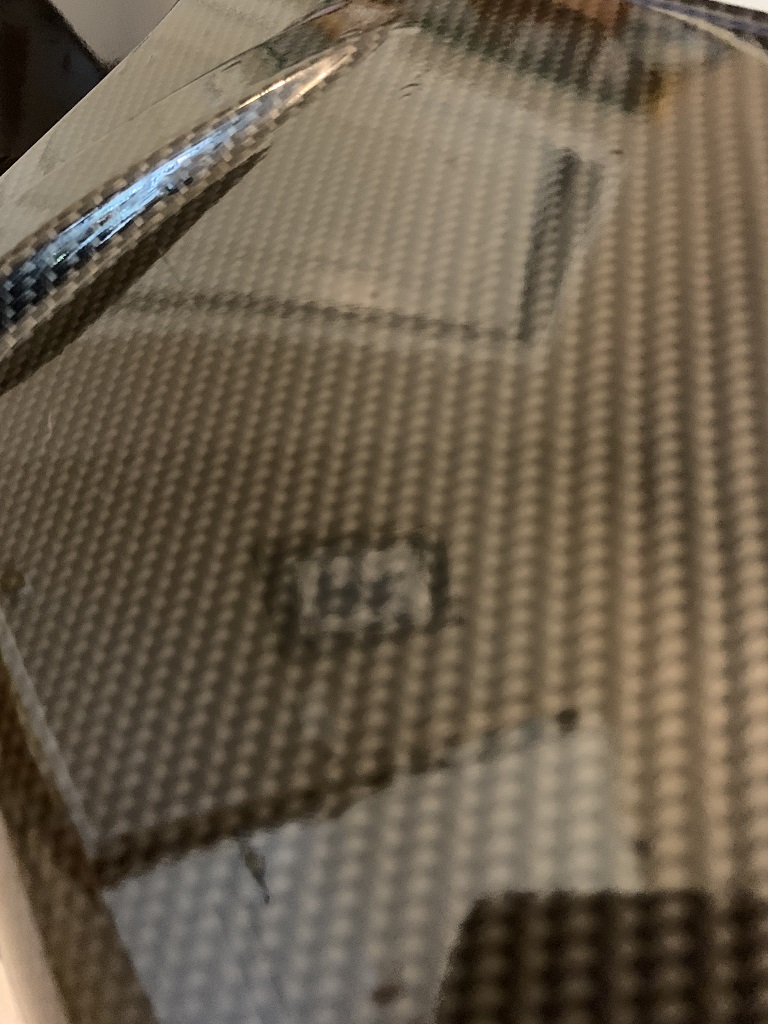
I messed up from the get-go by not removing the protective wrapping. Unlike VVivid, it is not obvious to spot or remove. In fact I started believing they sent me a portion that didn't have protective wrapping. As I struggled with wrapping the diffuser, I eventually cut off a piece as I wanted to confirm there was not protective wrapping. After some time with an exacto knife I was able to finally lift a corner...huge difference. But some damage was done (marring).
If you plan to use this film for complex surfaces, I believe it''s critical to go through the exercise of wrapping something several times to learn how this film works. I'll post notes once I'm done...
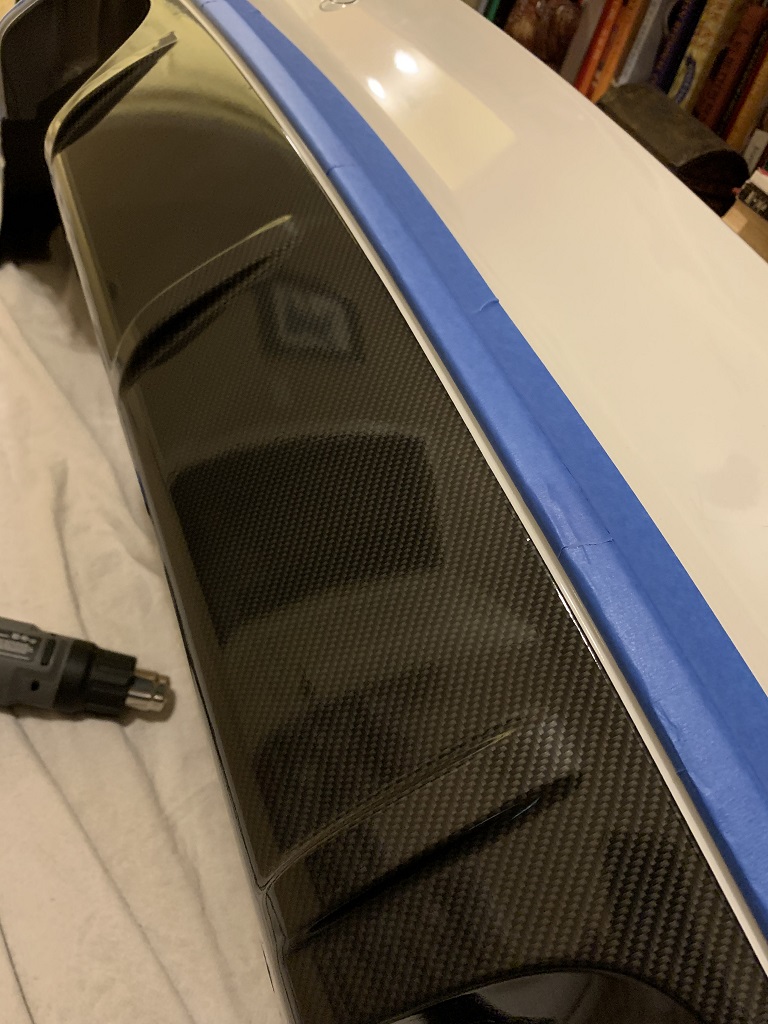
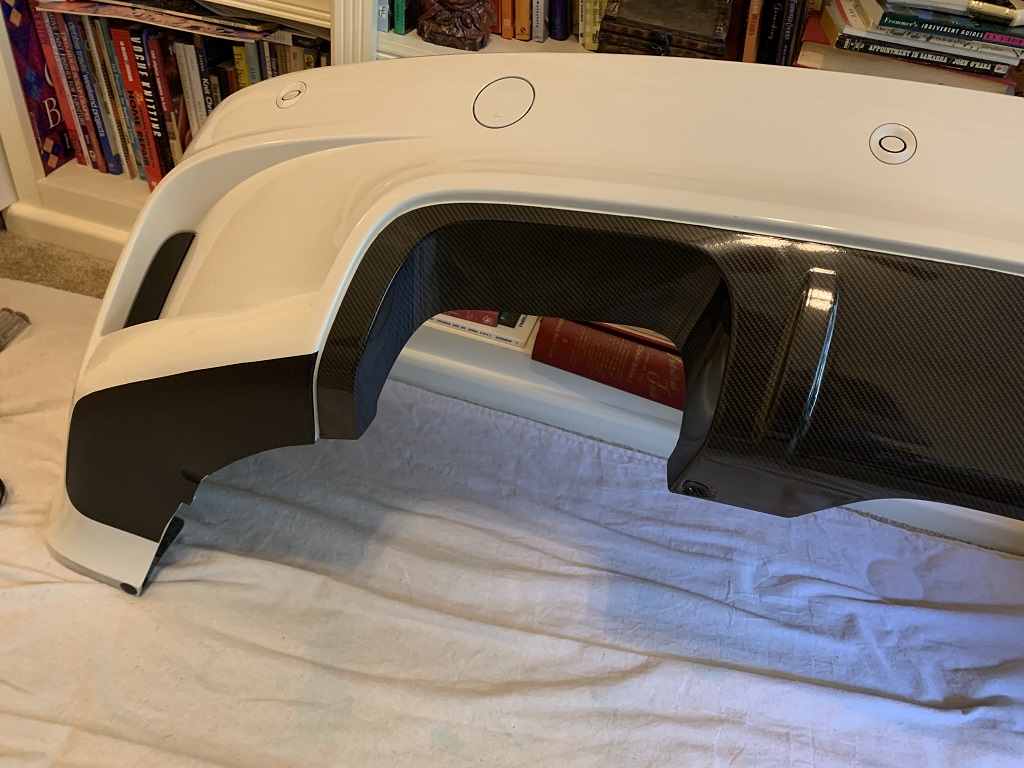
Good from far, but far from good. The exhaust cutouts are very rough and incomplete. You can see the material is really stretched toward the back, but luckily this won't be visible normally. The finishing line is not bad, but I've determined some changes on my next application that will help improve the cut line.
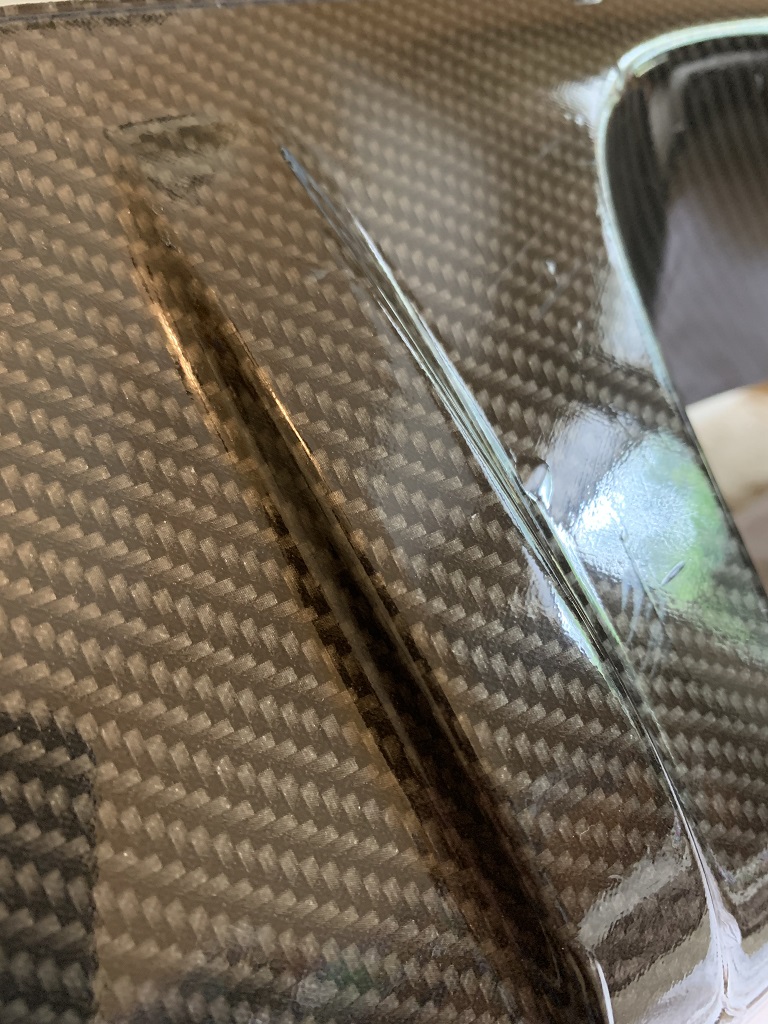
Here's a nice shot of a mostly clean area I managed to wrap (a few imperfections). NOTE - This is the most accurate CF I've seen to date in color and graphics. These fins are a pain, but I got much better after hours of messing with this.
Some bubbling, marring, and wrinkles. There is a lot of this across the diffuser on this first run. But it's mostly caused by being hasty and subconsciously knowing that this was not the final run.
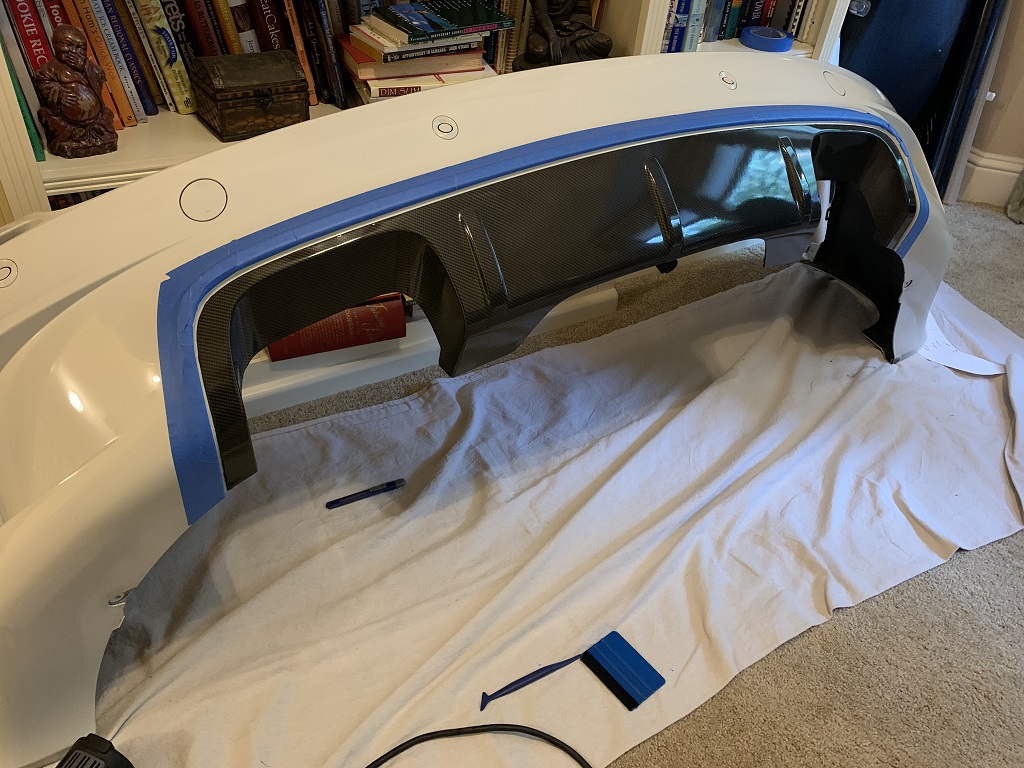
SECOND ATTEMPT: This was much better, I'd call it 90% of where I'd like to be. The exhaust cutouts and the 3M knifeless tape are the weaknesses. The knifeless tape worked well, but a couple spots were not clean cuts and detracts from all the work on the surface. I should have worked the tape removal more carefully 4-5 inches at a time, instead of pulling on it like I was reeling in a fish. I could probably use this as-is, but am contemplating a third attempt...
THIRD ATTEMPT: This one is 95%. I'm getting much better, but I wish I had a repeatable defined process for doing the fins. Each one is using the technique that fits best at that moment. The surface is much cleaner on this attempt...On Run2 I was using the squeegee edge in arcs to lay down the film...the result was fine arc marks visible at certain angles. For this run, I avoided that technique and the surface is less marred. Notice the curve above right exhaust cutout, the knifeless tape caught and ripped a chunk out

I had a similar, but less dramatic, result on the opposite corner. I also developed a better method for doing the exhaust cutout surface with half as much stretching as Runs 1 and 2. However, at a cost, this method put tremendous tension in the diffuser corner film, thus catching the knifeless tape and resulting in the tear (even with me being very careful in the corner with the knifeless tape). HOWEVER as I worked this new method I realized there is an even better method that would work with little to no stretching, however my 12"x60" sheet was not large enough. I would need to redo the entire effort with an 18" wide sheet. Another lesson learned.


FOURTH ATTEMPT: Lots of work and the knifeless tape situation was a crash and burn.
FINAL ATTEMPT: Posting pix only, will post a writeup later...


More below...