Gents,
My truck was getting up to 70k miles and I still hadn’t done the tranny oil change that the PO recommended to be done at 60k miles…sorry Kimo. I have had everything sitting in my garage for a while, but never had the time. I finally went for it shorty after I found this awesome DIY video:
https://www.youtube.com/watch?v=dCvmdo1bLLw
NOTES: I messed this up in a couple of ways. The transmission gasket kit I ordered based on realoem part numbers was incorrect. The gasket kit came with a paper gasket instead of metal and rubber and also didn’t have new magnet clips so I had to use the old gasket and just clean the old magnets. Also, the video DIY makes the initial fluid fill seem easy, I had to fill again once I found that the transmission would not shift. Make sure that you point the tube toward the front of the vehicle while filling to ensure the fluid goes inside. If you aren’t shifting out of park it is likely because you do not have enough fluid in the transmission. Additionally, make sure that you follow the video warning about the shift indicator lever and make sure you are careful when installing the new mechatronics sleeve and reconnecting the plug. I was in a rush and ended up bending some plugs and had to drop the unit to straighten them:
PARTS:
NOTE: DISREGARD THE MUD FLAPS, JACK PADS, AND T-CASE FLUID; THE TRANSMISSION GASKET KIT LISTED ON THIS IMAGE IS NOT CORRECT FOR THE X5M. THE KIT COMES WITH A PAPER GASKET; THE X5M REQUIRES A METAL AND RUBBER GASKET. THE KIT ALSO DOES NOT COME WITH NEW MAGNET CLIPS.
UPDATE: I replaced my original image list of parts with this list that includes the X5M Rubber and metal gasket.
24347588725
SEALING SLEEVE (Mechatronics Unit Sleeve)
24347571211
Adapter (Bridge Seal)
24107519314
SEALING SLEEVE (x2 Small Tube)
24107519315
SEALING SLEEVE (x1 Medium Tube)
24107520715
SEALING SLEEVE (x1 Long Tube)
24117588753
Gasket, oil pan
24152333899
Filter
24117552108
Torx screw (x21 Primary Pan Bolt)
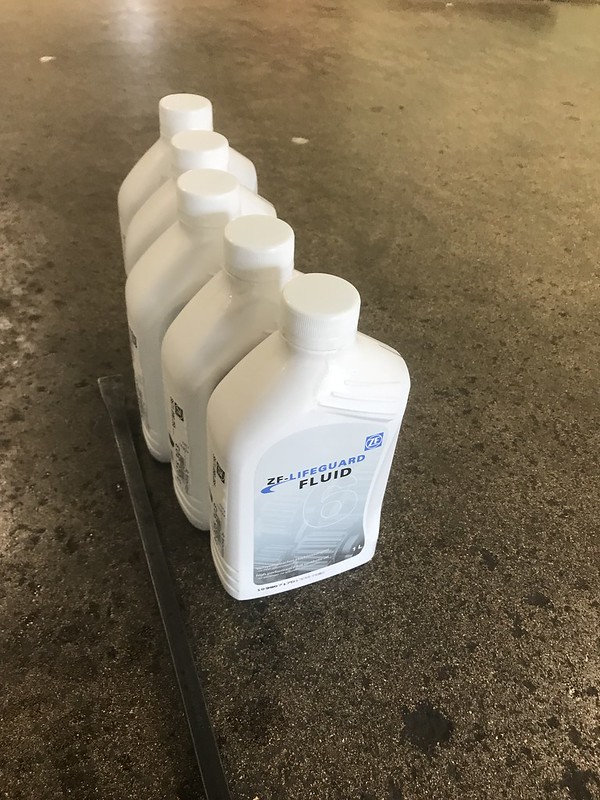
ATF Lifeguard 6 Automatic Tranny Fluid (x7)
TOOLS:
Torque wrench
¼” Rachet
3/8 Ratchet
8mm Socket
8mm Allen
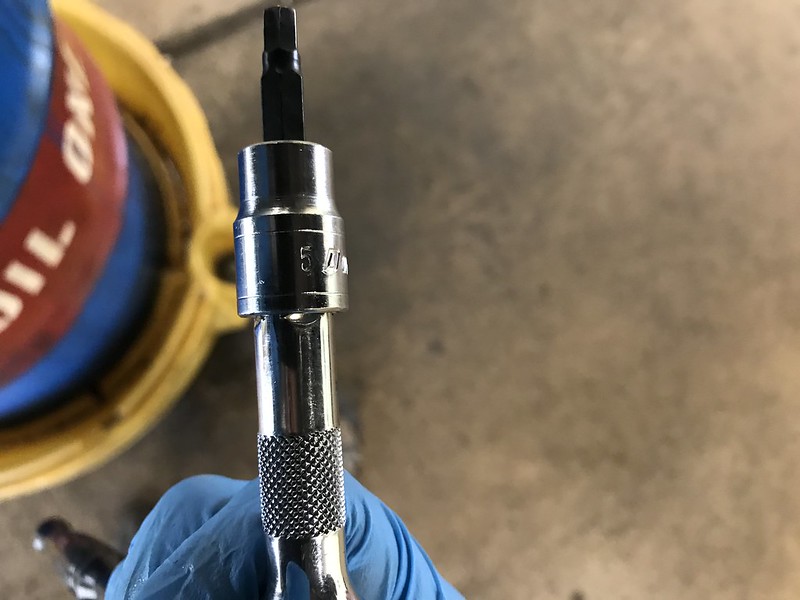
5mm Allen
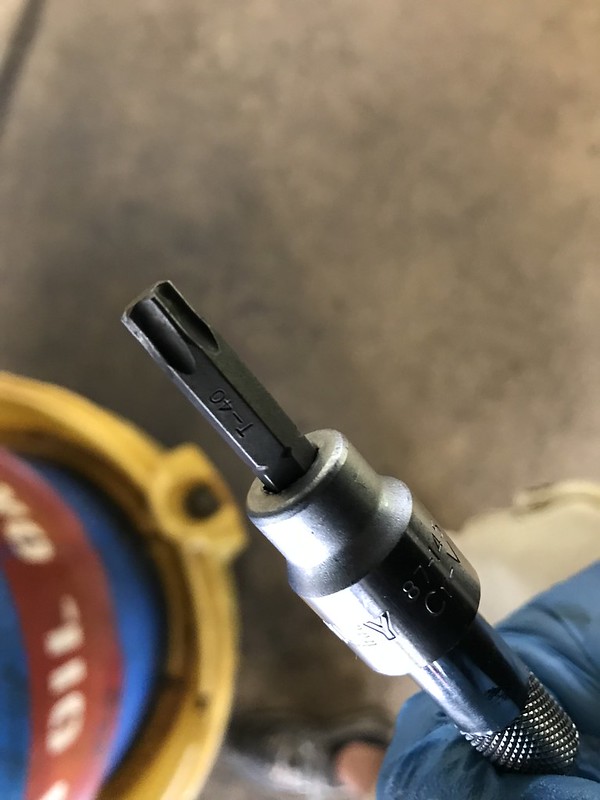
T40 Torx Bit
Pick
Needle nose pliers
Prybar/Large Flathead Screwdriver
Sand Paper
IR thermometer
E70 X5M TRANSMISSION SERVICE DIY
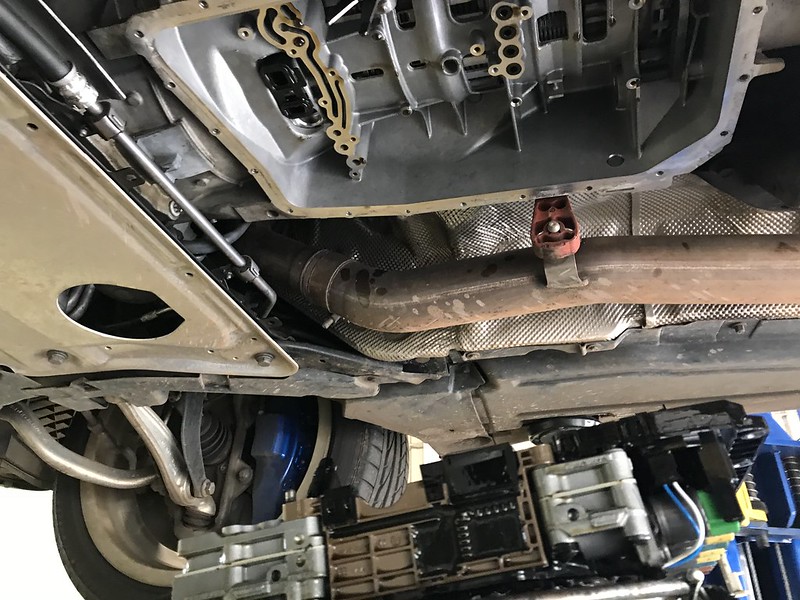
STEP 1: SAFELY LIFT VEHICLE
STEP 2: DRAIN TRANSMISSION FLUID
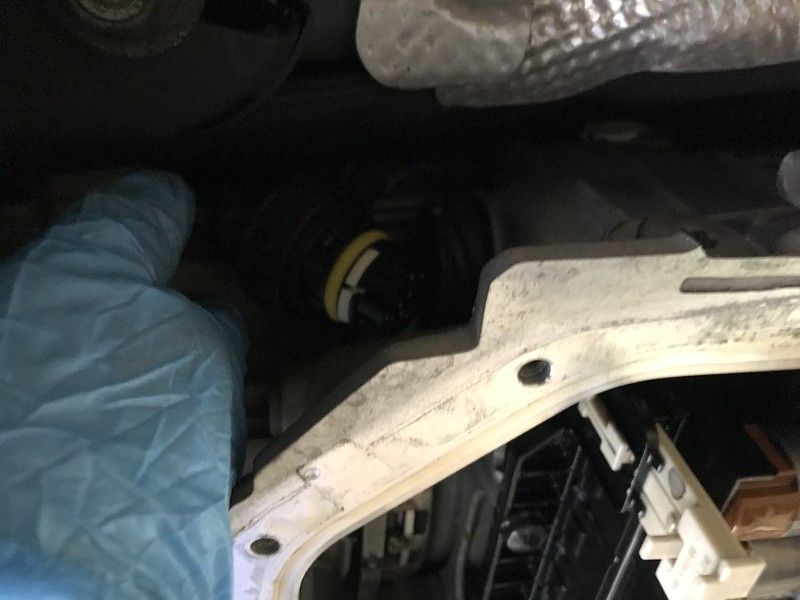
a. Remove small aluminum reflector shield from front of transmission using 8mm socket
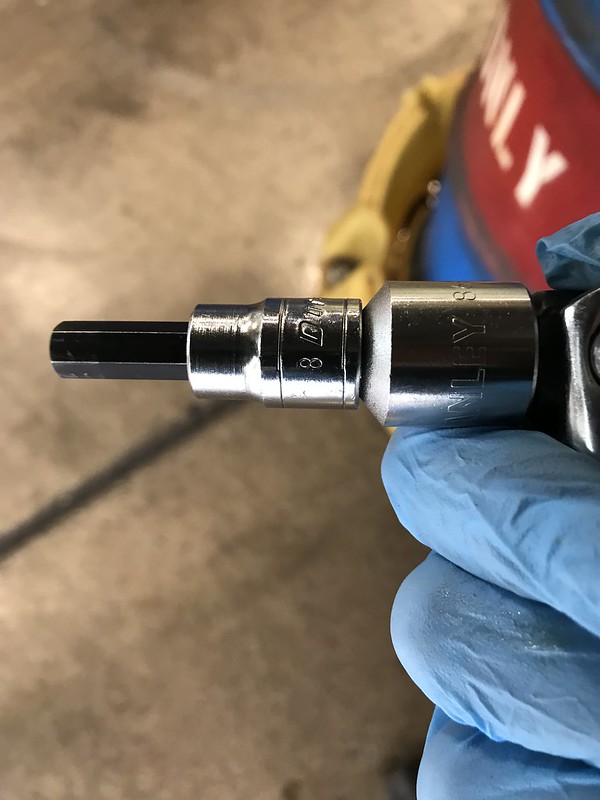
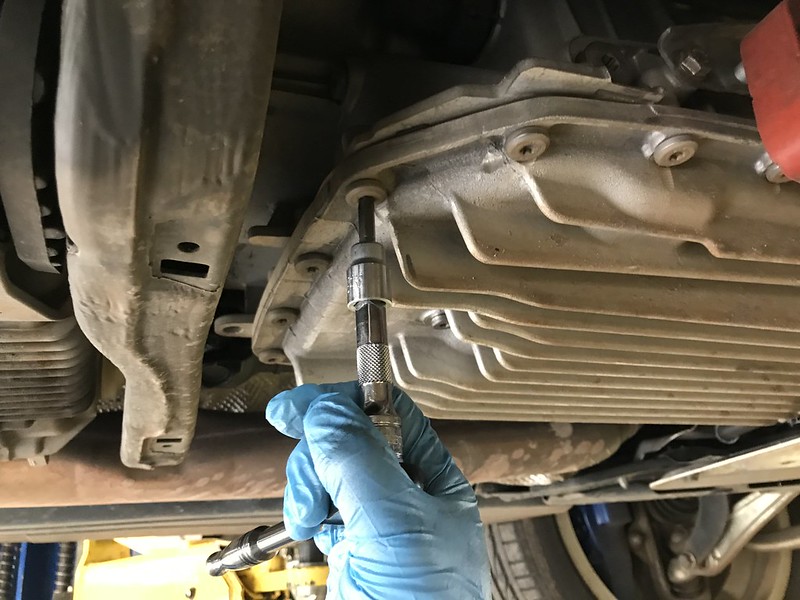
b. Loosen Fill Plug using 8mm allen key
c. Remove Drain Plug using 5mm allen key
d. Drain Fluid
e. Replace drain plug using 5mm allen key
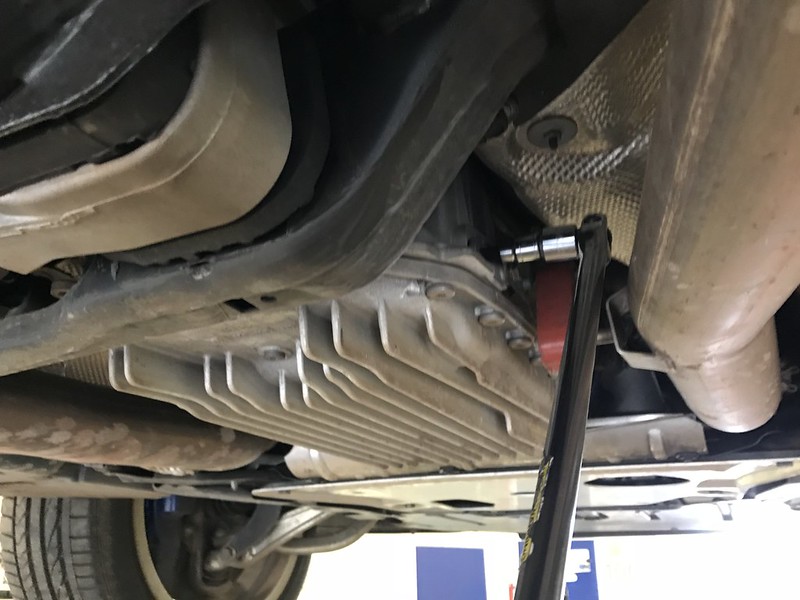
STEP 3: REMOVE TRANSMISSION PAN AND FILTER
a. Unbolt Tranny Pan using T40 torx bit (back to front)
b. Drain Pan (Let it hang from one bolt on the front passenger side)
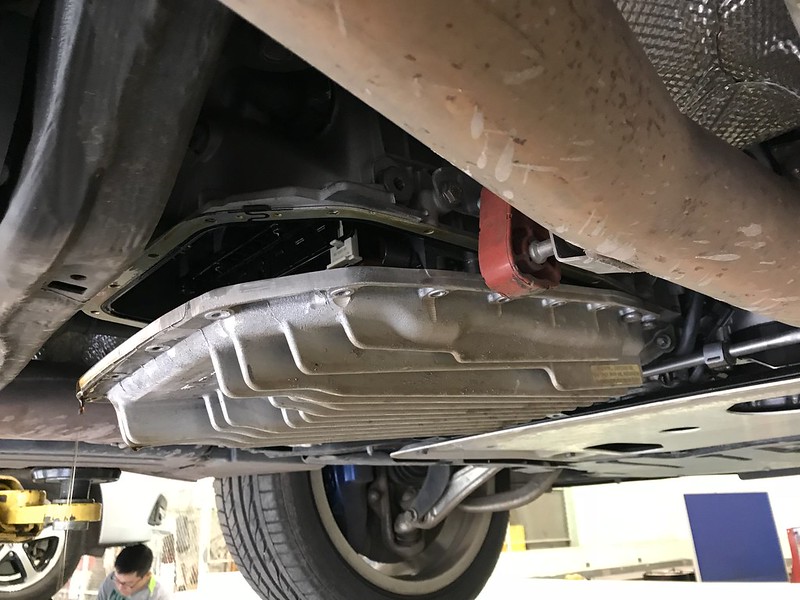
c. Lower Pan

d. Remove Filter
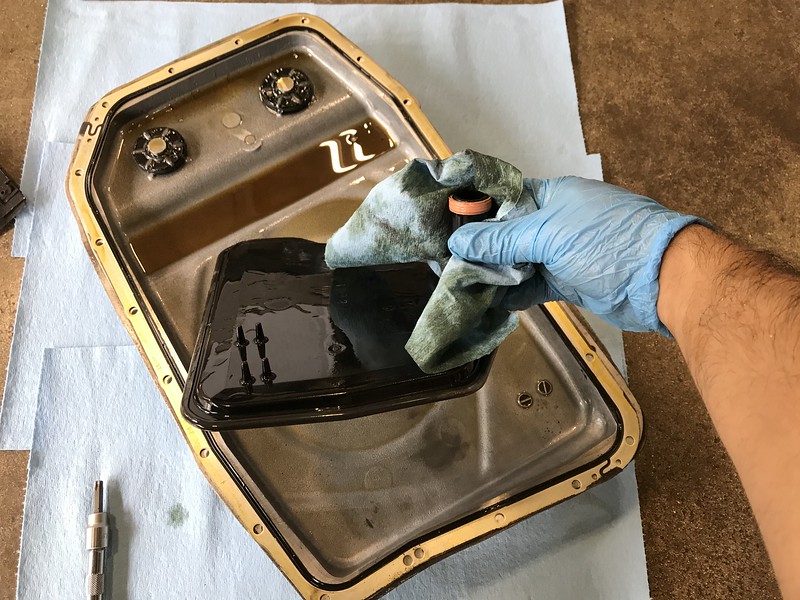
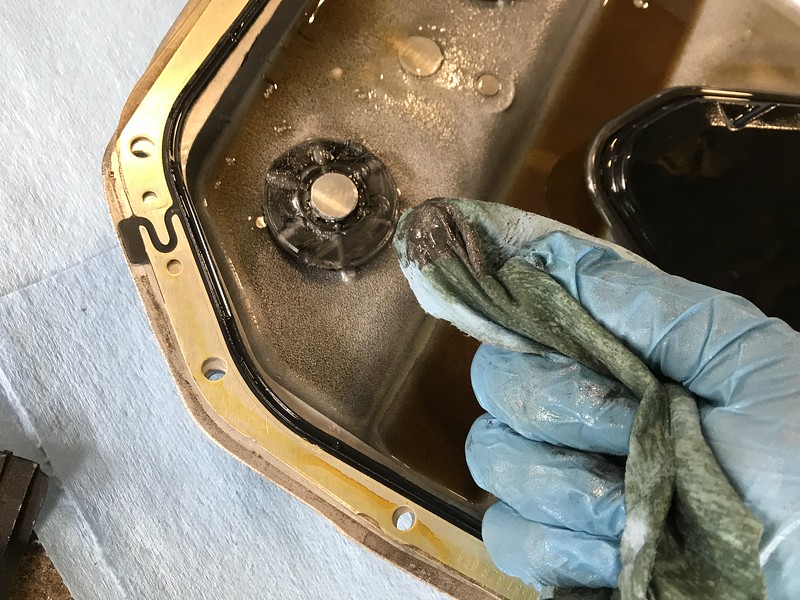
e. Clean or replace oil pan magnets
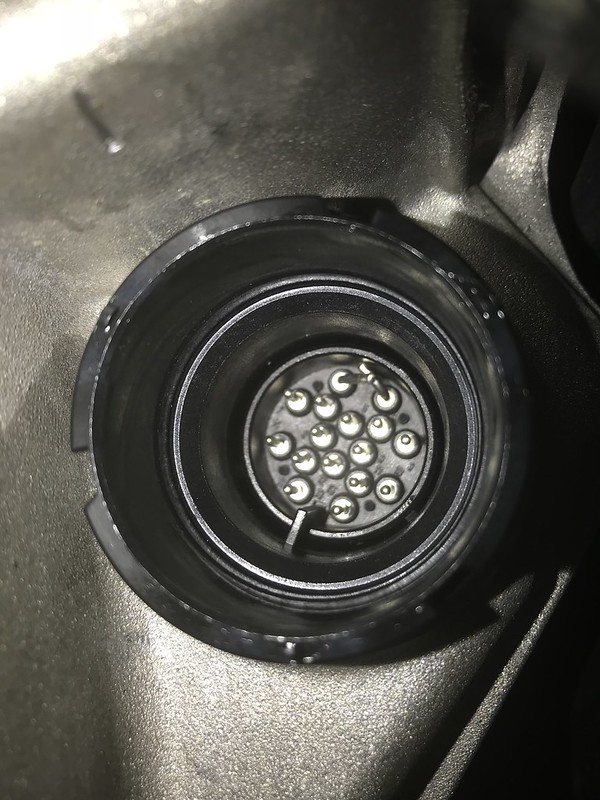
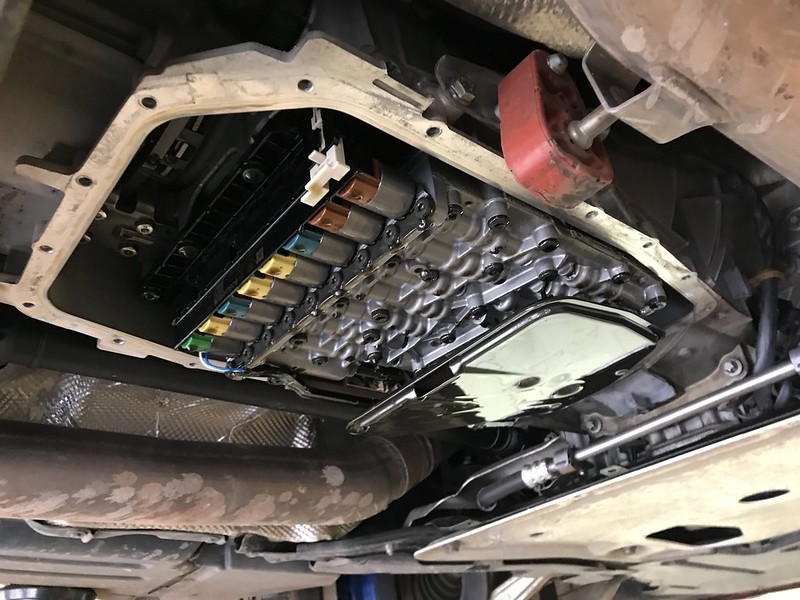
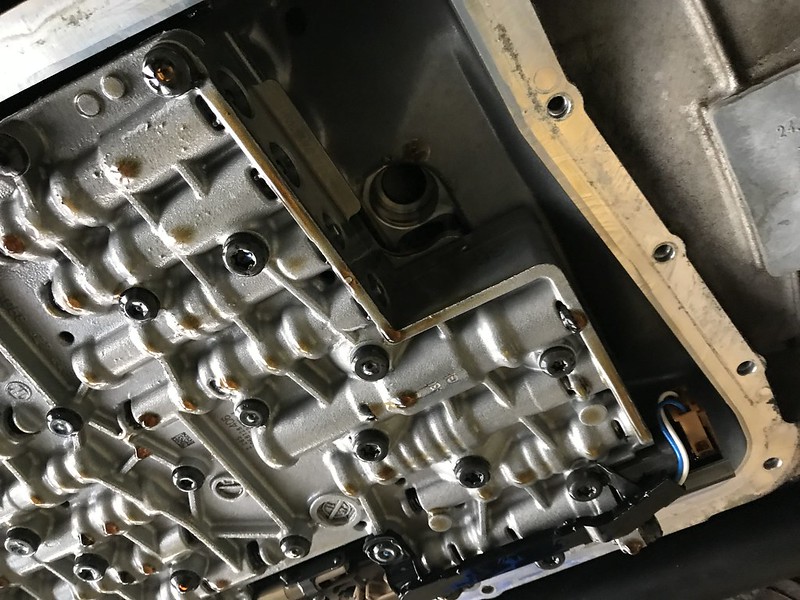
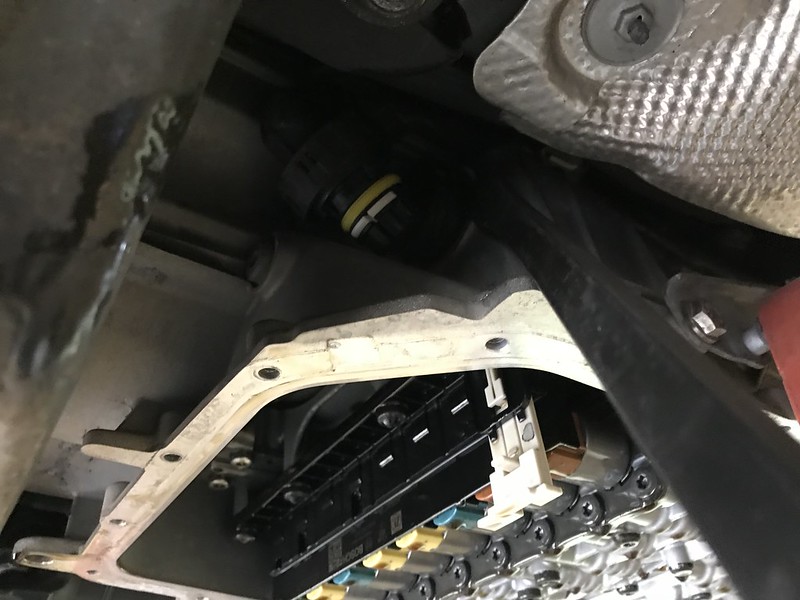
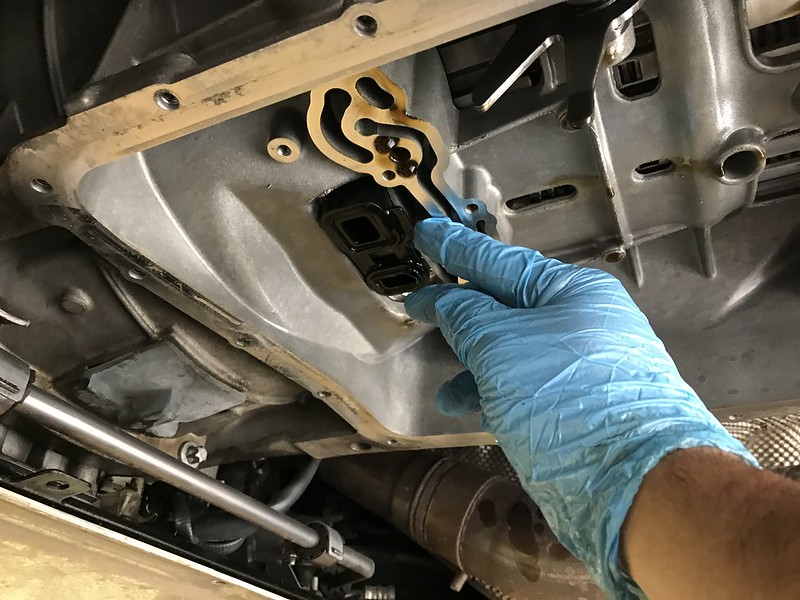
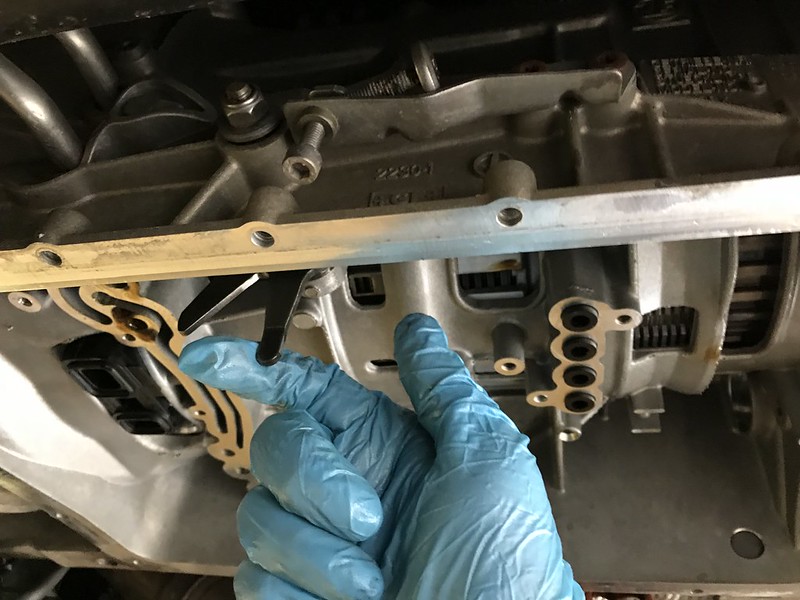
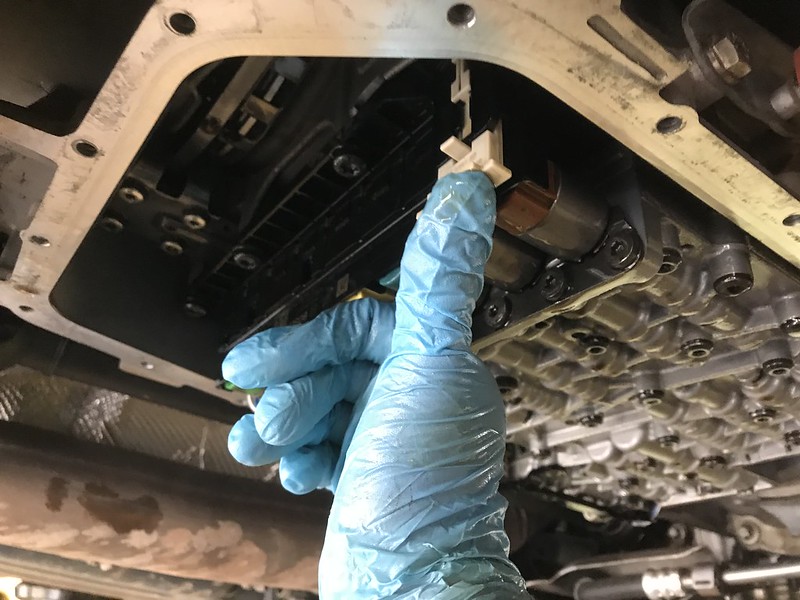
STEP 4: LOWER MECHATRONICS UNIT
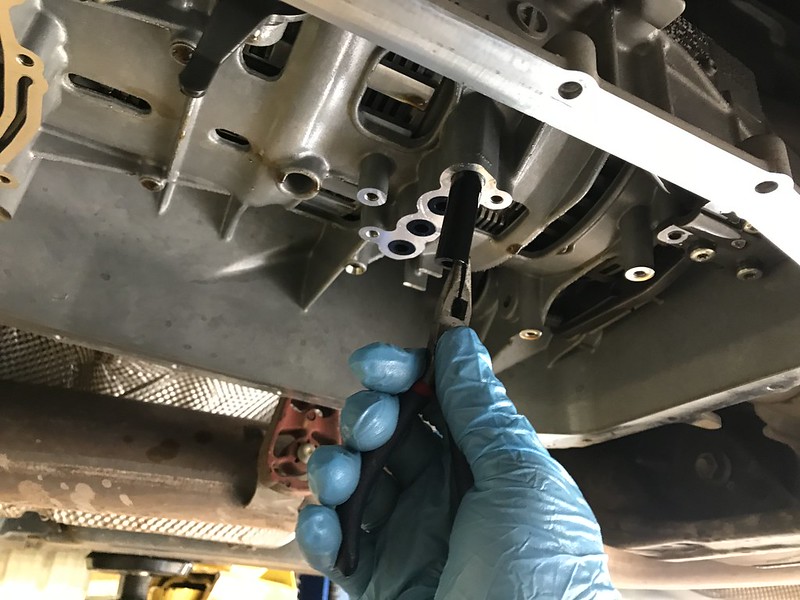
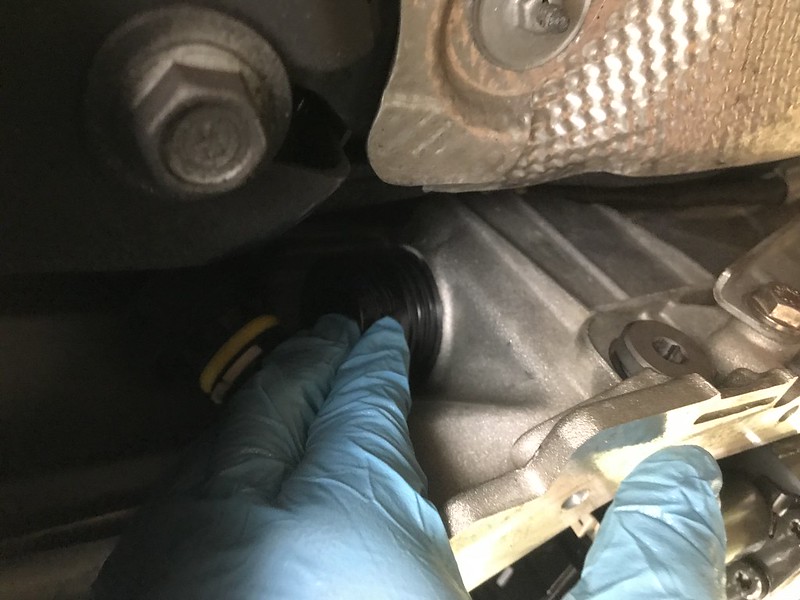
a. Rotate mechatronics unit plug to remove counterclockwise/up (try by hand first then use Prybar if that fails)
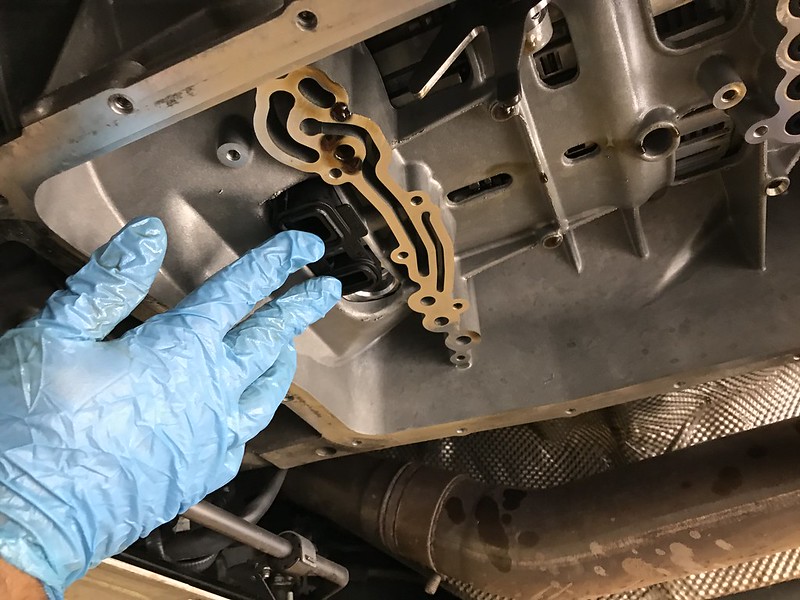
b. Pull down on white clip

c. Remove Mechatronics unit seal (Prybar or large flathead screwdriver)
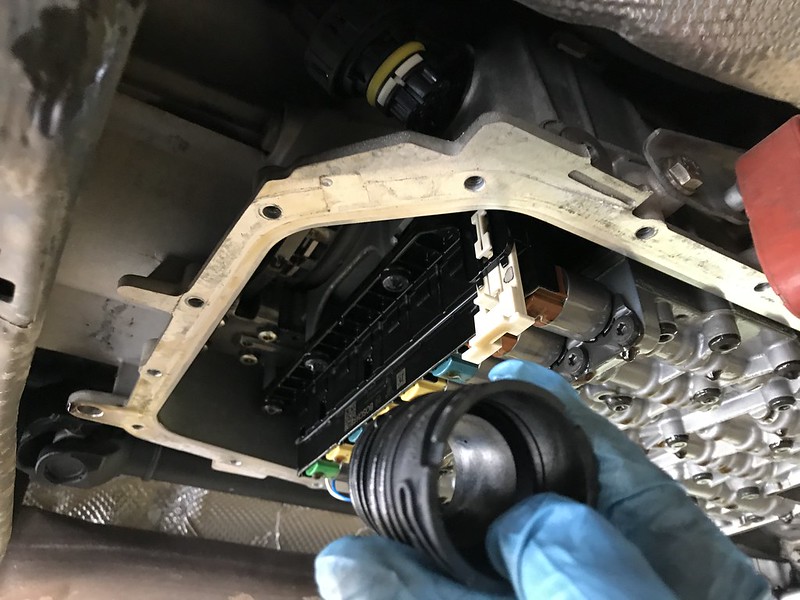
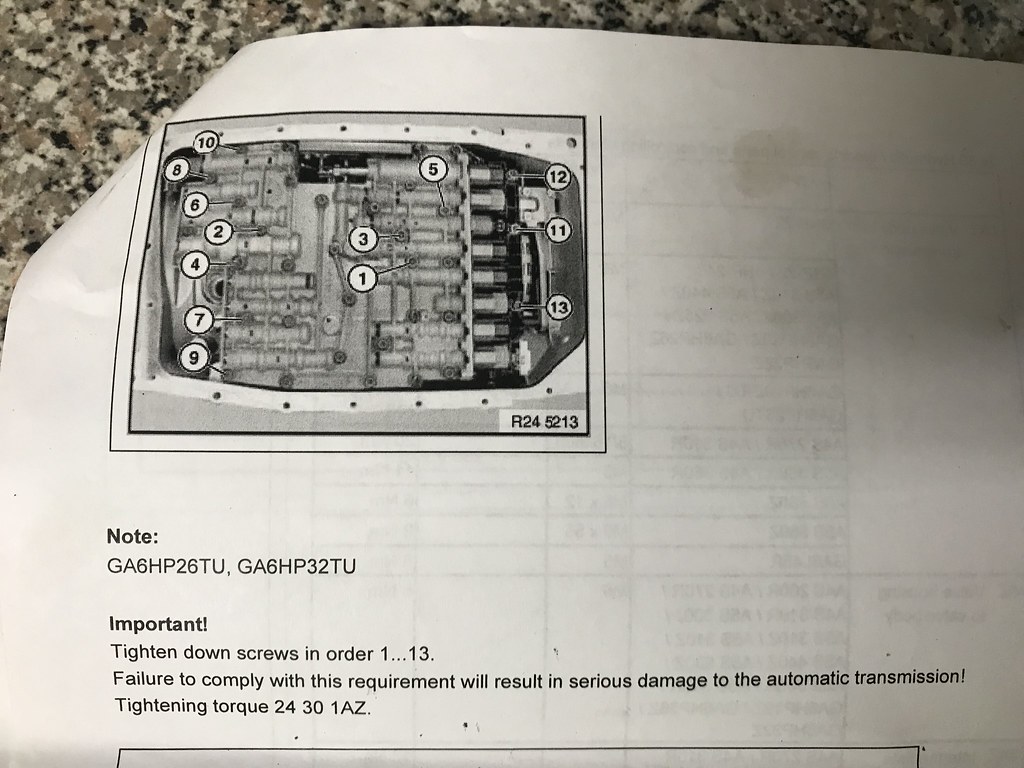
d. Ubolt larger flat bolts from mechatronic unit using T40 torx bit (13 total)
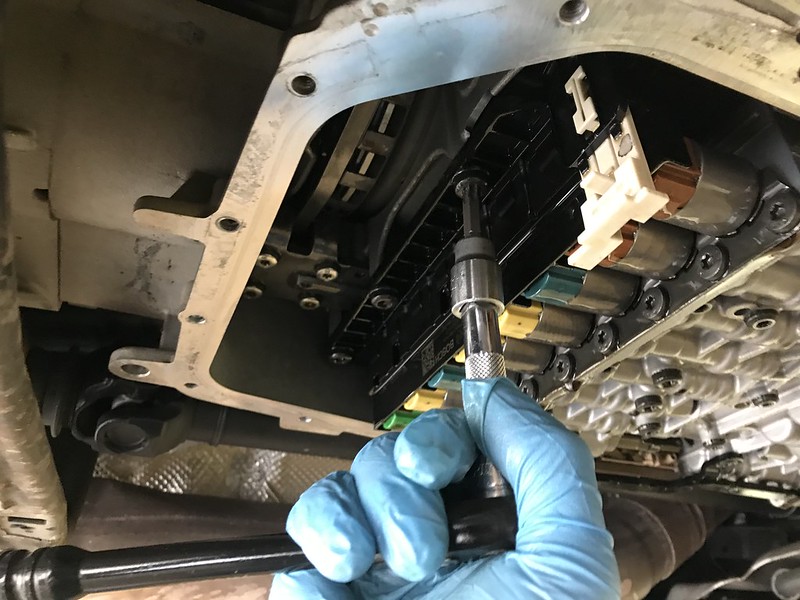
e. Lower mechatronics unit carefully (This thing is heavy)
f. Let Tranny Drain
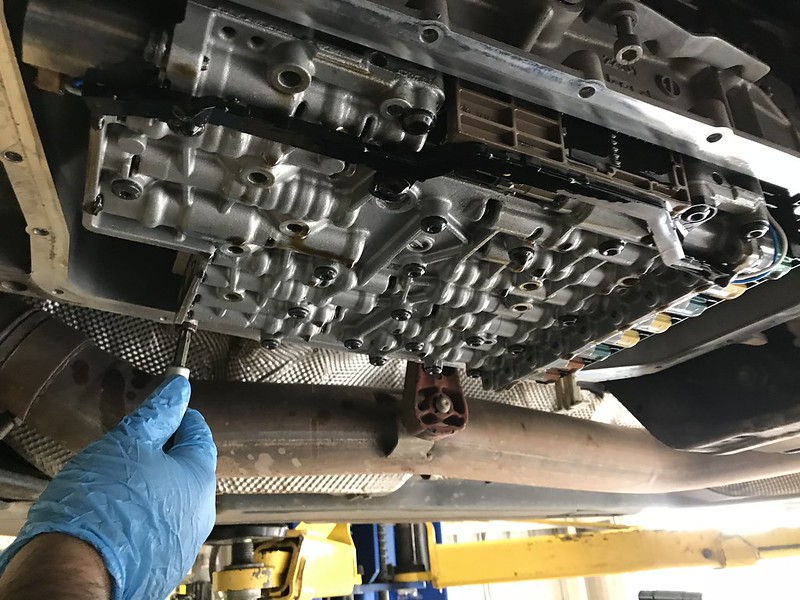
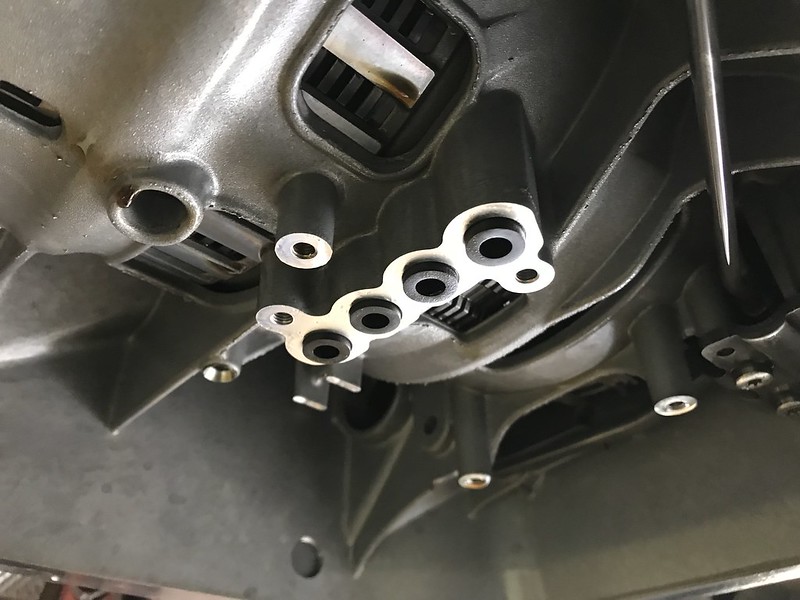
STEP 5: REPLACE SEALS
a. Remove Bridge Seal
b. Remove Rubber tubes (use pick and needle nose pliers)
c. Wipe down transmission and mechatronics unit, lightly sand any imperfections in the transmission oil pan seating lip
d. Install new Bridge Seal
e. Install New Tubes
STEP 6: REINSTALL MECHATRONICS UNIT AND TRANSMISSION OIL PAN
a. Align and set shift indicator lever using bolt

b. Carefully Raise mechatronics unit (Ensure Shift lever lines up)
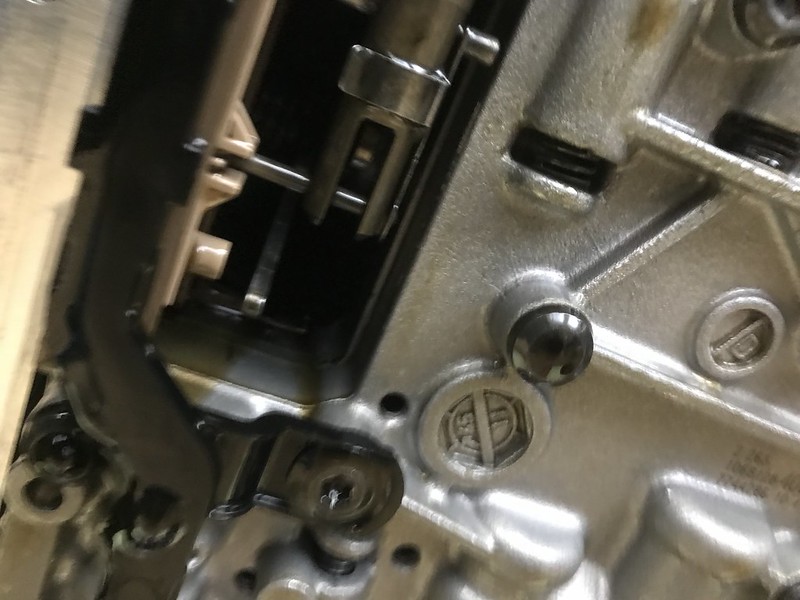
c. Rebolt Mechatronics (6ftlbs; seat back and forth 1 and 4 then hand tighten the rest and follow torque pattern)

d. Release the shift indicator lever bolt to original position
e. Install new mechatronics sleeve, align notch down and pop into place(Be very careful, a little resistance is okay, a lot of resistance is not)
f. Lock white sleeve clip
g. Reconnect mechatronics connecter and lock into place
h. Lube oil filter o-ring
i. Install filter
j. Raise pan with new gasket
k. Hand tighten transmission oil pan bolts
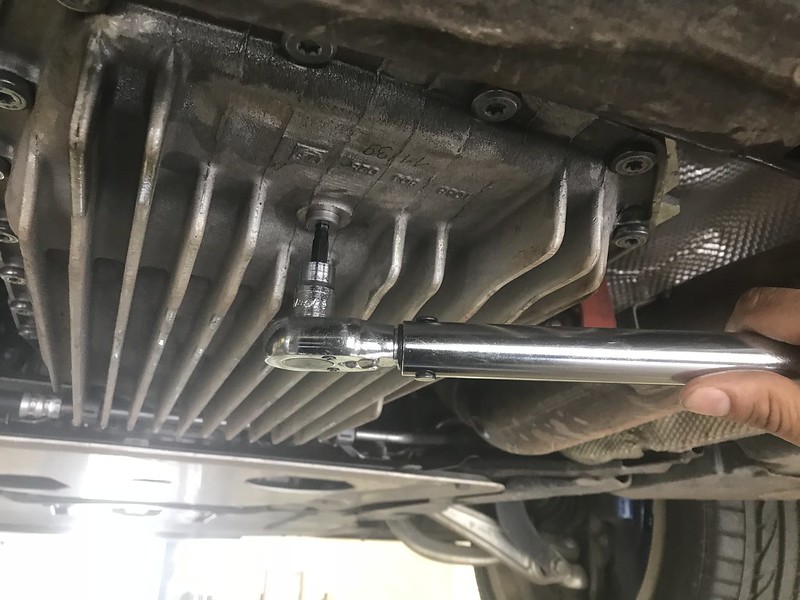
l. Torque bolts (7.5 ft lbs) Criss cross pattern from the middle like a wheel
m. Ensure oil pan drain bolt is 8Nm max
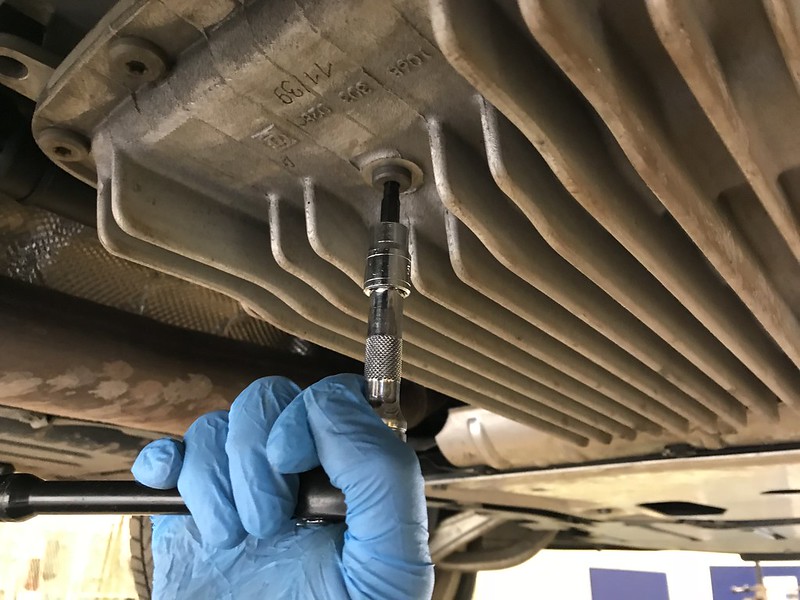
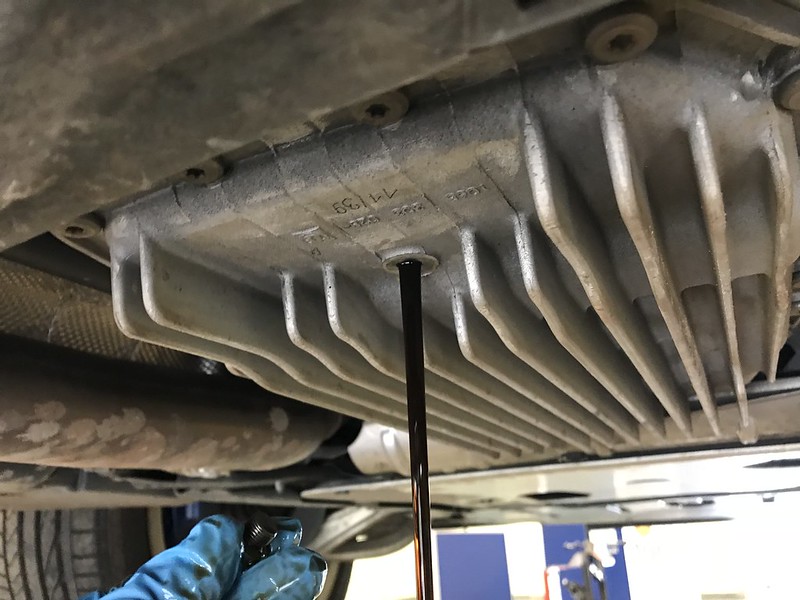
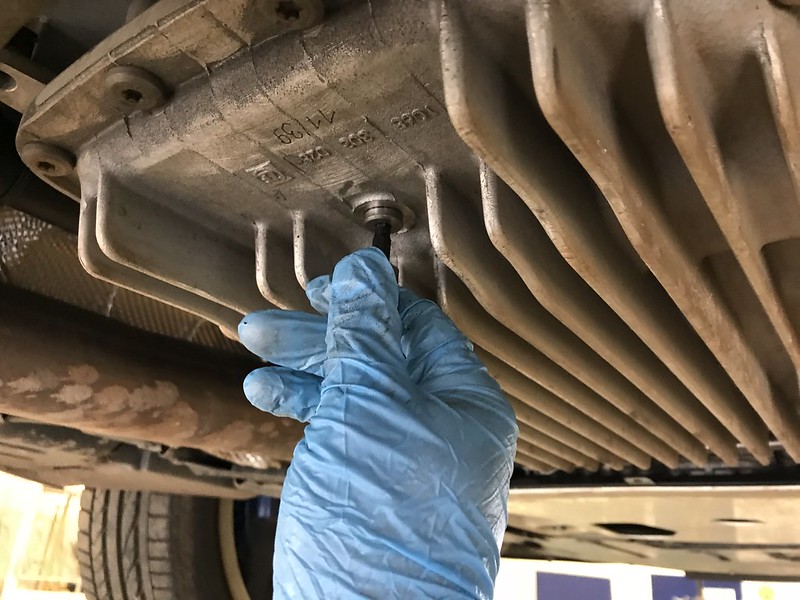
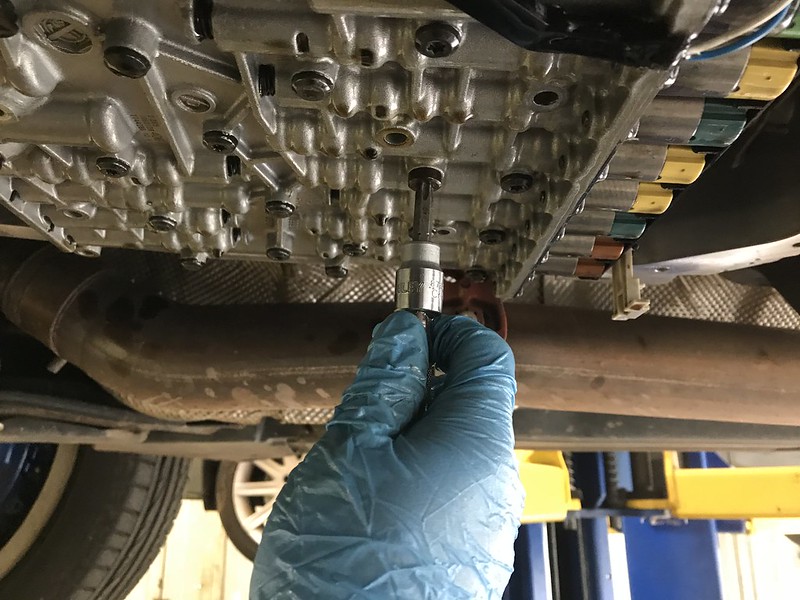
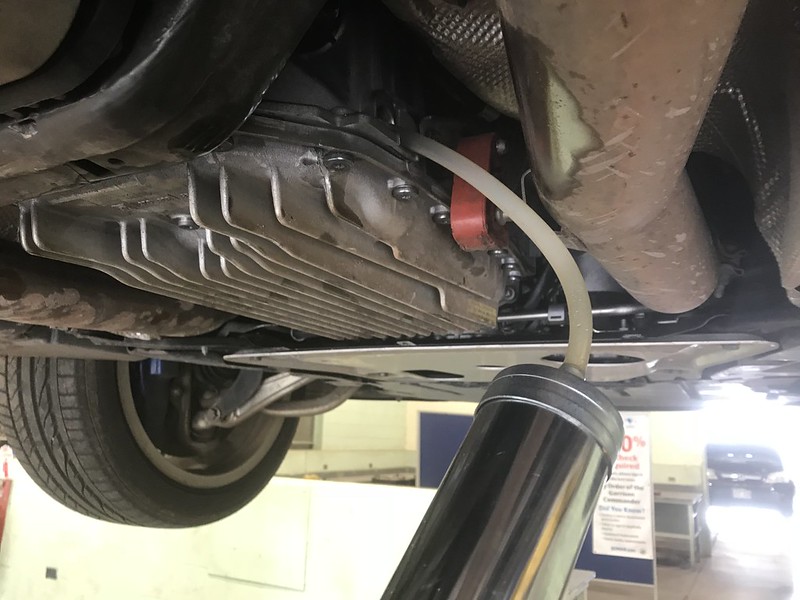
STEP 7: FILL TRANSMISSION
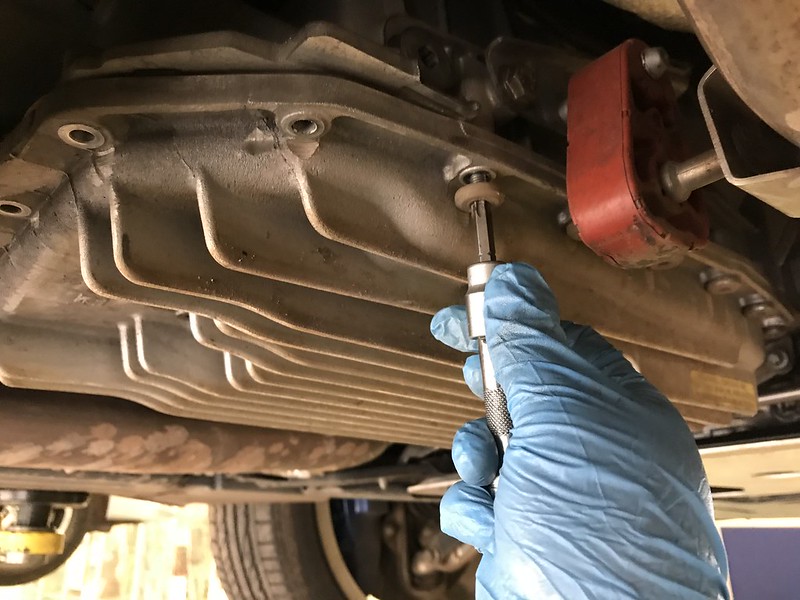
a. Remove fill bolt
b. Fill with fluid pointing the tube toward the front of the vehicle to ensure the fluid goes inside (use pump, should get 3.5-4.5 liters of fluid in)
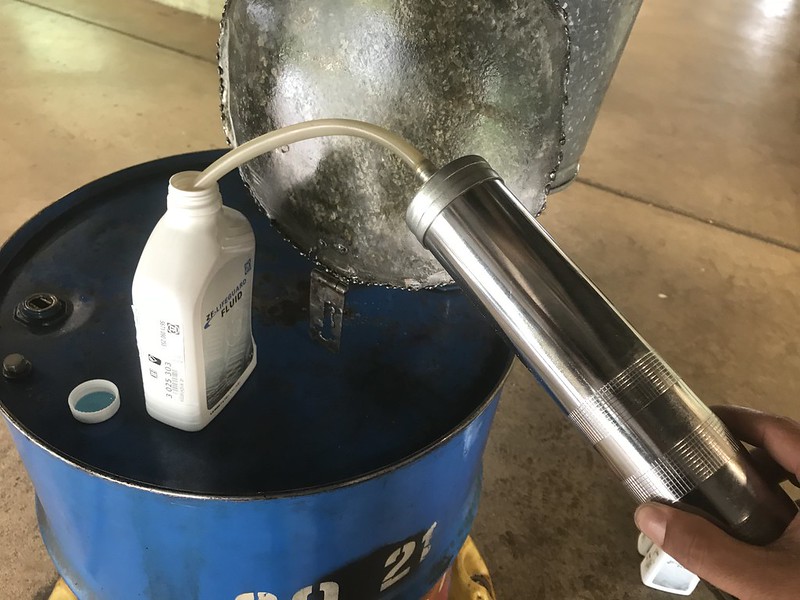
This picture is WRONG, point it toward the front of the car not toward the back:
c. Replace fill plug once the oil starts leaking back out in a steady stream
STEP 8: CYCLE FLUID, FINAL FILL, TEST DRIVE
a. Start the vehicle
b. Put into drive (10 sec)
c. Put into manual 1 (10Sec) I could only get the truck to go into P, 1, R. I drove around at slower speeds to get fluid in the other gears then lifted it again.
d. Put into manual 2 (10Sec)
e. Put into manual 3 (10Sec)
f. Put into Reverse (10Sec)
g. Put into Park
h. Let it warm up to 86 to 122 degrees using IR thermometer
i. Keep Car running
j. Remove fill plug
k. Final fill until dripping
l. Replace Fill Bolt (Wrist tight)
m. Clean up
n. Test Drive