|
|
|
| 01-19-2017, 11:48 AM | #1 |
|
Captain
 344
Rep 728
Posts |
E70 X5 3.0si Oil Pan and front suspension DIY COMPLETE
Gentlemen,
Ive embarked on a great DIY journey which has been thus far fraught with failure and misery. On the positive side, I know the truck a little better. I do not recommend this DIY without first-hand knowledge of the work required, parts required, and tools required. In this DIY I did not know the extent of work required and did not have the appropriate tools and parts to complete the maintenance correctly, I improvised. Background is at the bottom if you care. THIS IS ONLY A RECORD OF THE WORK; I DO NOT RECOMMEND THAT ANYONE COMPLETE THIS THEMSELVES. AS OF JANUARY 19, 2017 IM ONLY ON STEP 5E. ILL UPDATE HOW IT GOES 2008 BMW E70 X5 3.0si Oil Pan Gasket DIY w/Oil Level Sensor, Motor Mounts, Thrust Arms, Tie Rods, Upper and Lower Control Arms, and Strut Mounts Tools Required: Lift or Jack, Jack Stands Engine Support Bar Transmission Jack 1/2 Drive 24 Breaker Bar 1/2" to 3/8 Drive Adapter 3/8 Ratchet Driver 3/8 Drive Torque Wrench 12 3/8 Drive extension 24 3/8 Drive extension 3/8 Drive Swivel Joint 27mm 3/8 Drive Socket 21mm 3/8 Drive Socket 18mm 3/8 Drive Socket 17mm 3/8 Drive Socket 16mm 3/8 Drive Deep Socket 13mm 3/8 Drive Socket 10mm 3/8 Drive Socket 8mm 3/8 Drive Socket E12 3/8 Drive Socket E10 3/8 Drive Socket T25 3/8 Drive Key 14mm 3/8 Drive Key 6mm 3/8 Drive Key 27mm Wrench 21mm Wrench 18mm Wrench 16mm Wrench E12 Ratcheting Wrench or E12 Wrench and 10mm Ratcheting Wrench Phillips Head Screwdriver Rivet Pulling Tool Large Ball Joint Separator Rubber Mallet Hammer Headlamp Eye Protection Gloves BMW Tow Hook (Maybe Dangerous) 2000 Grit Sandpaper Black RTV Parts: ***Double Check all part numbers*** Oil Pan Gasket 11137548031 Oil Pan Bolt Set 11132210959 Oil Level Sensor 12617607909 2 x Motor Mounts 22116865145 Left Tension Rod 31126773949 Right Tension Rod 31126773950 Left Upper Control Arm 31126863785 Right Upper Control Arm 31126863786 Left Lower Control Arm 31126771893 Right Lower Control Arm 31126771894 2 x Tie Rod 32106793496 2 x Front Differential Drain/Fill Plugs 33117525064 BMW Final Drive Gear Oil 83222365987 Engine Oil Filter 11427566327 7 x BMW 5W-30 Engine Oil 83212365946 STEP 1 A) Disconnect Negative on the Battery (10mm Socket) [url=https://flic.kr/p/Q5ratA] 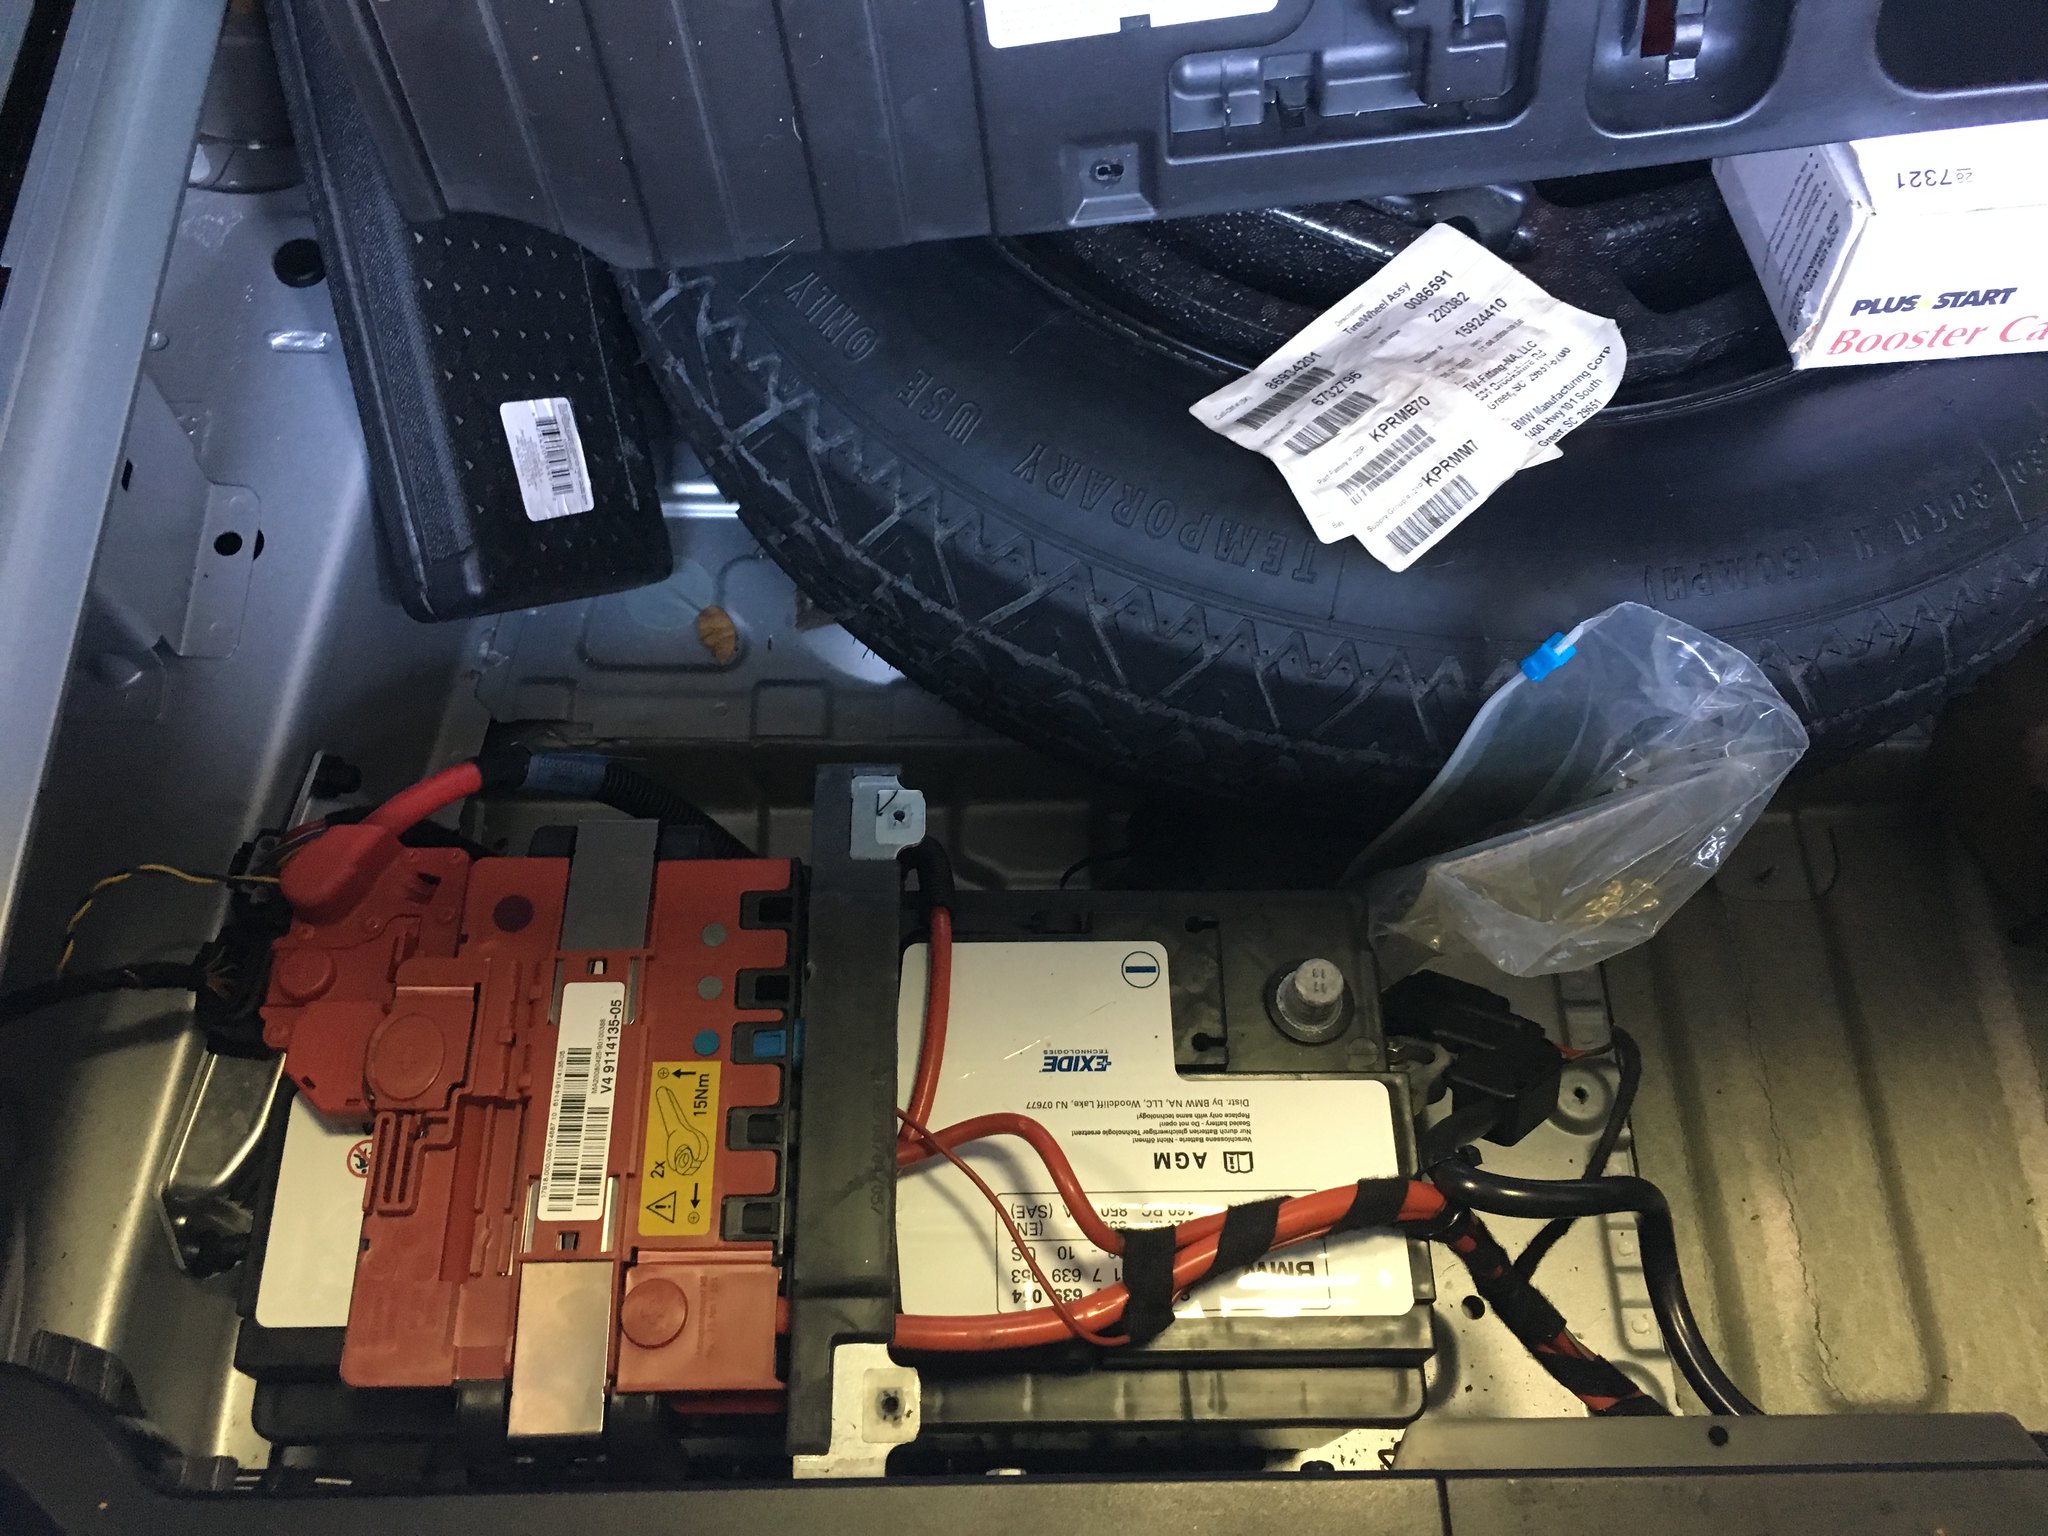 B) Pop the Hood C) Remove Airbox (Flat Head Screw Driver, rivet removal tool) [url=https://flic.kr/p/Q8dcwR]  D) Remove Wiring above engine (Flat Head Screw Driver) [url=https://flic.kr/p/Q5rajY] 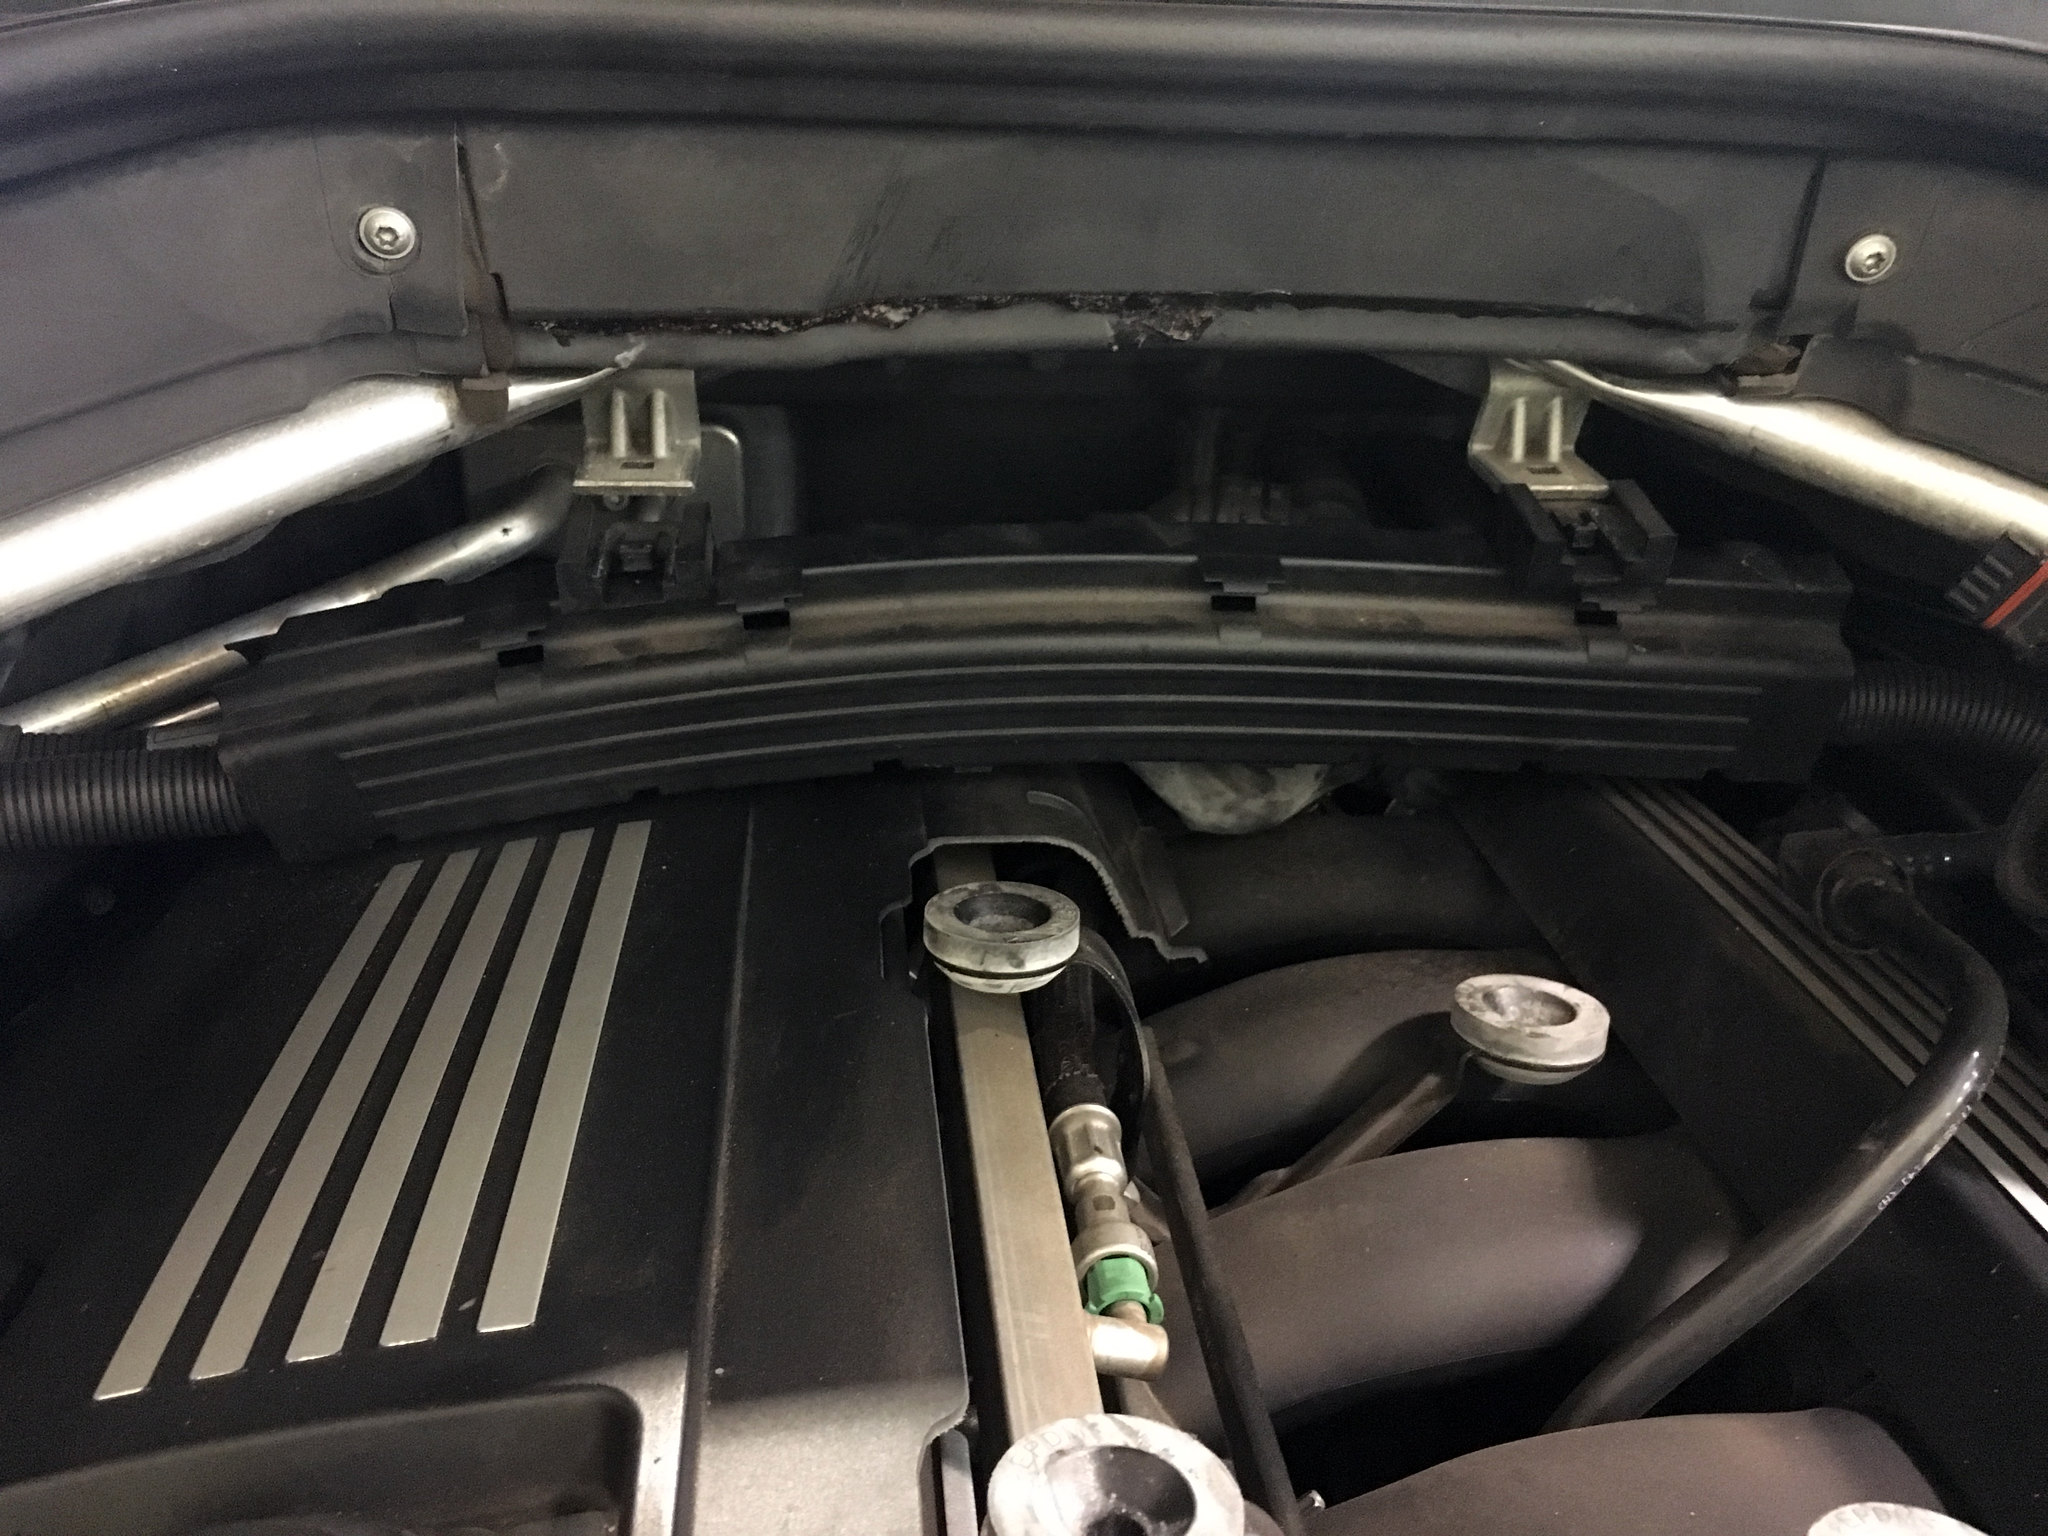 E) Remove engine cover (6mm Allen Key) F) Remove engine bay plastics to include the Cabin Air Filter (T25, 13mm Socket, rivet removal tool) [url=https://flic.kr/p/Q8dcma] 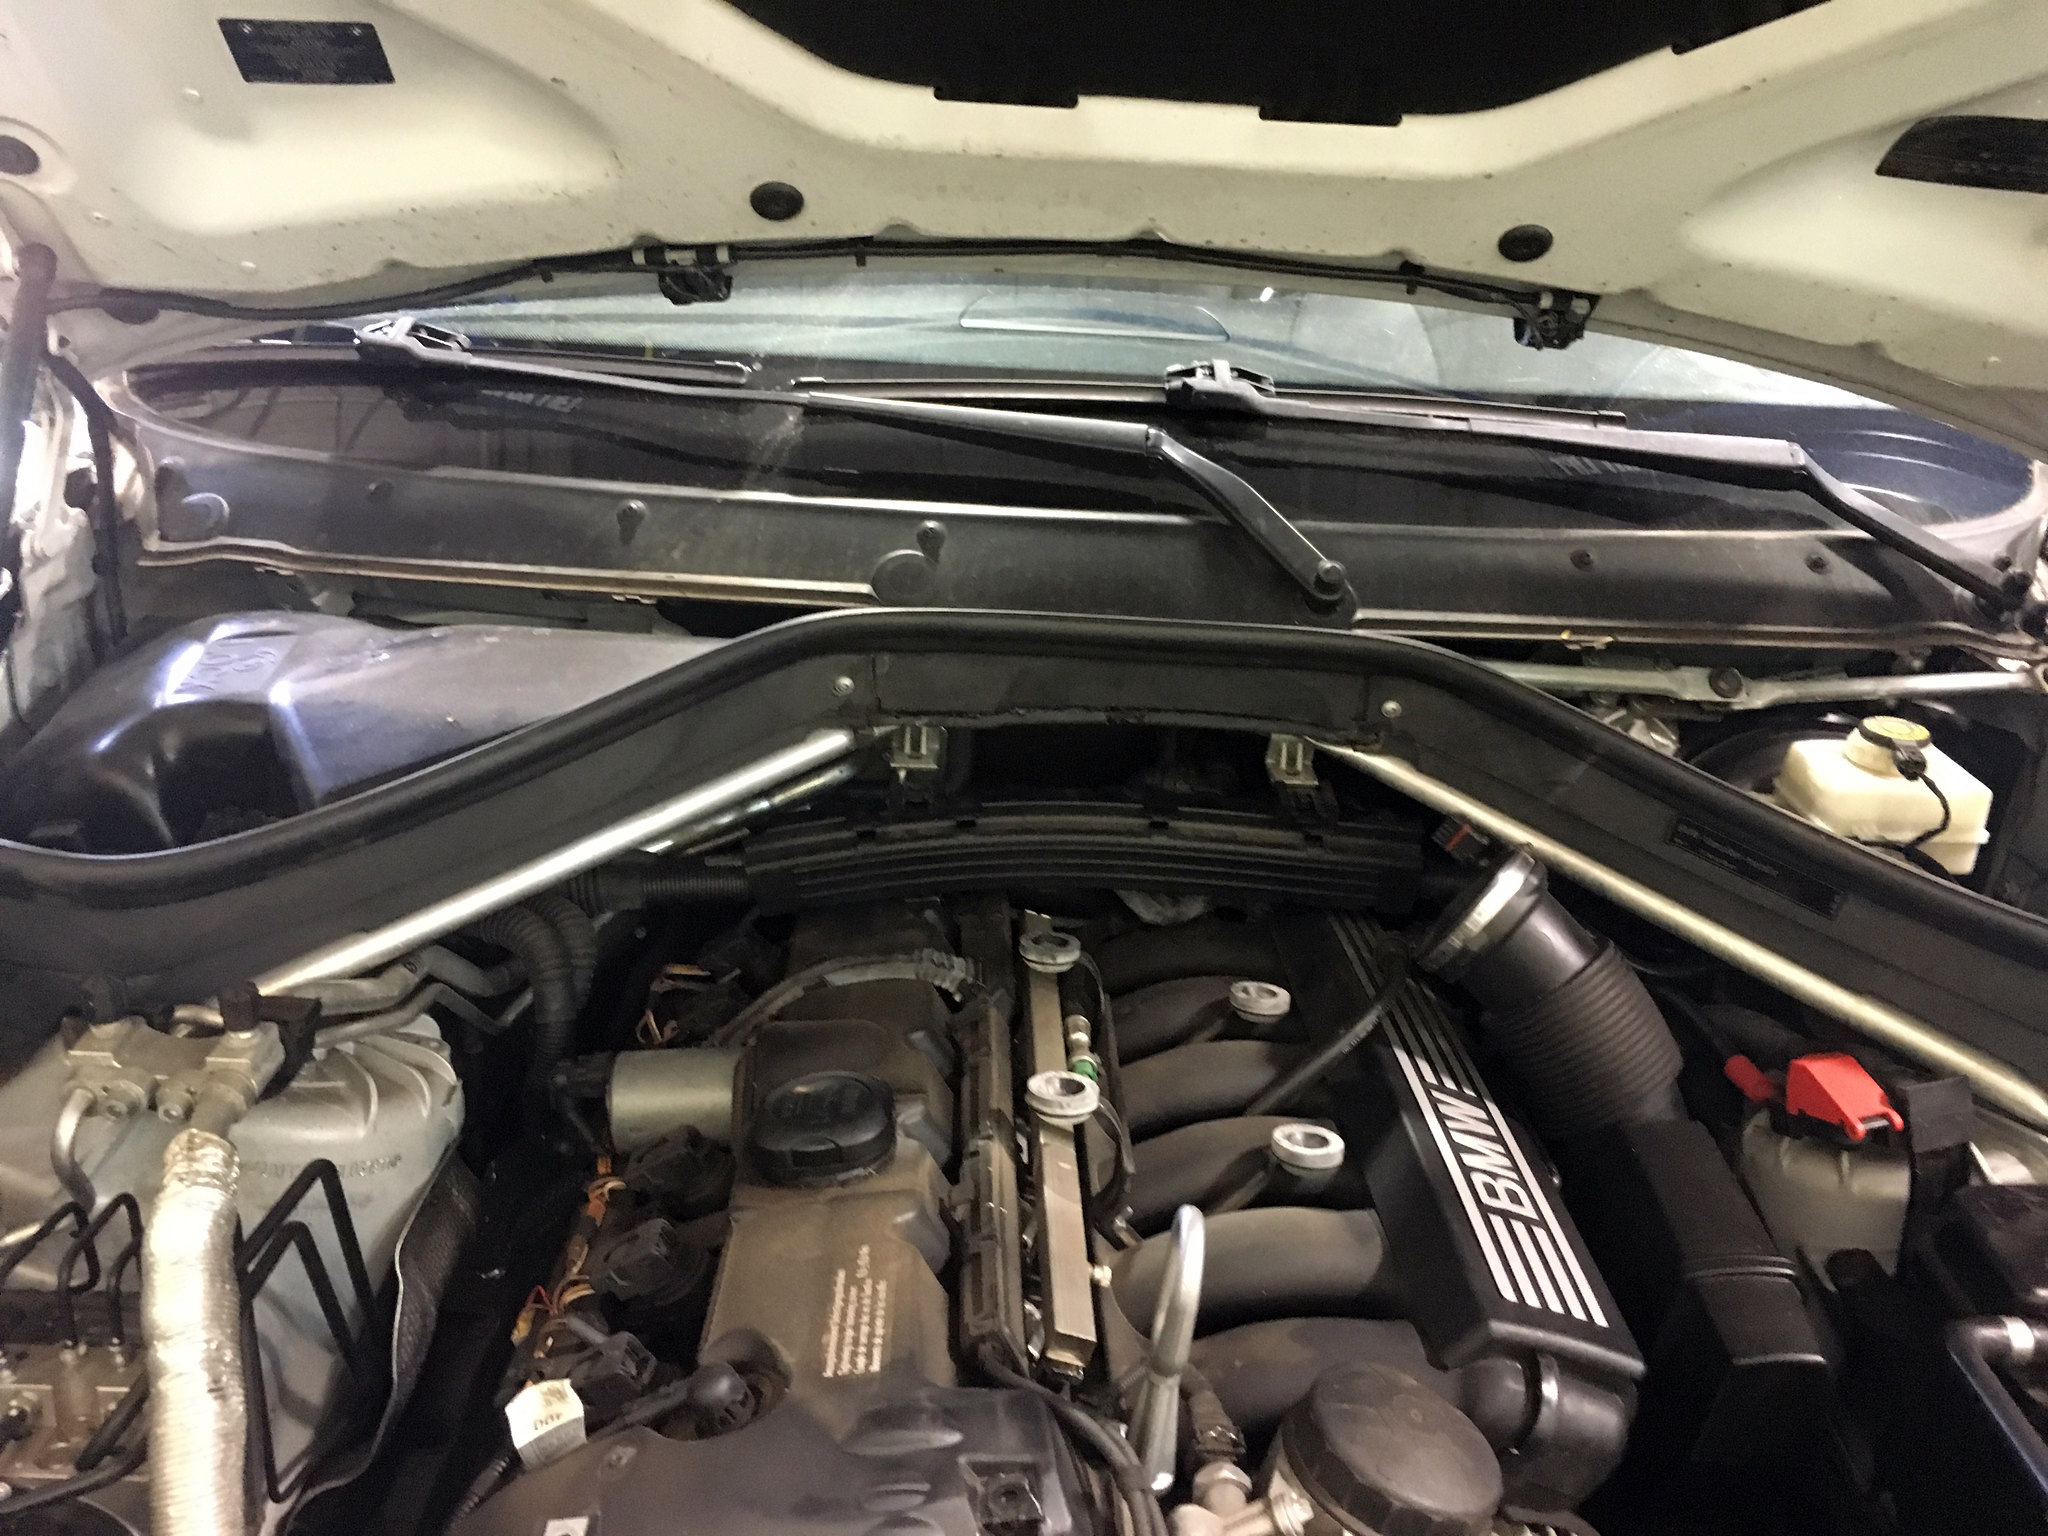 G) Insert Tow Hook into female threads just to the left of the oil filter housing and support with engine support bar [url=https://flic.kr/p/Q5ra6G] 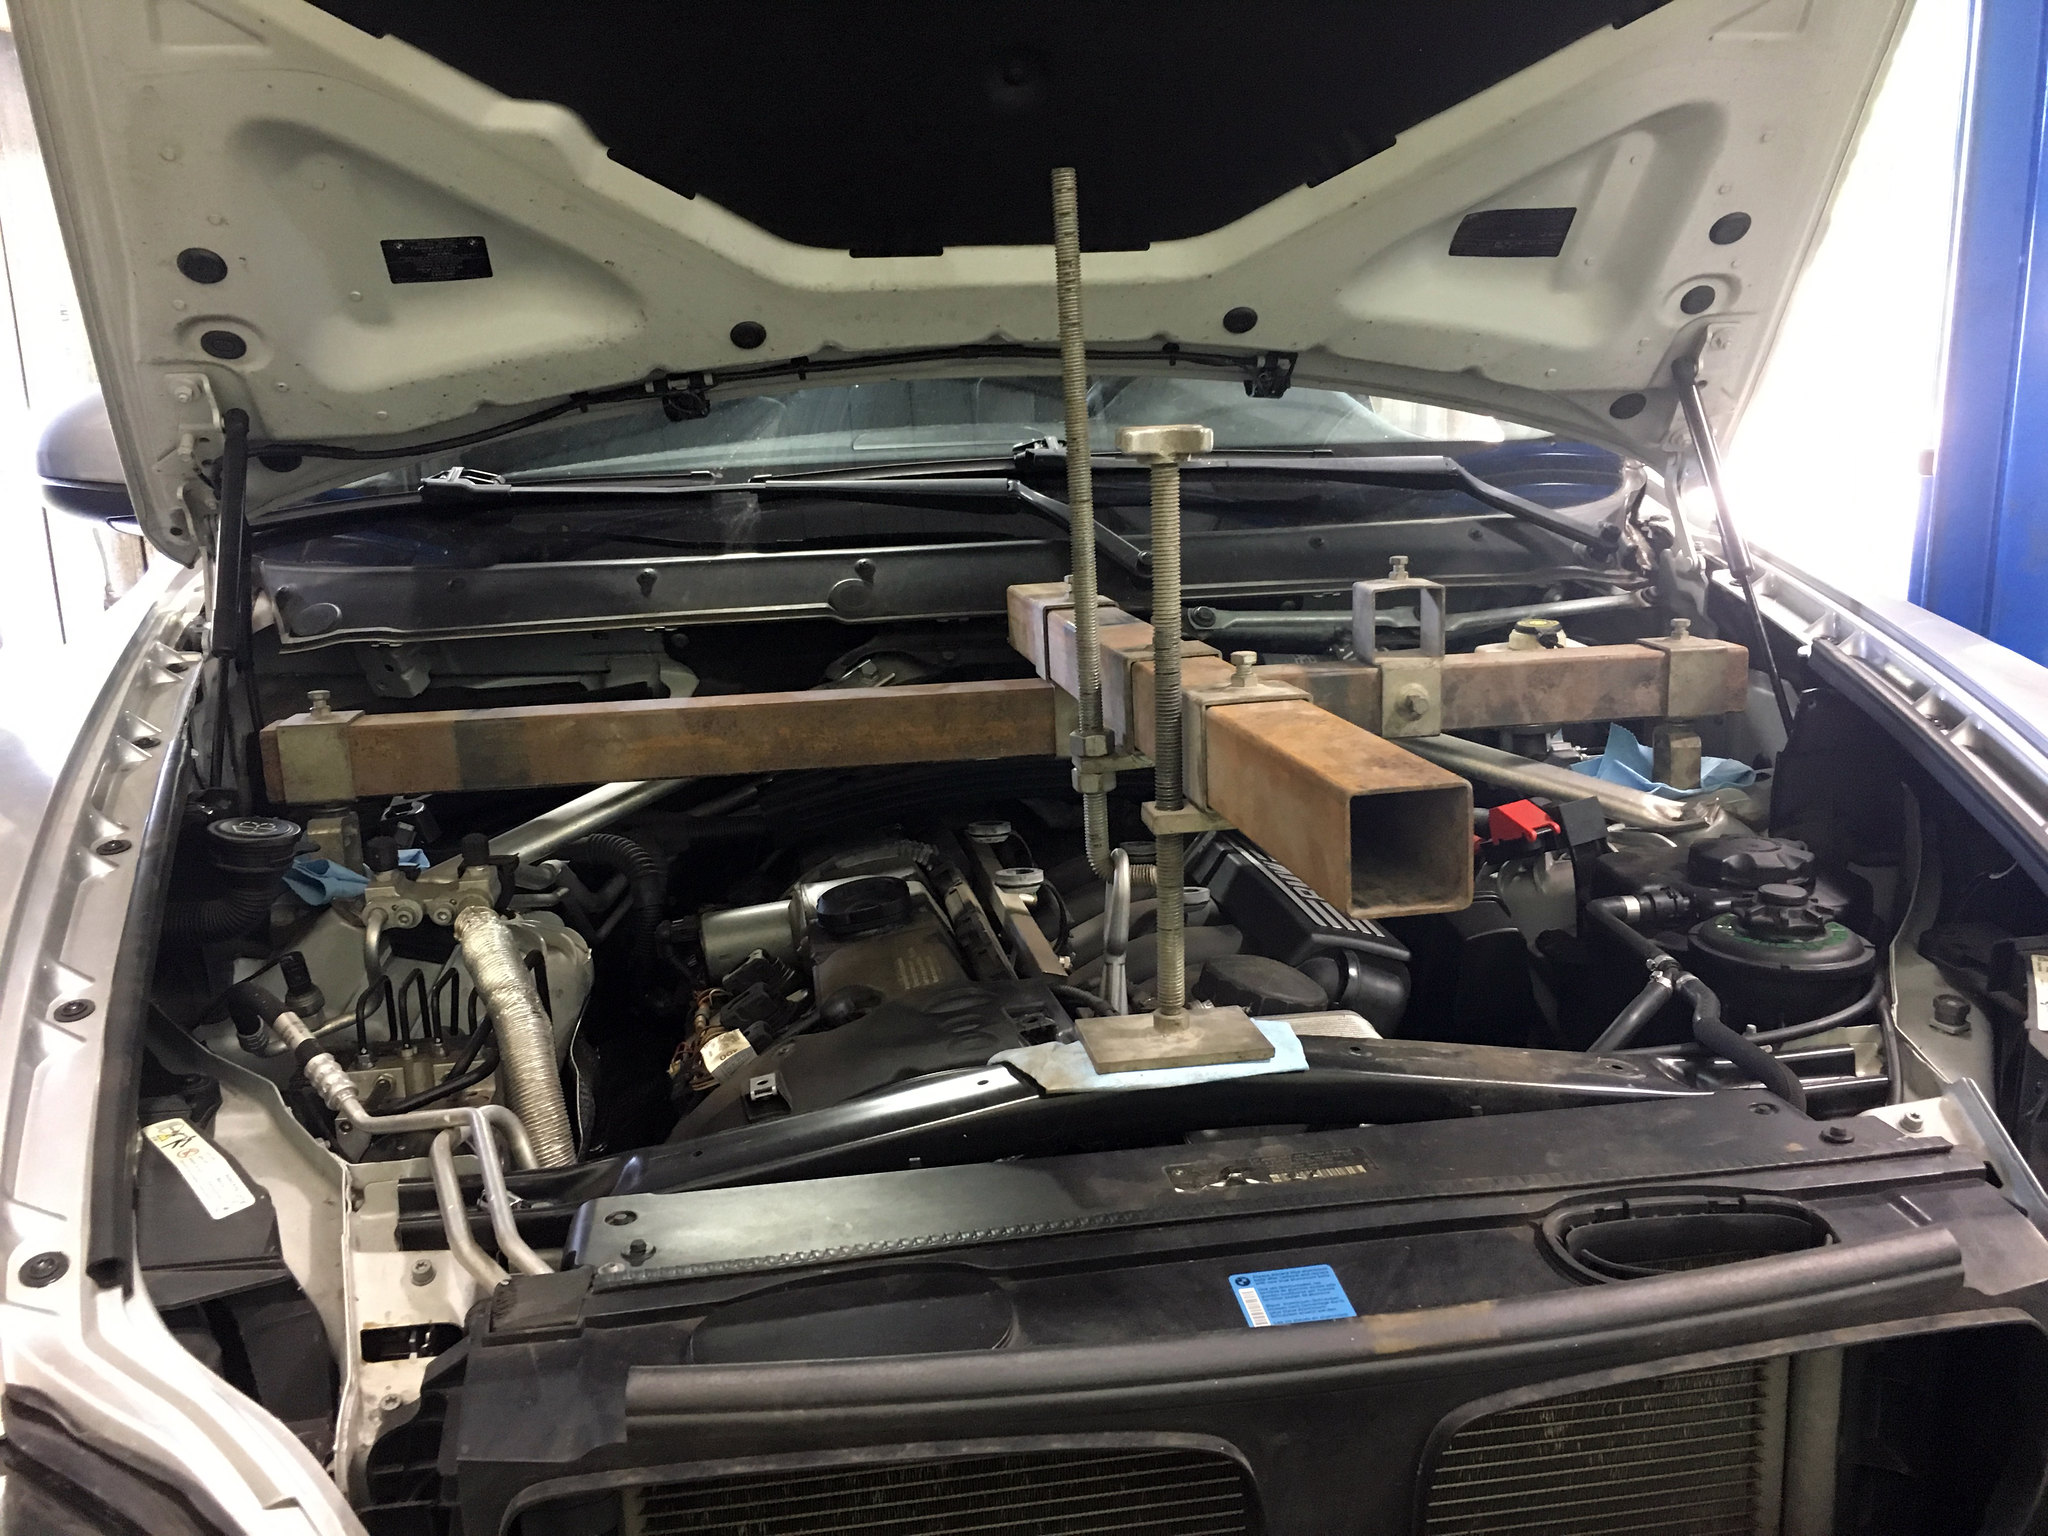 H) Unbolt steering column from rack (E12 Socket) [url=https://flic.kr/p/QMwZzA] 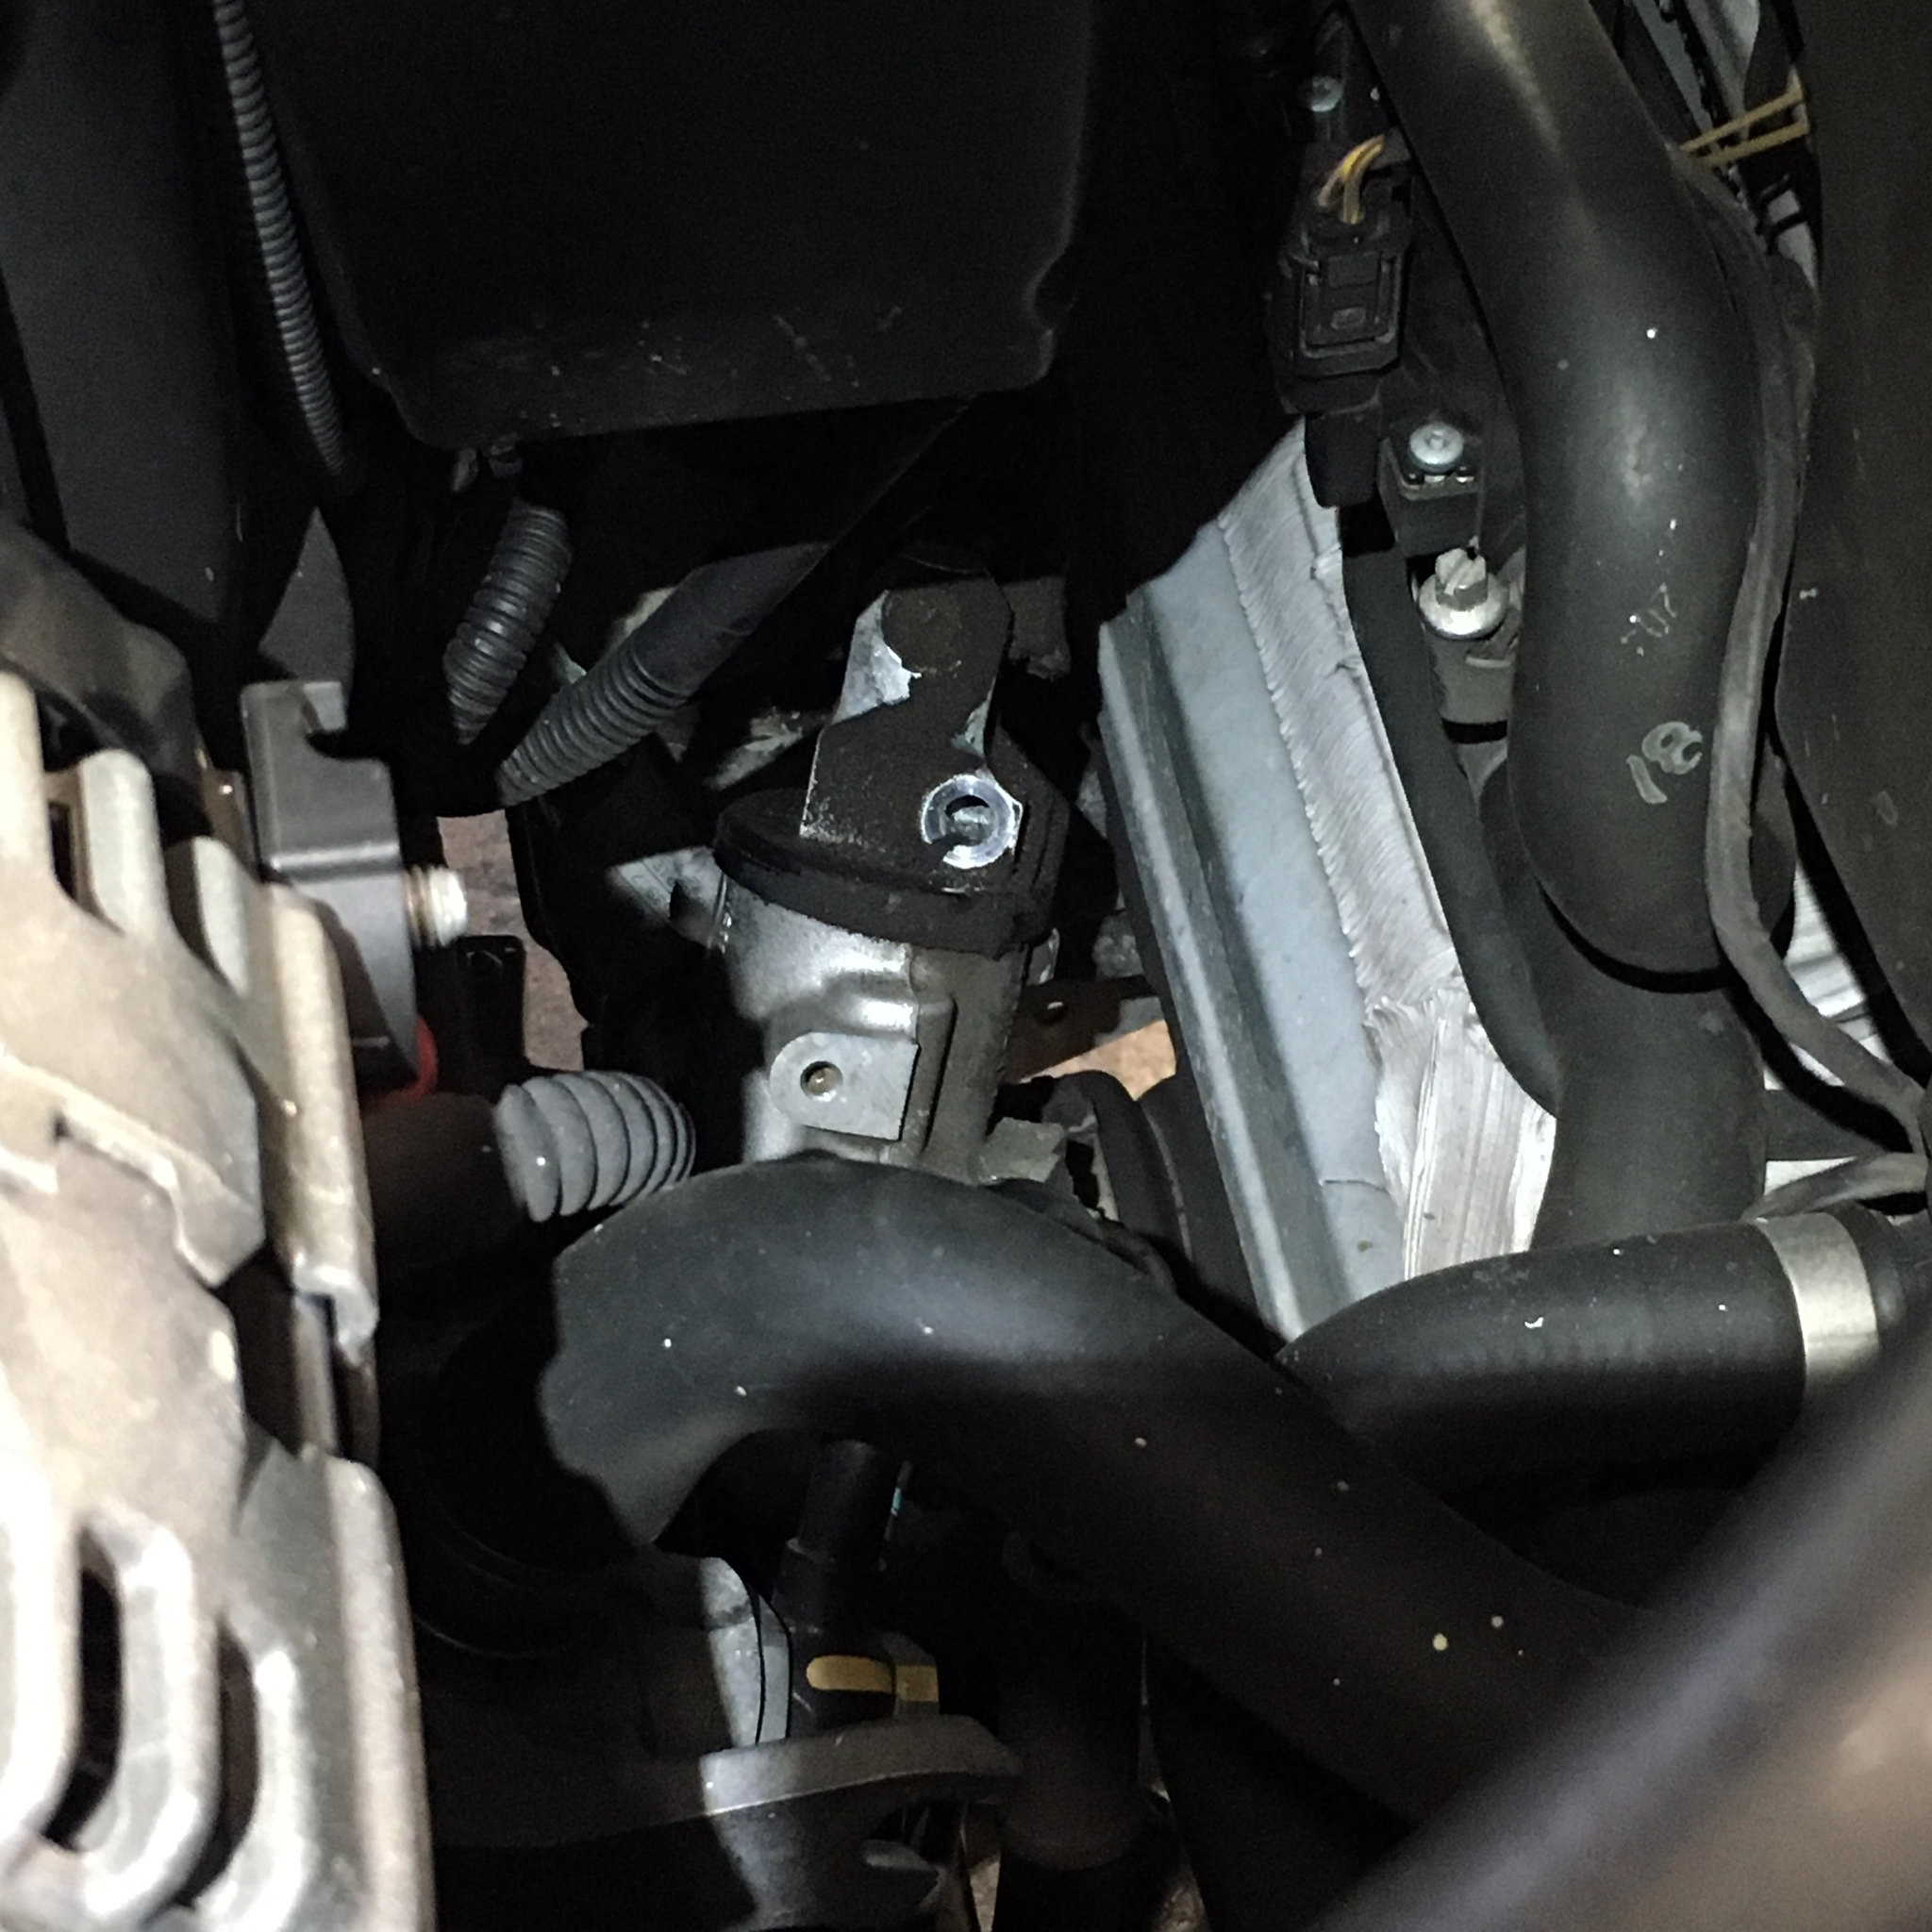 I) Unbolt Motor Mounts top bolt (16mm Deep Socket, 3/8 Drive Swivel joint, 3/8 24 extension, 3/8 12 Extension, 1/2 to 3/8 Adapter, 1/2 Drive 24 Breaker Bar, 3/8 Drive Ratchet) STEP 2 A) Break the wheels on the ground [url=https://flic.kr/p/Q8dcD4] 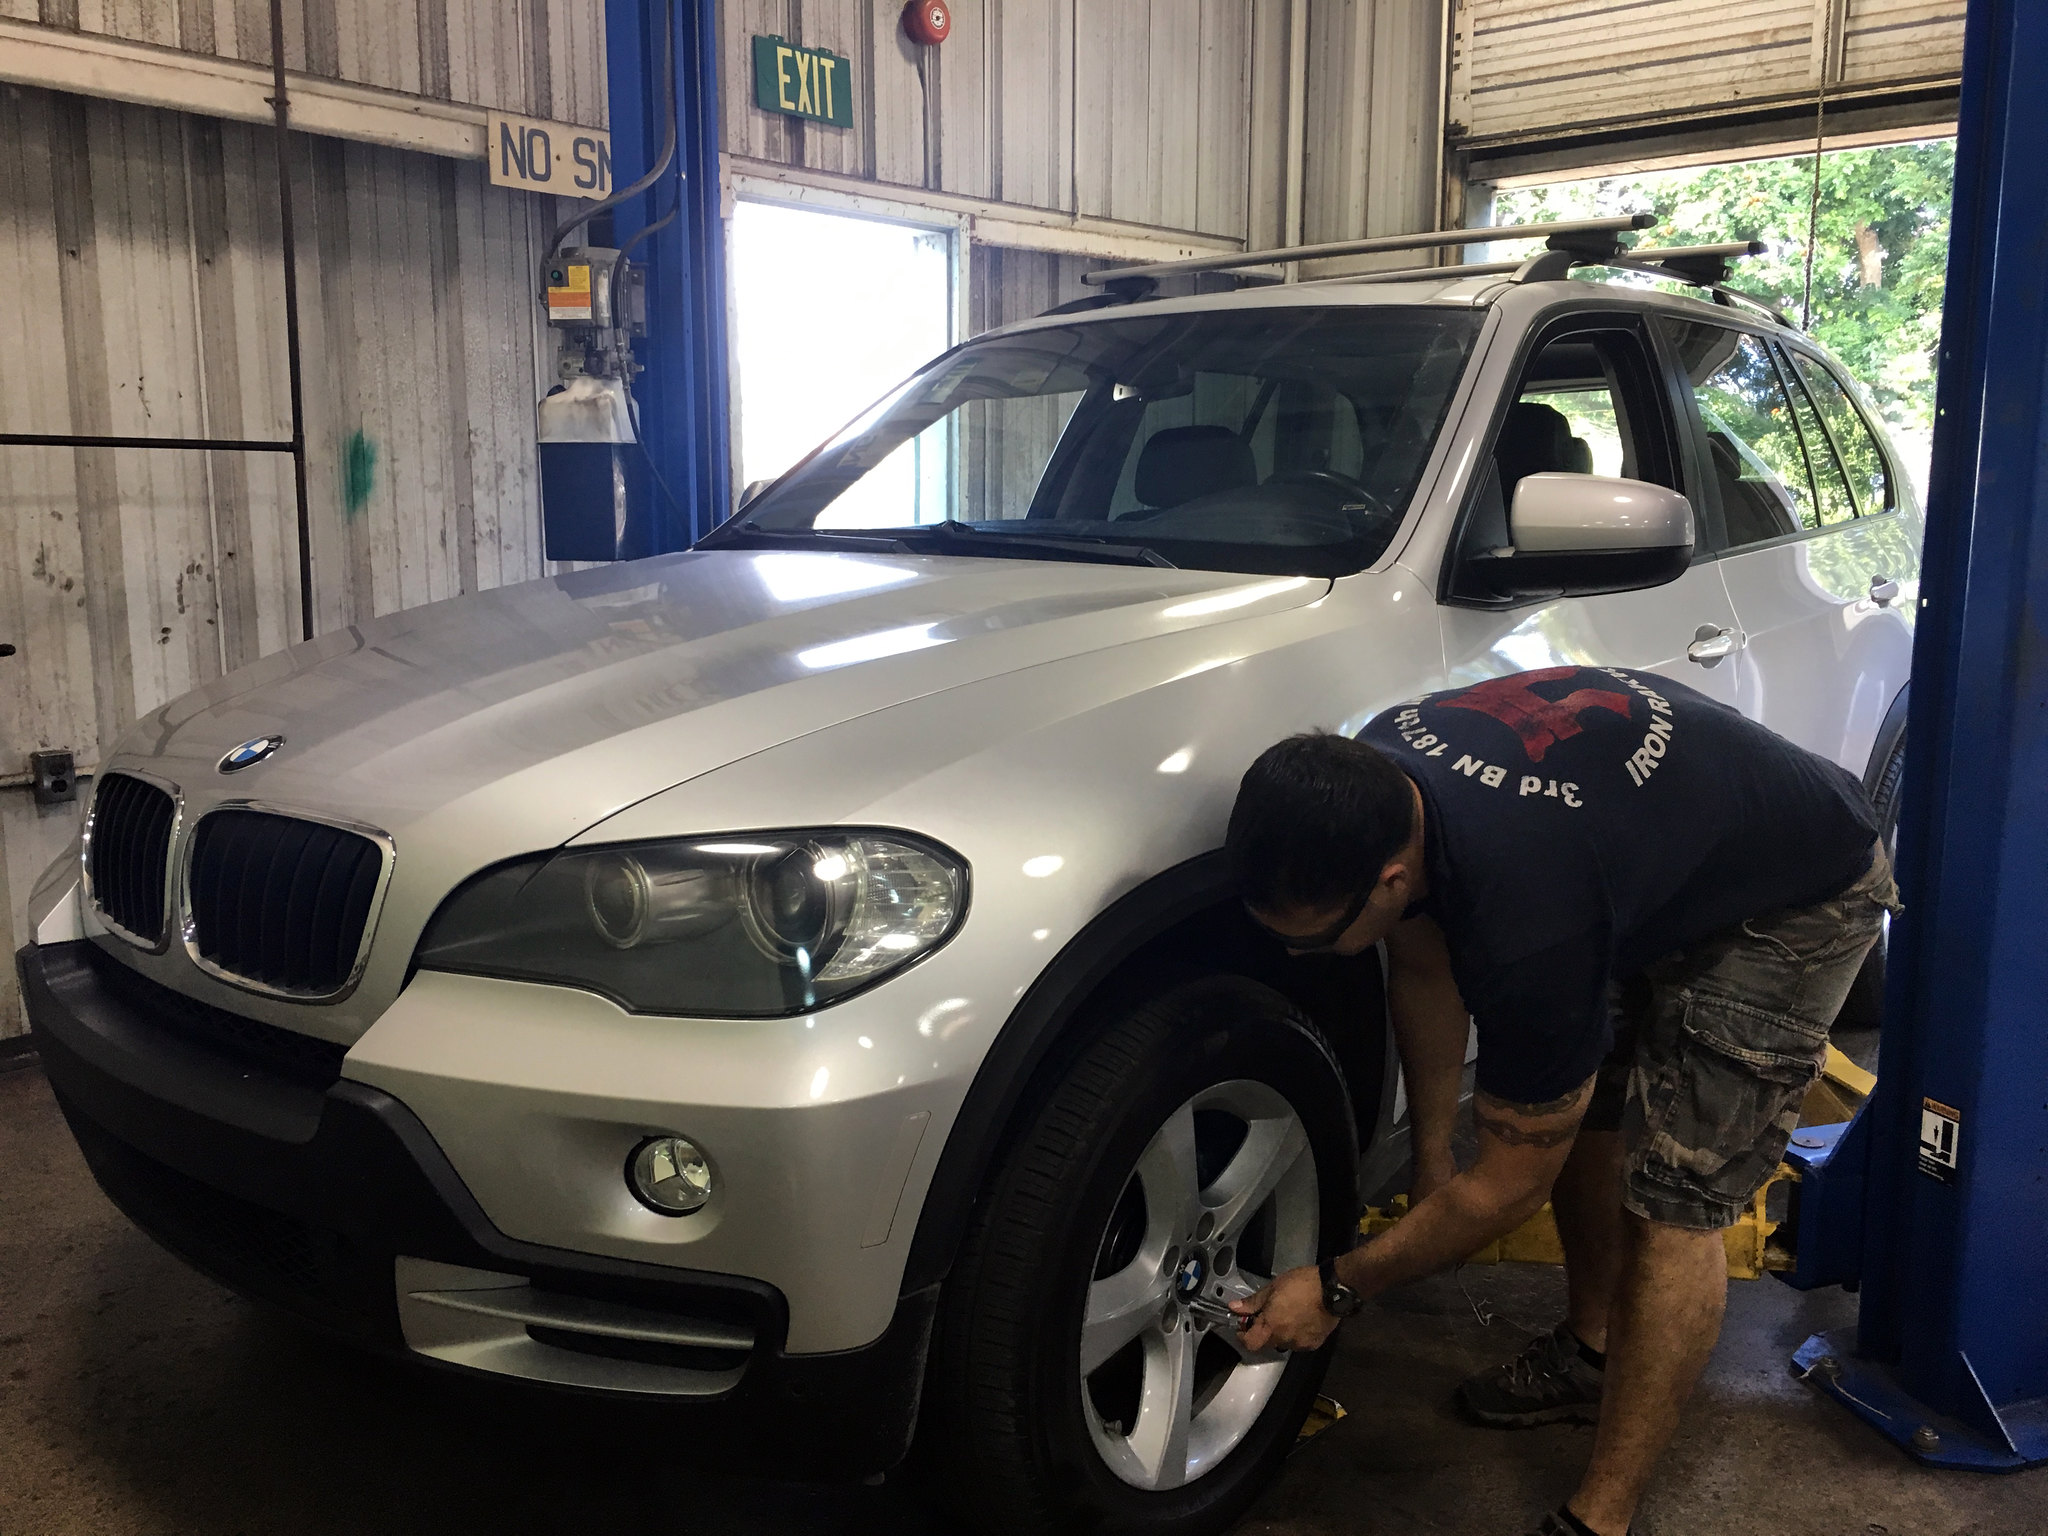 B) Lift the vehicle Slightly and remove Wheels C) Lift the vehicle all the way and remove front plastic splash guard, front Reinforcement Plate, Side splash guards next to each front wheel well, Transmission Plate, and driver side central splash guard [url=https://flic.kr/p/Q5r9KG] 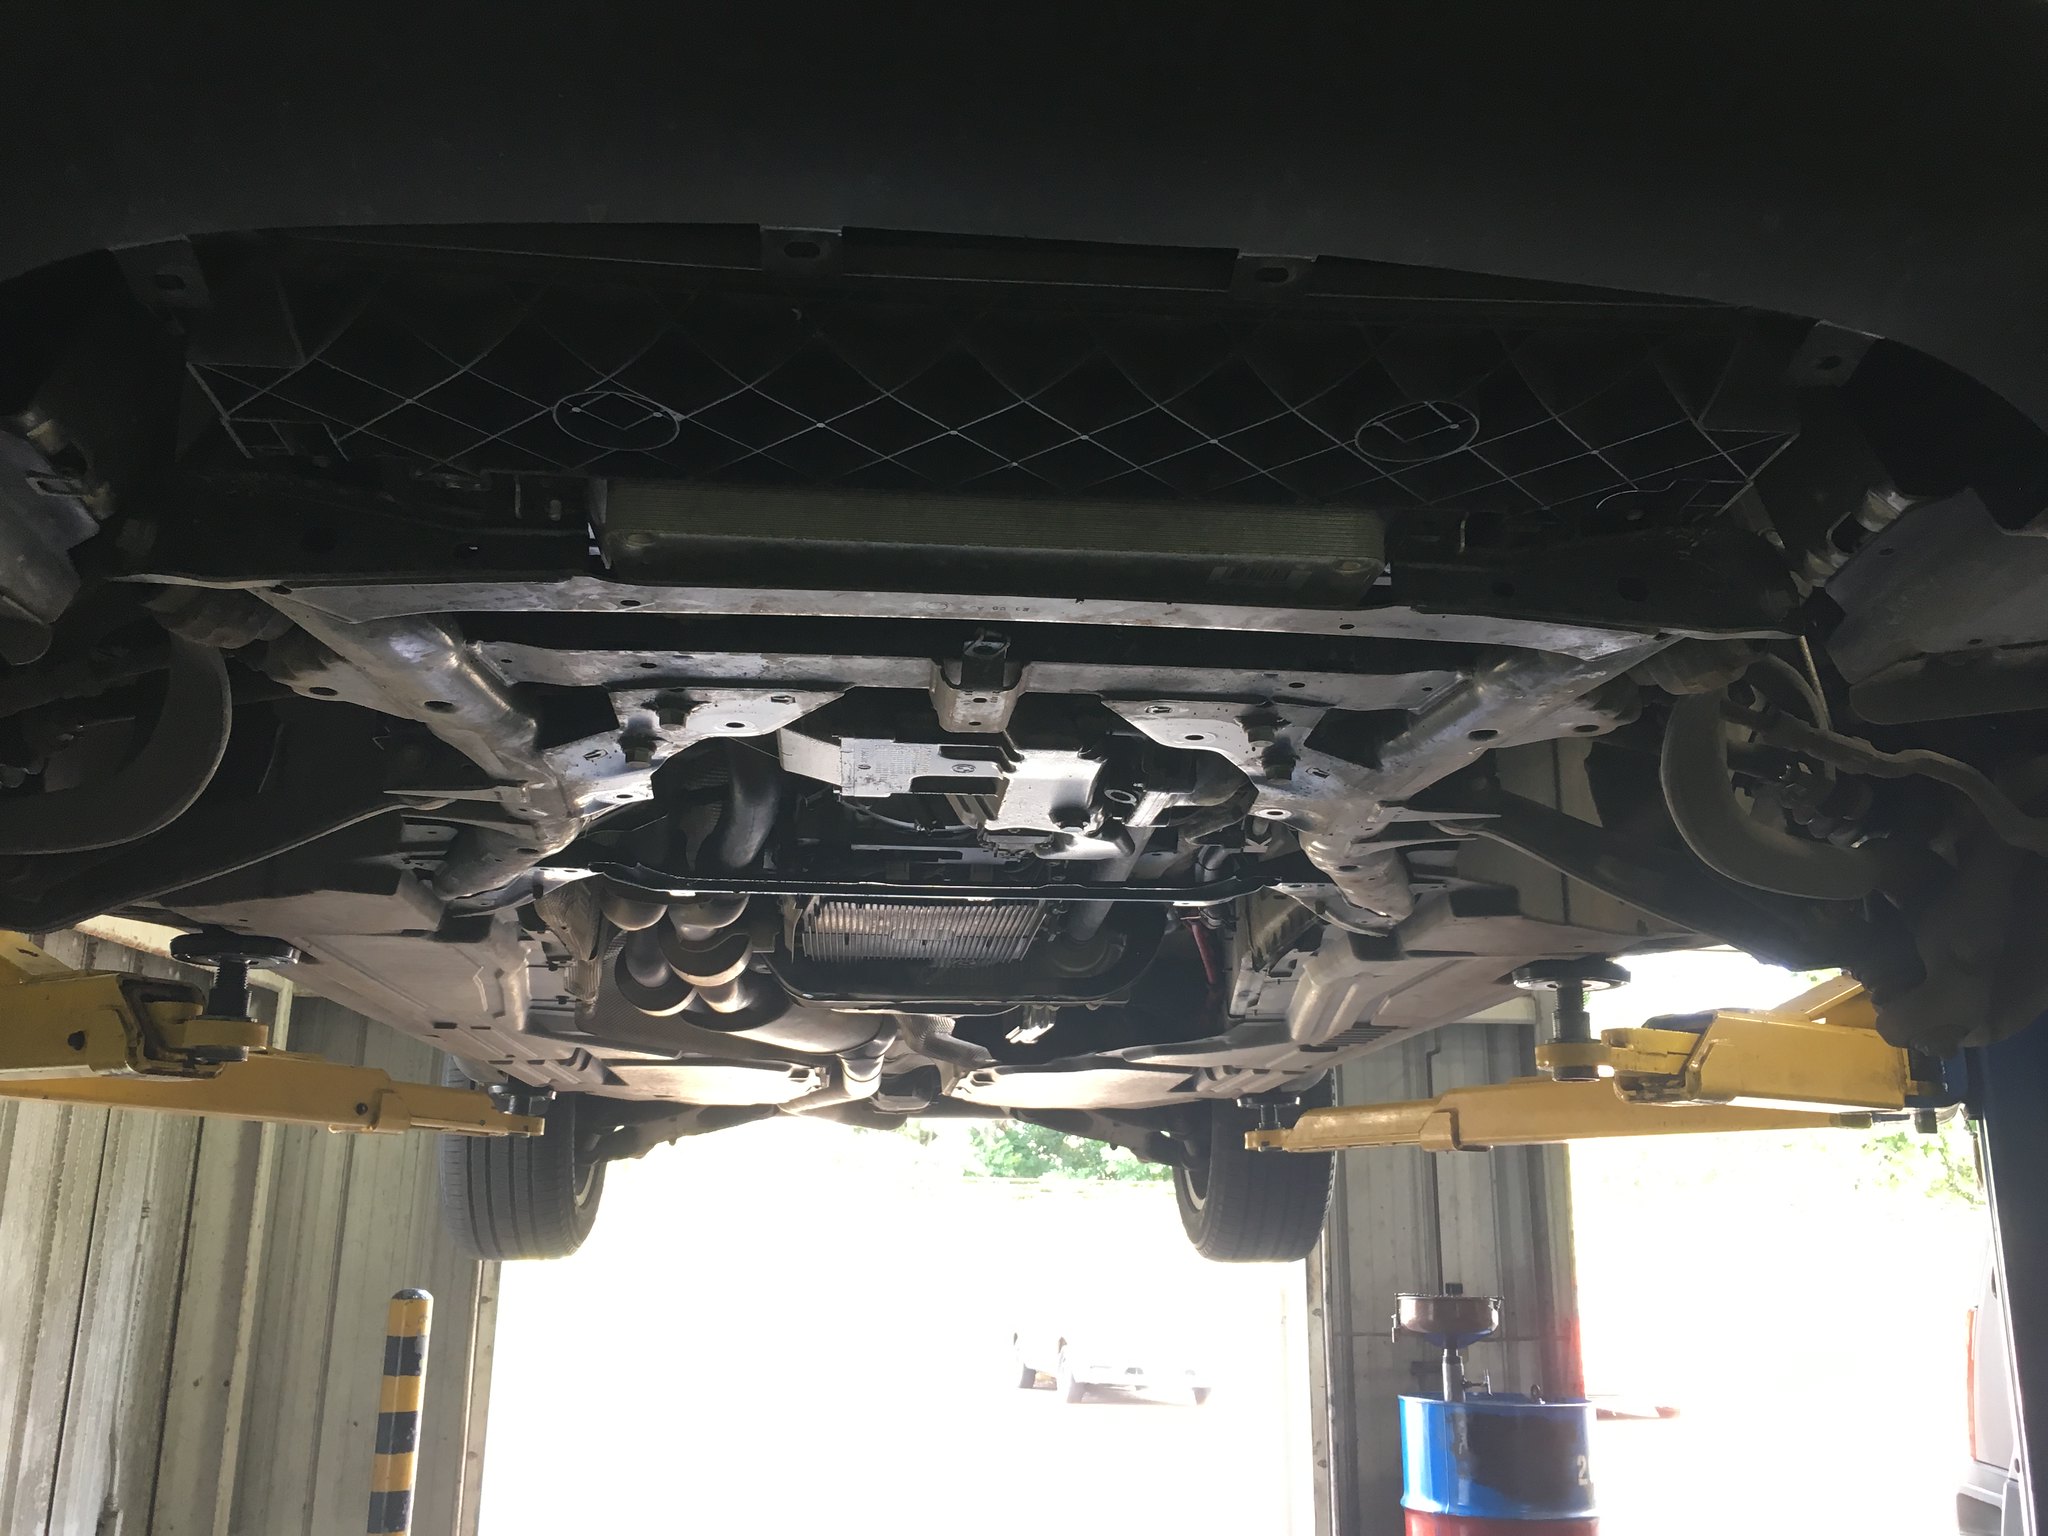 STEP 3 A) Drain the Engine Oil, replace drain plug with new washer B) Remove the old Oil Level Sensor, 3 nuts, watch for more oil to drain (10mm socket) [url=https://flic.kr/p/Q8dchn]  C) Disconnect all hydraulic lines from the subframe, approx. 5 locations, and the oil cooler at 2 locations (using 8mm Socket) [url=https://flic.kr/p/Q5r9oQ] 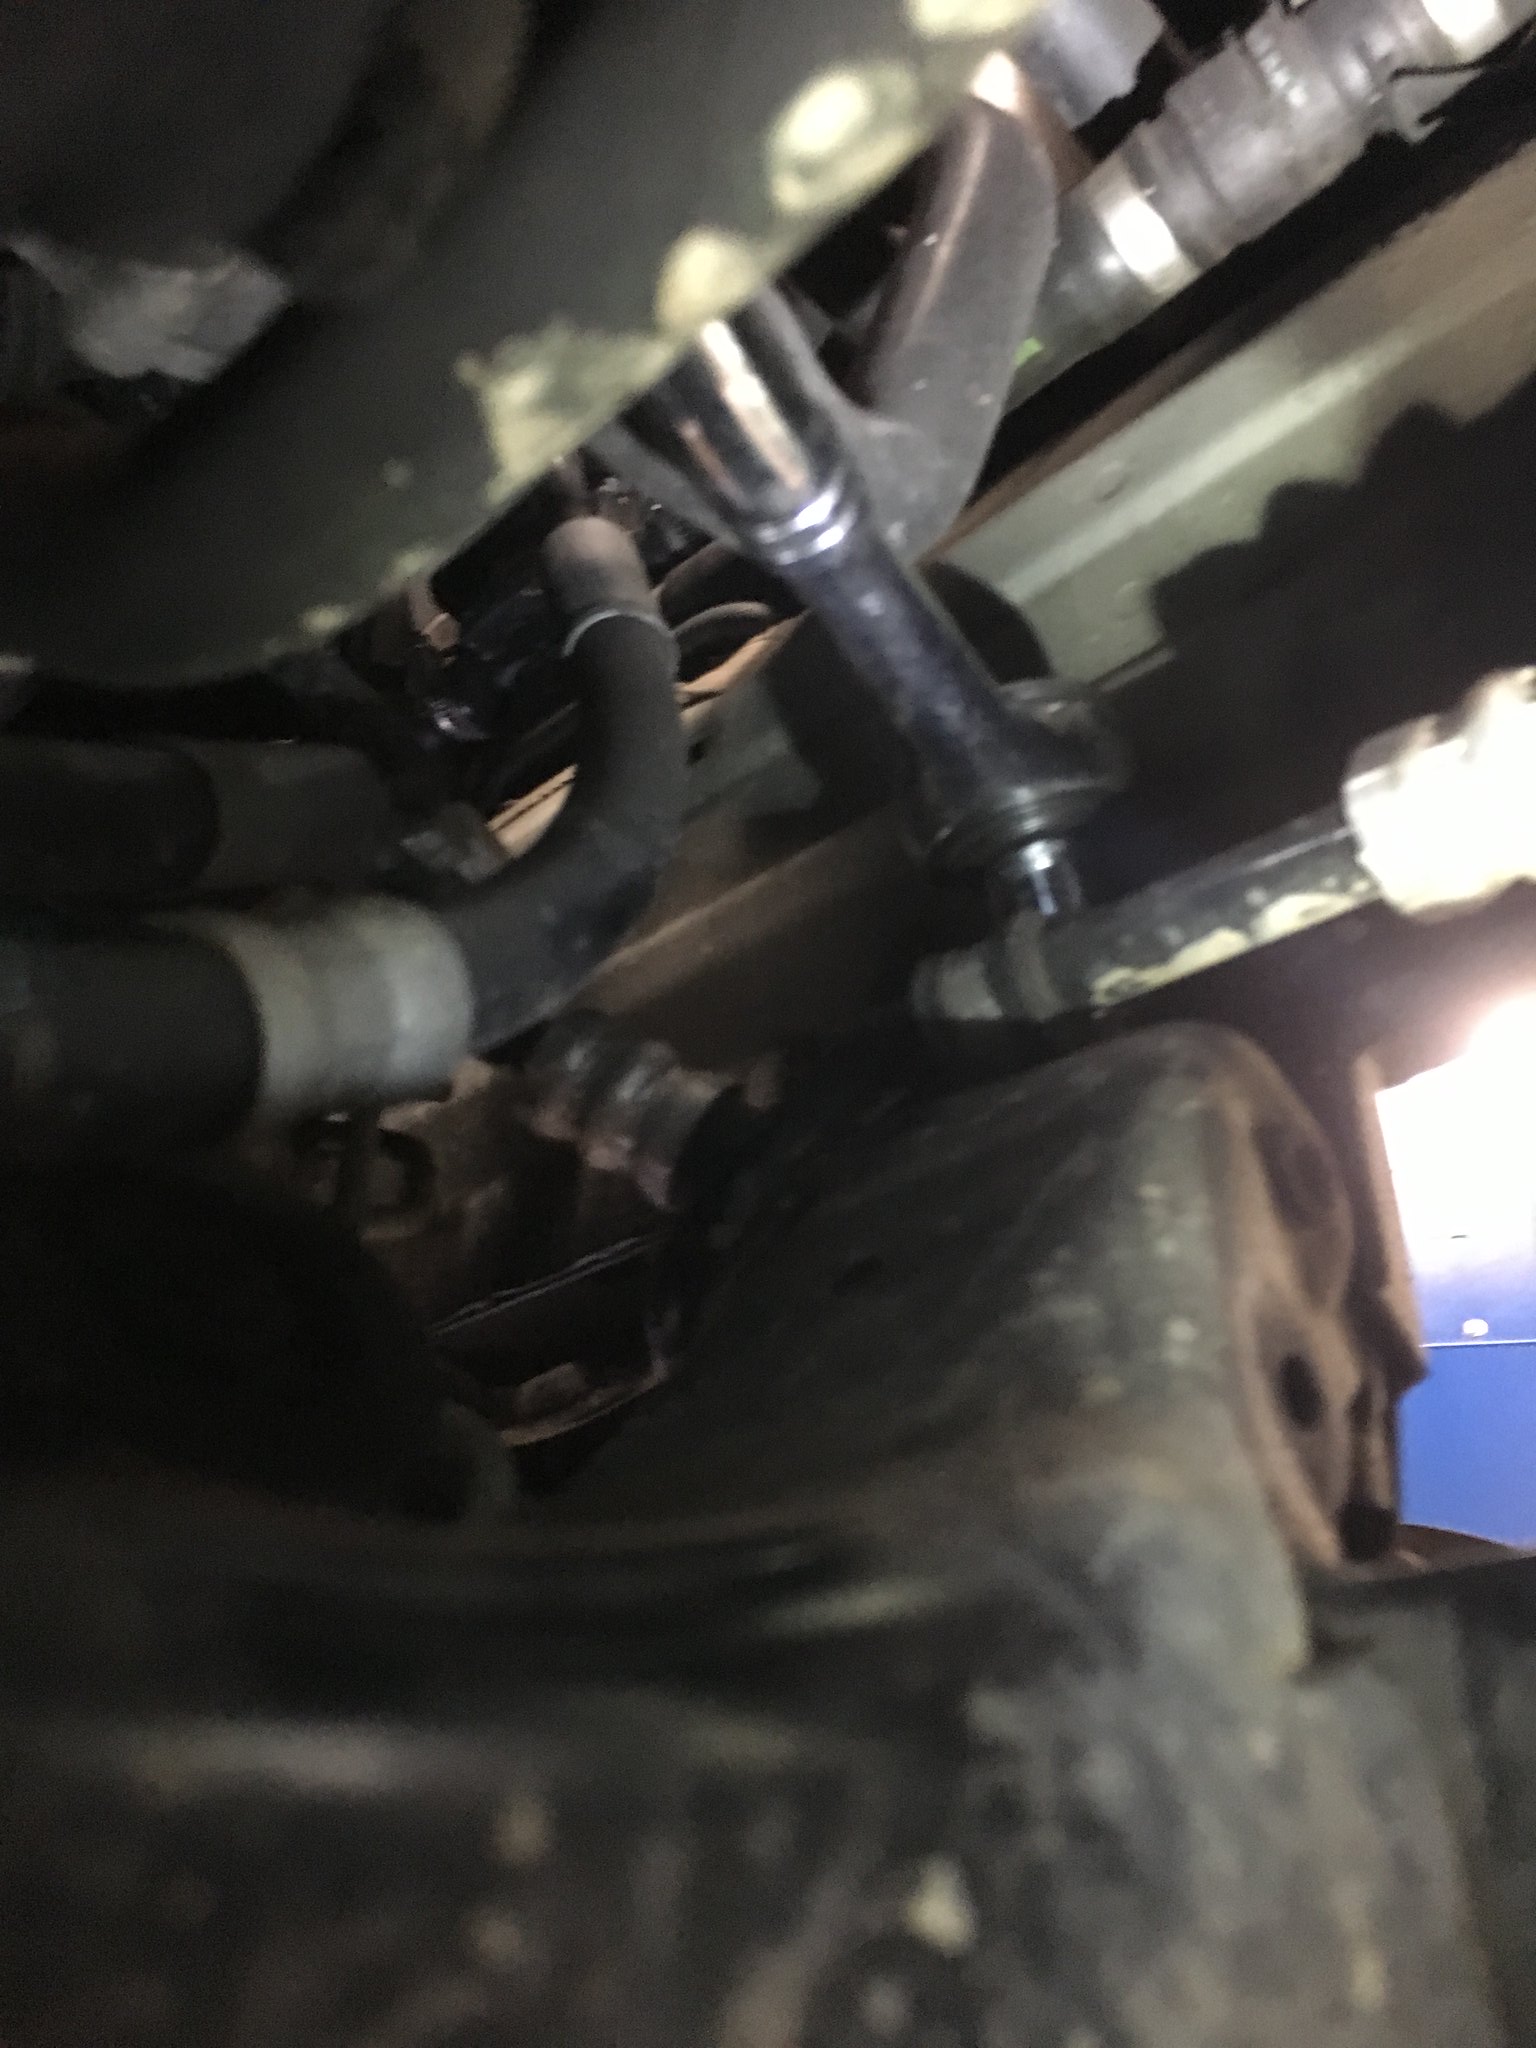 D) Unbolt lower motor mount bolts 4 bolts total with 2 on each mount ( ?) [url=https://flic.kr/p/Q5r9hh]  E) Unbolt subframe from the chassis 6 bolts total with 3 on each side. (21mm Socket, 12 3/8 Extention, 1/2 to 3/8 Adapter, 1/2 drive 24 Drive Breaker Bar, strong help) [url=https://flic.kr/p/Q5r99G] 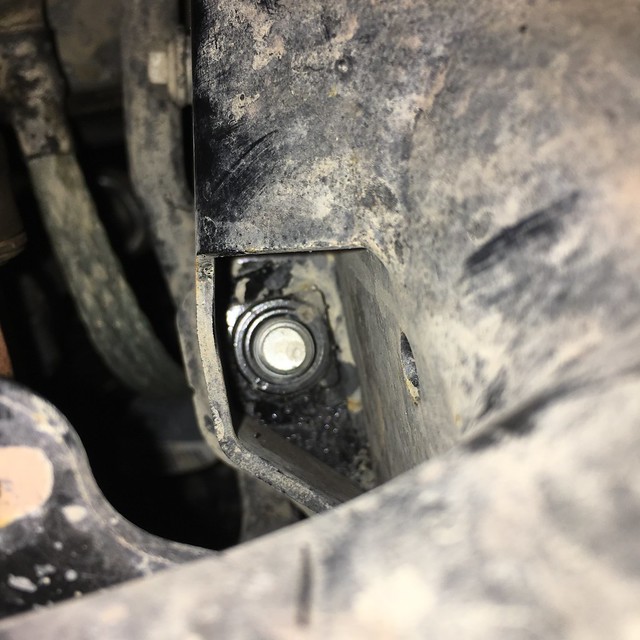 [url=https://flic.kr/p/Q5r8WN] 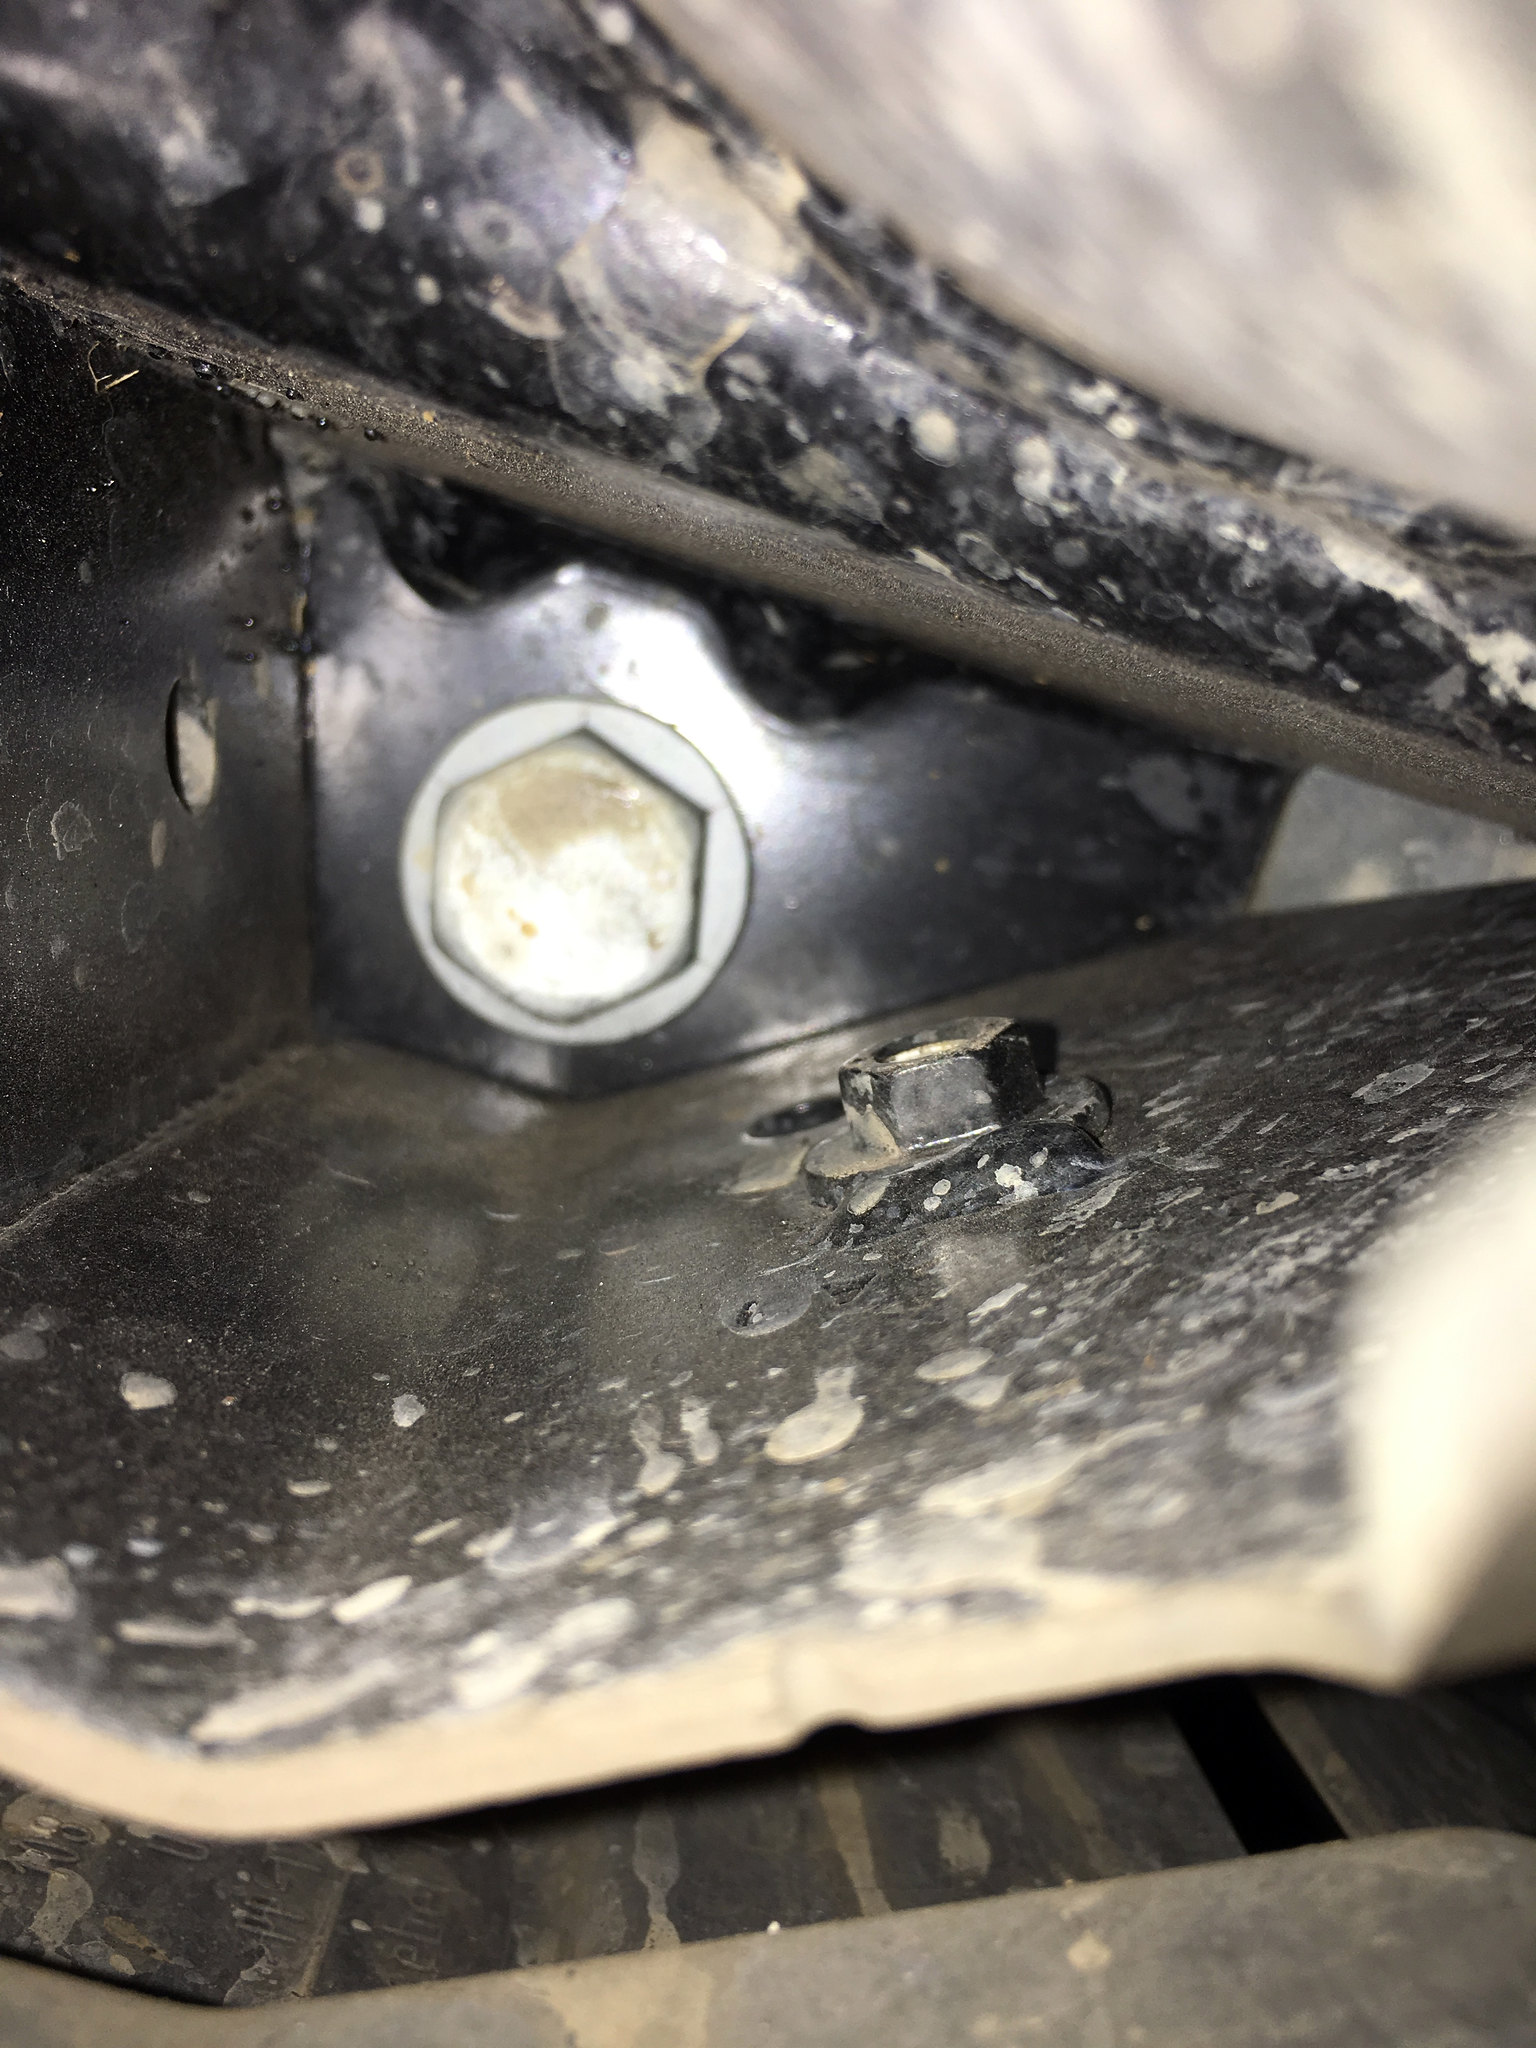 F) Subframe should drop and hang from suspension; motor mounts can be removed (Look for any hydraulic lines taking too much weight as you may have missed a securing bracket bolt) G) Unbolt Steering Rack from the subframe to release weight from hydraulic lines (?) STEP 4 A) Unbolt the forward drive shaft from the front differential ( 16mm socket, 16mm wrench) [url=https://flic.kr/p/Q5r94G] 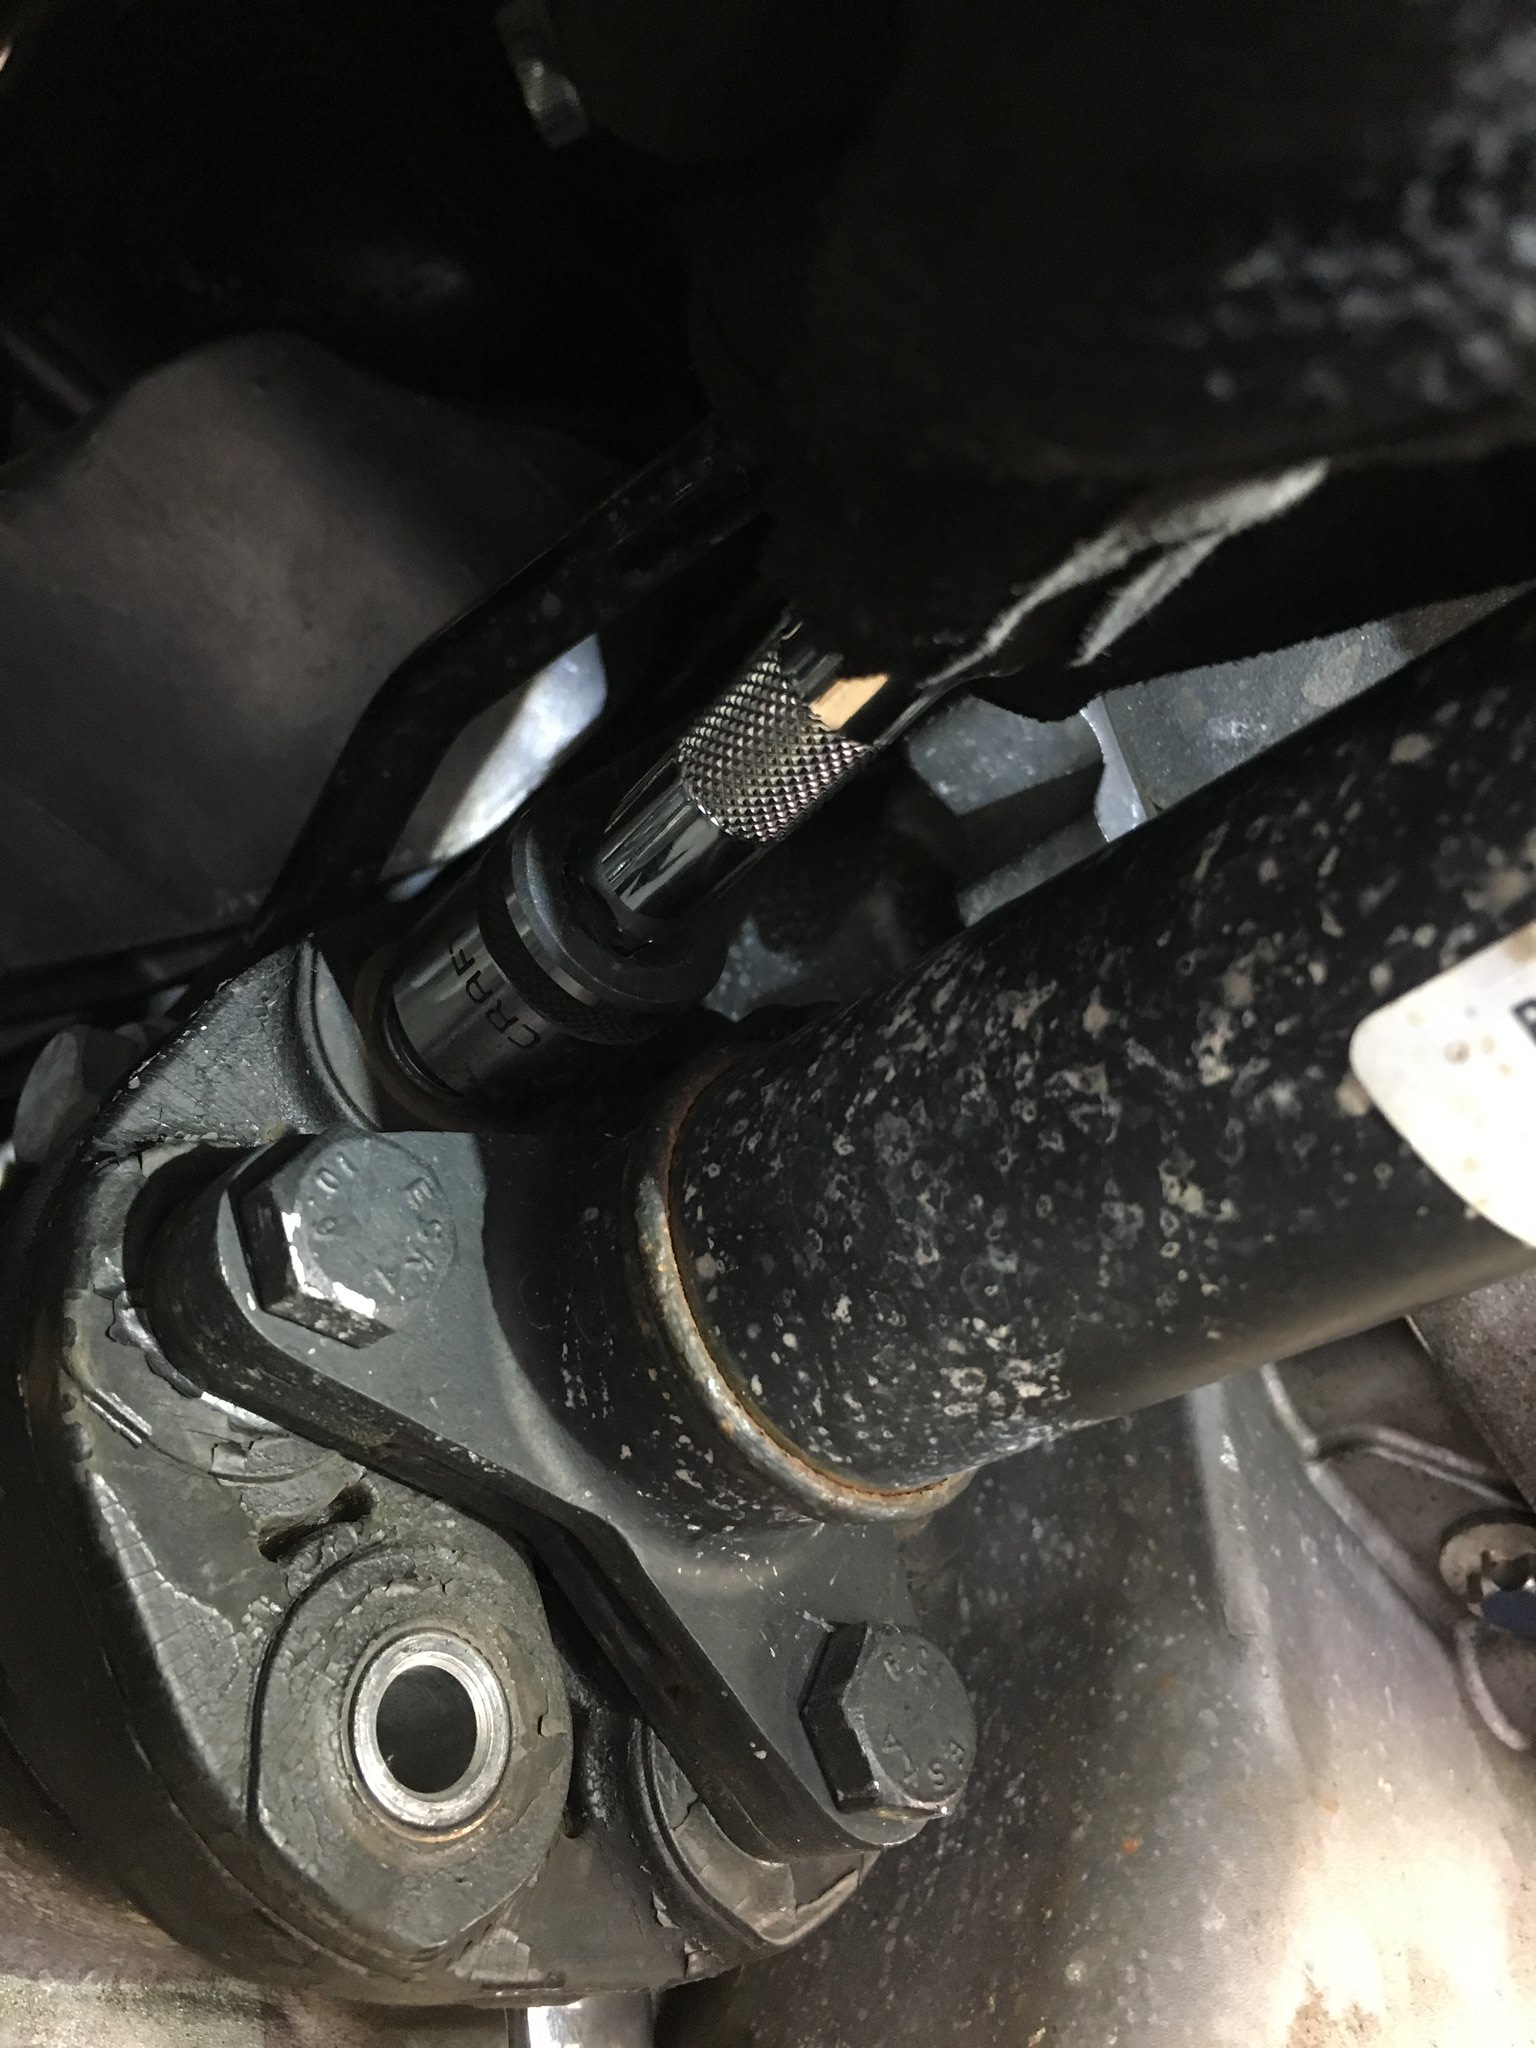 [url=https://flic.kr/p/Rip2Wm] 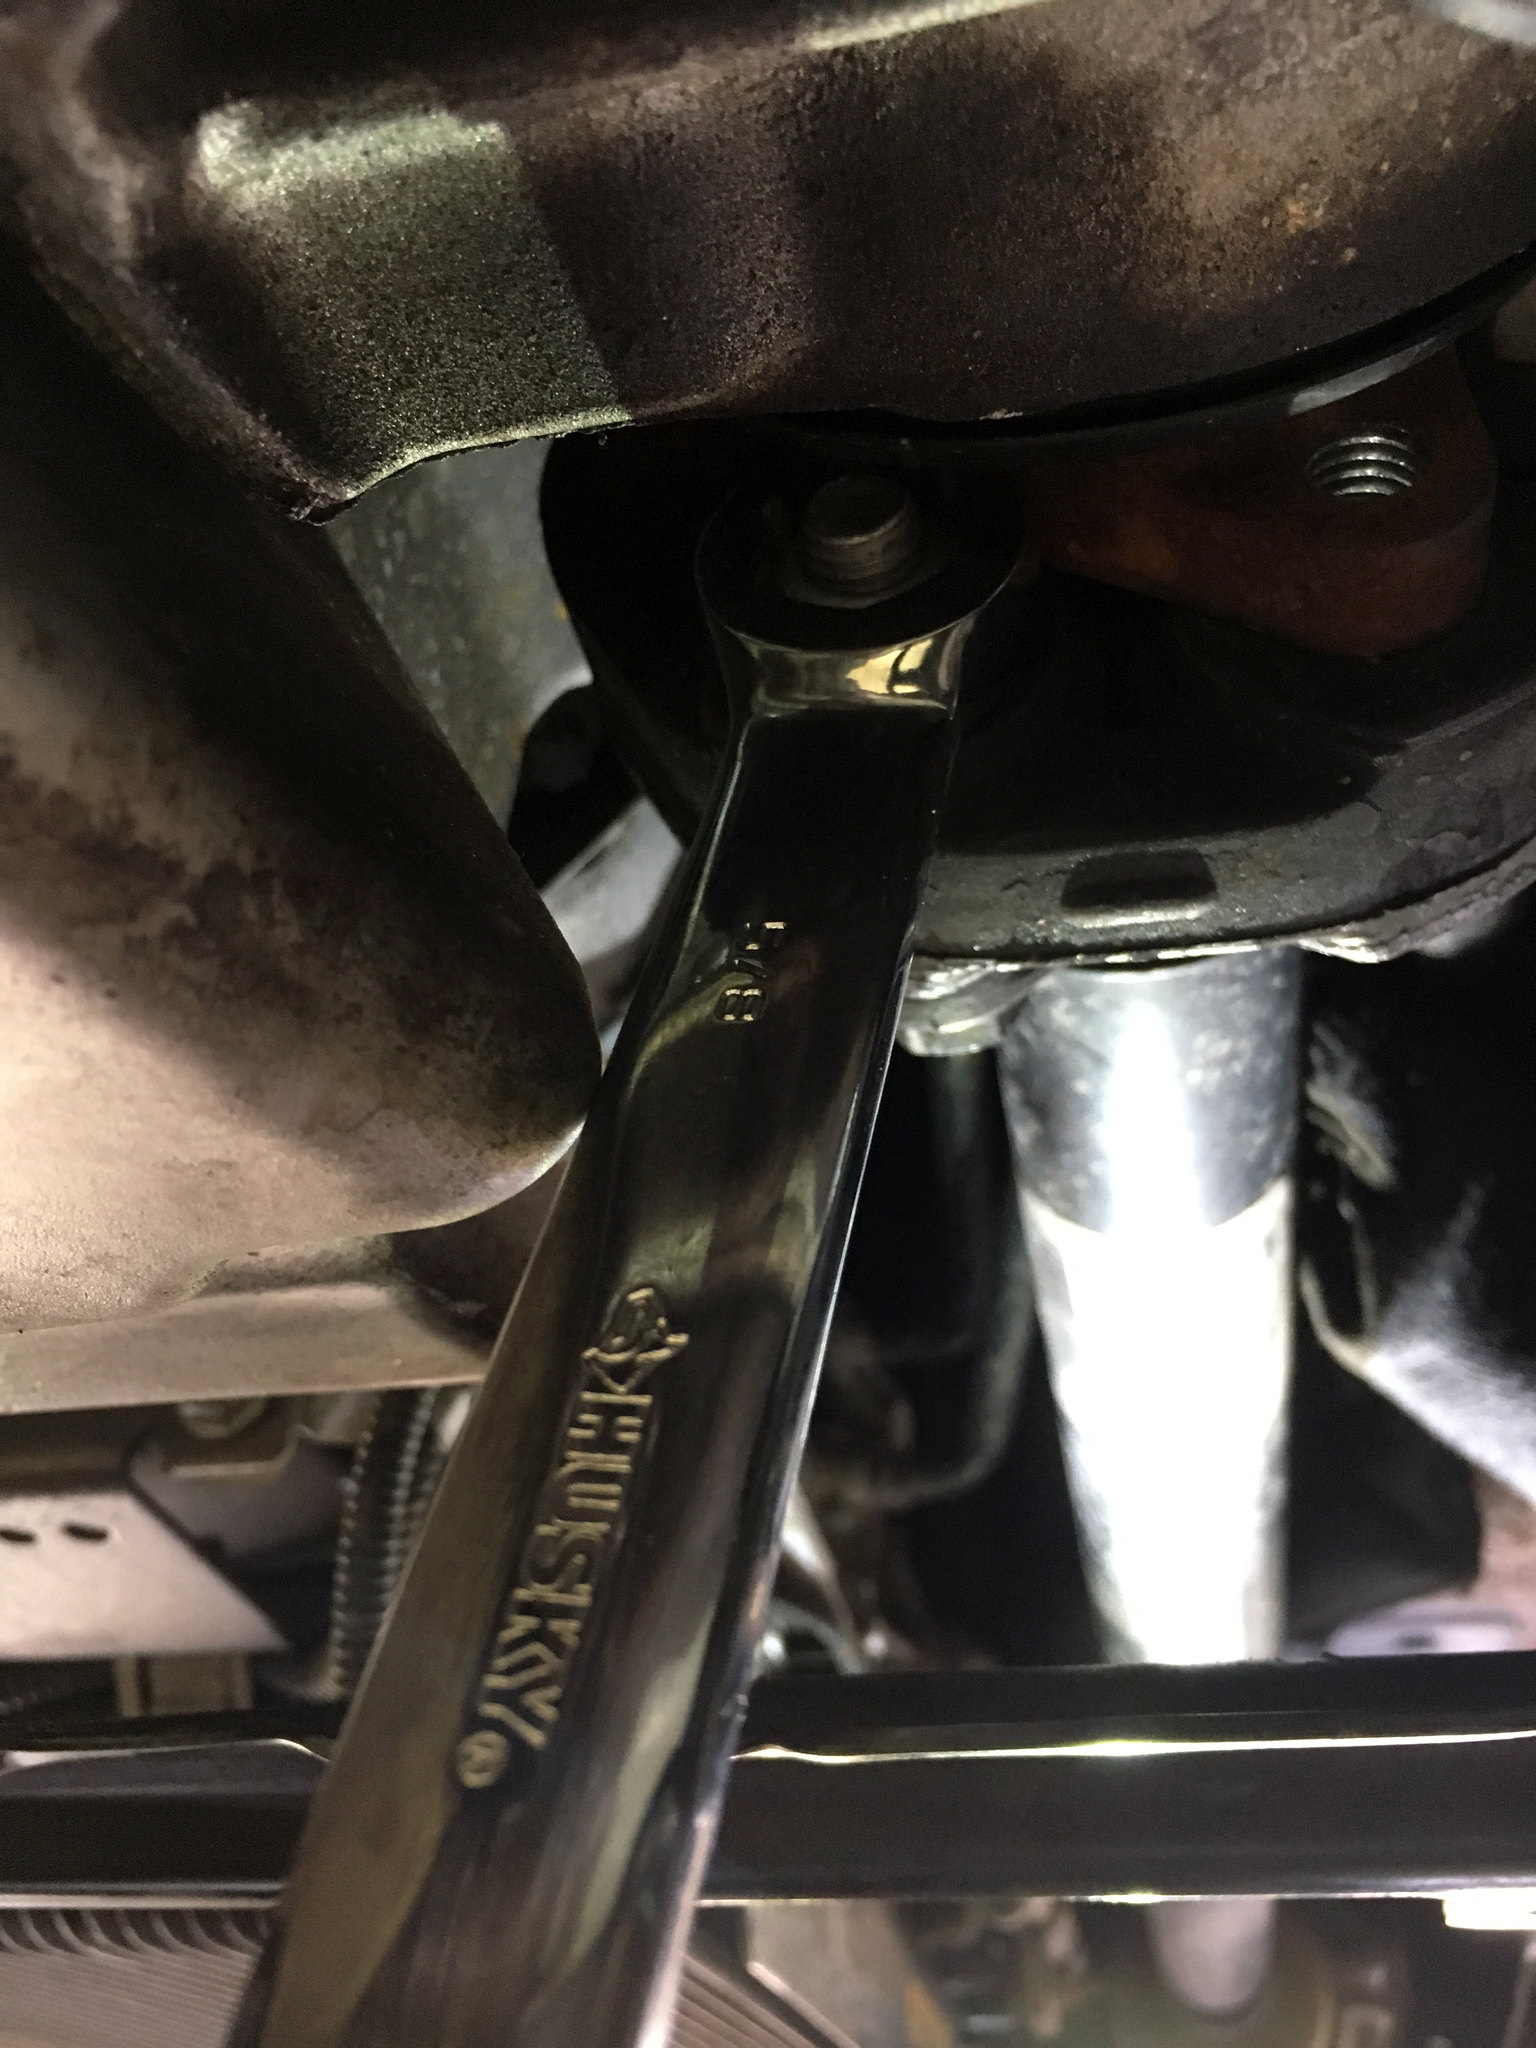 B) Loosen Differential Fill Plug (14mm Allen Key) [url=https://flic.kr/p/Q8dbNB]  C) Drain Differential Oil and replace both plugs (14mm Allen Key) [url=https://flic.kr/p/RmSYyV] 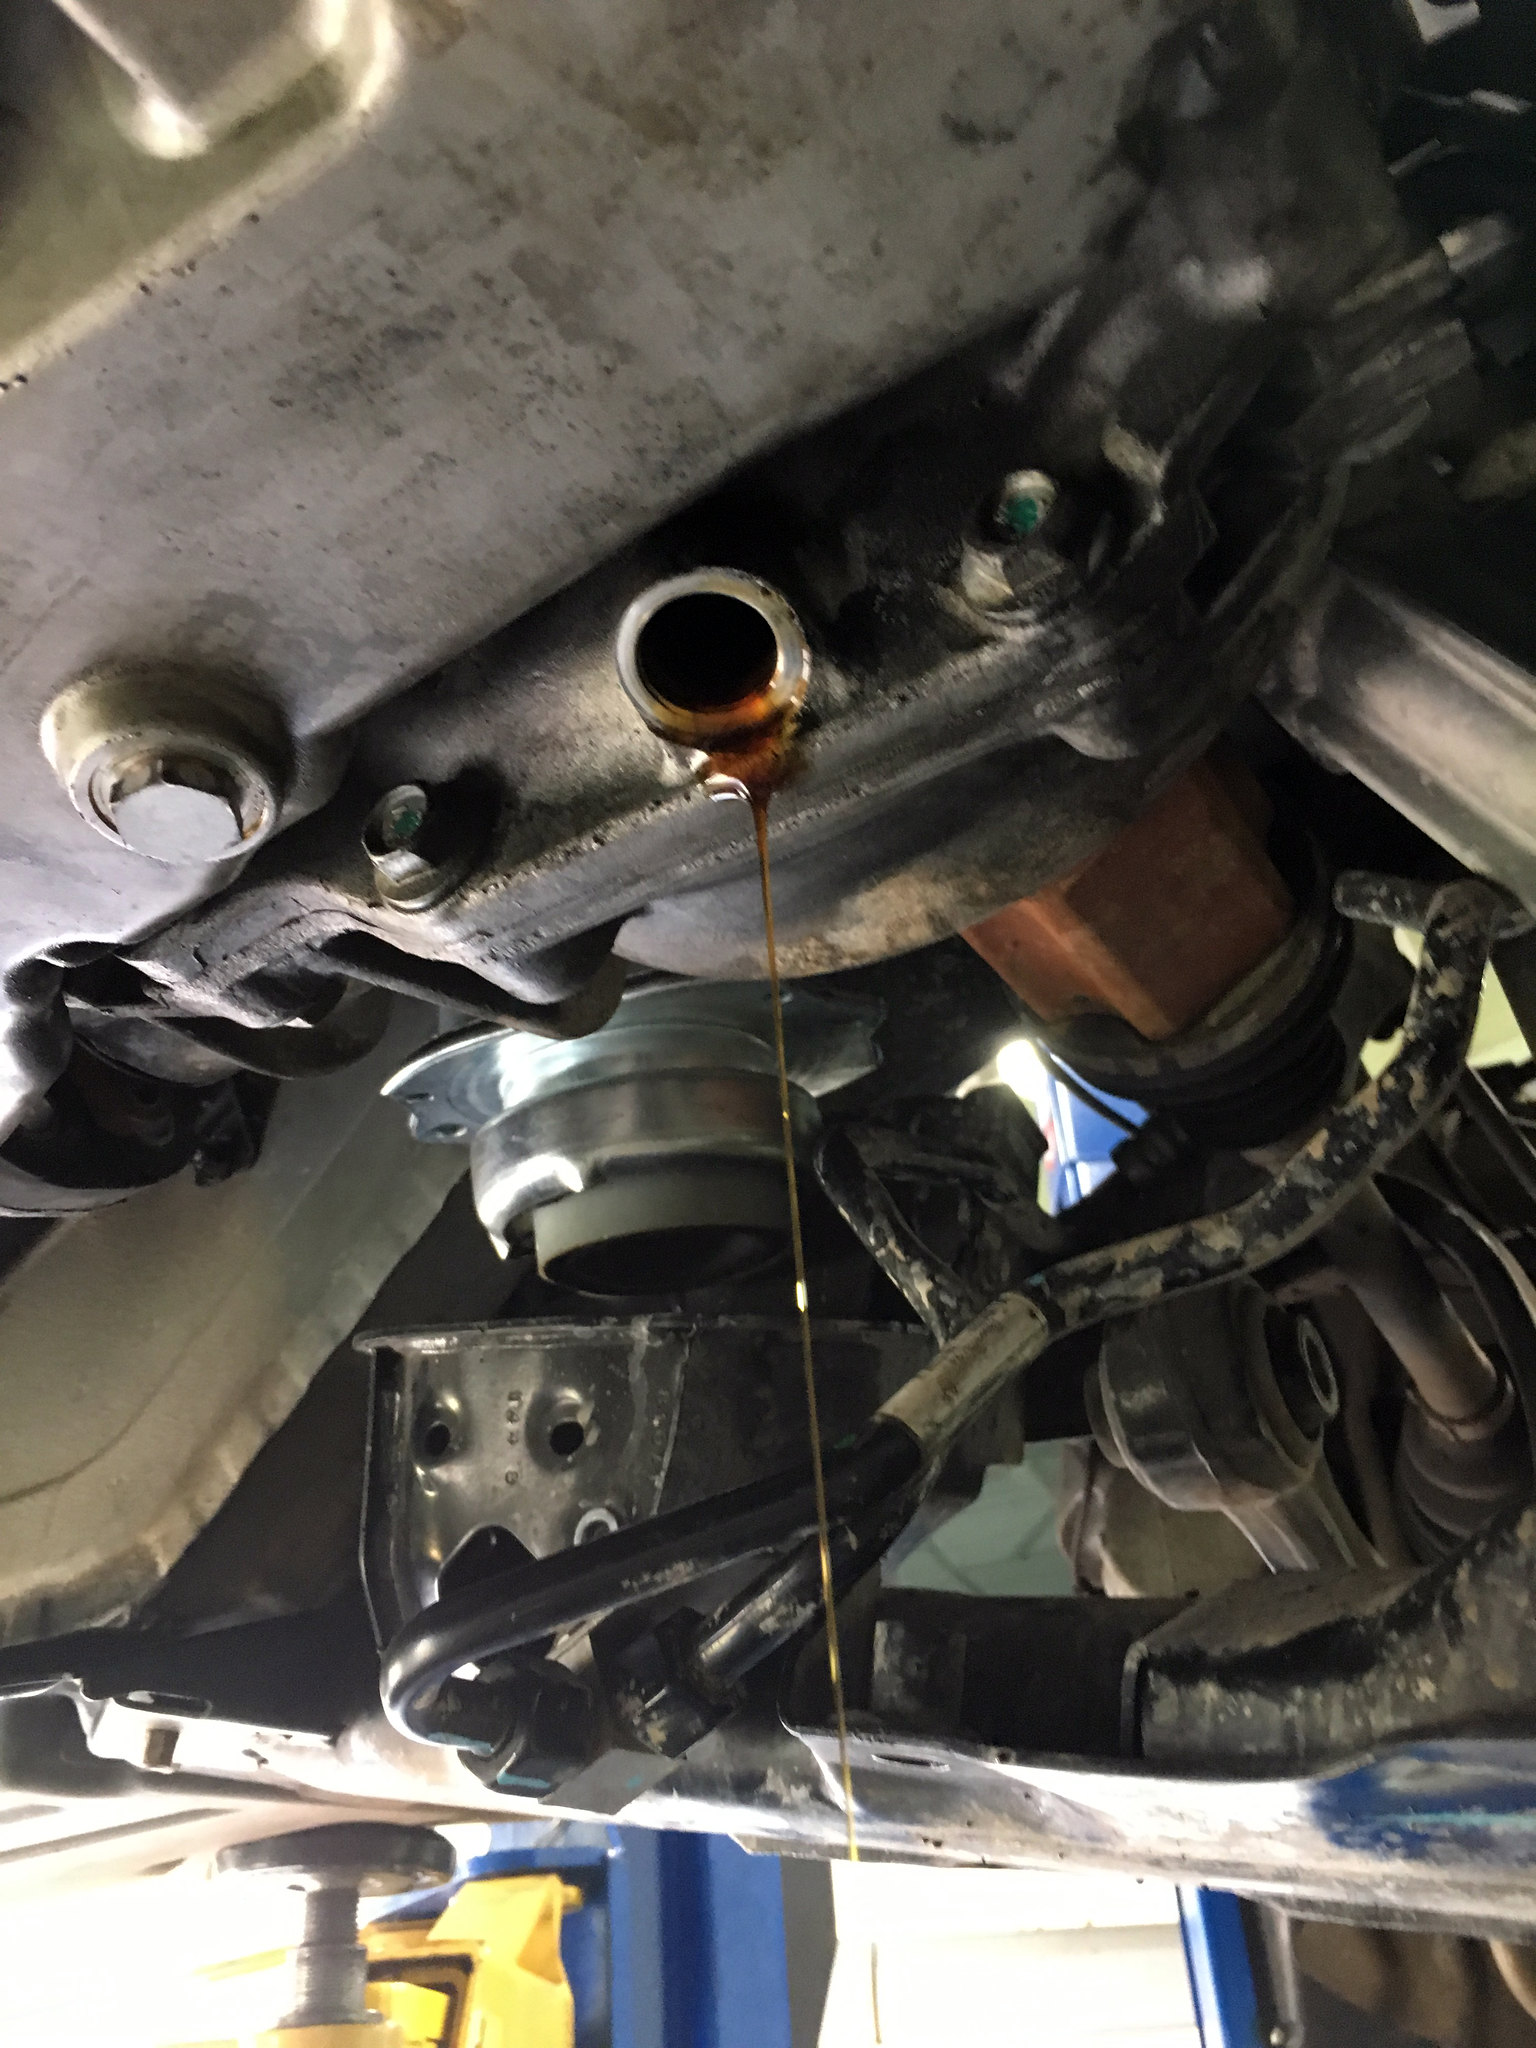 D) Unbolt the differential, 4 bolts different sizes 2 front 2 rear (16mm Socket) E) Unclip the differential exhaust tube and coolant lines connected to the differential (10mm socket) [url=https://flic.kr/p/RmSYFi]  F) Support Oil Pan/Differential with transmission Jack G) Unbolt 28 bolts vertical bolts from transmission (E12 wrench, E12 ratcheting wrench, E12 socket, 3/8 drive swivel joint, 3/8 drive 12 extension, 3/8 drive ratchet) H) Unbolt 4 Horizontal bolts securing transmission to the oil pan (E10 socket, 3/8 drive swivel joint, 3/8 drive ratchet) I) Lower Oil Pan/Differential; watch for the rear portion of the pan to move forward before clearing the transmission, watch for the flex disc and drive shaft to fall apart. STEP 5 A) Remove the old Oil Pan Gasket ensuring nothing falls inside the oil pan (rivet removal tool) B) Clean the inside of the oil pan, the mating surfaces, and sand the mating surfaces lightly ensure all is smooth. C) Apply RTV if you feel necessary (This may also help keep the gasket in place) D) Raise the Oil Pan VERY Carefully ensuring that the rear is positioned properly for inserting into the transmission and ensuring that the drive shaft and flex disc reconnect E) Once in position start screwing in the new bolts hand tight all around, you may have to adjust the oil pan slightly to fit certain bolts F) Torque all bolts vertical and horizontal; torque setting is printed on a sheet included with the new bolts (E10 socket, E12 wrench, E12 ratcheting wrench, E12 socket, 3/8 drive swivel joint, 3/8 drive 12 extension, 3/8 drive ratchet) G) Reconnect coolant lines and ventilation tube to differential (10mm) H) Rebolt the Differential to the oil pan (16mm Socket) I) Rebolt the forward Drive shaft to the front differential (16mm Socket) J) Remove jack support for oil pan and install new oil level sensor K) Ensure Differential drain plug is torqued, remove fill plug, and replace oil until oil overflows (14mm Allen Key) STEP 6 A) Replace and hand tighten motor mounts to the engine support (16mm Deep Socket) [url=https://flic.kr/p/Rip2Qj] 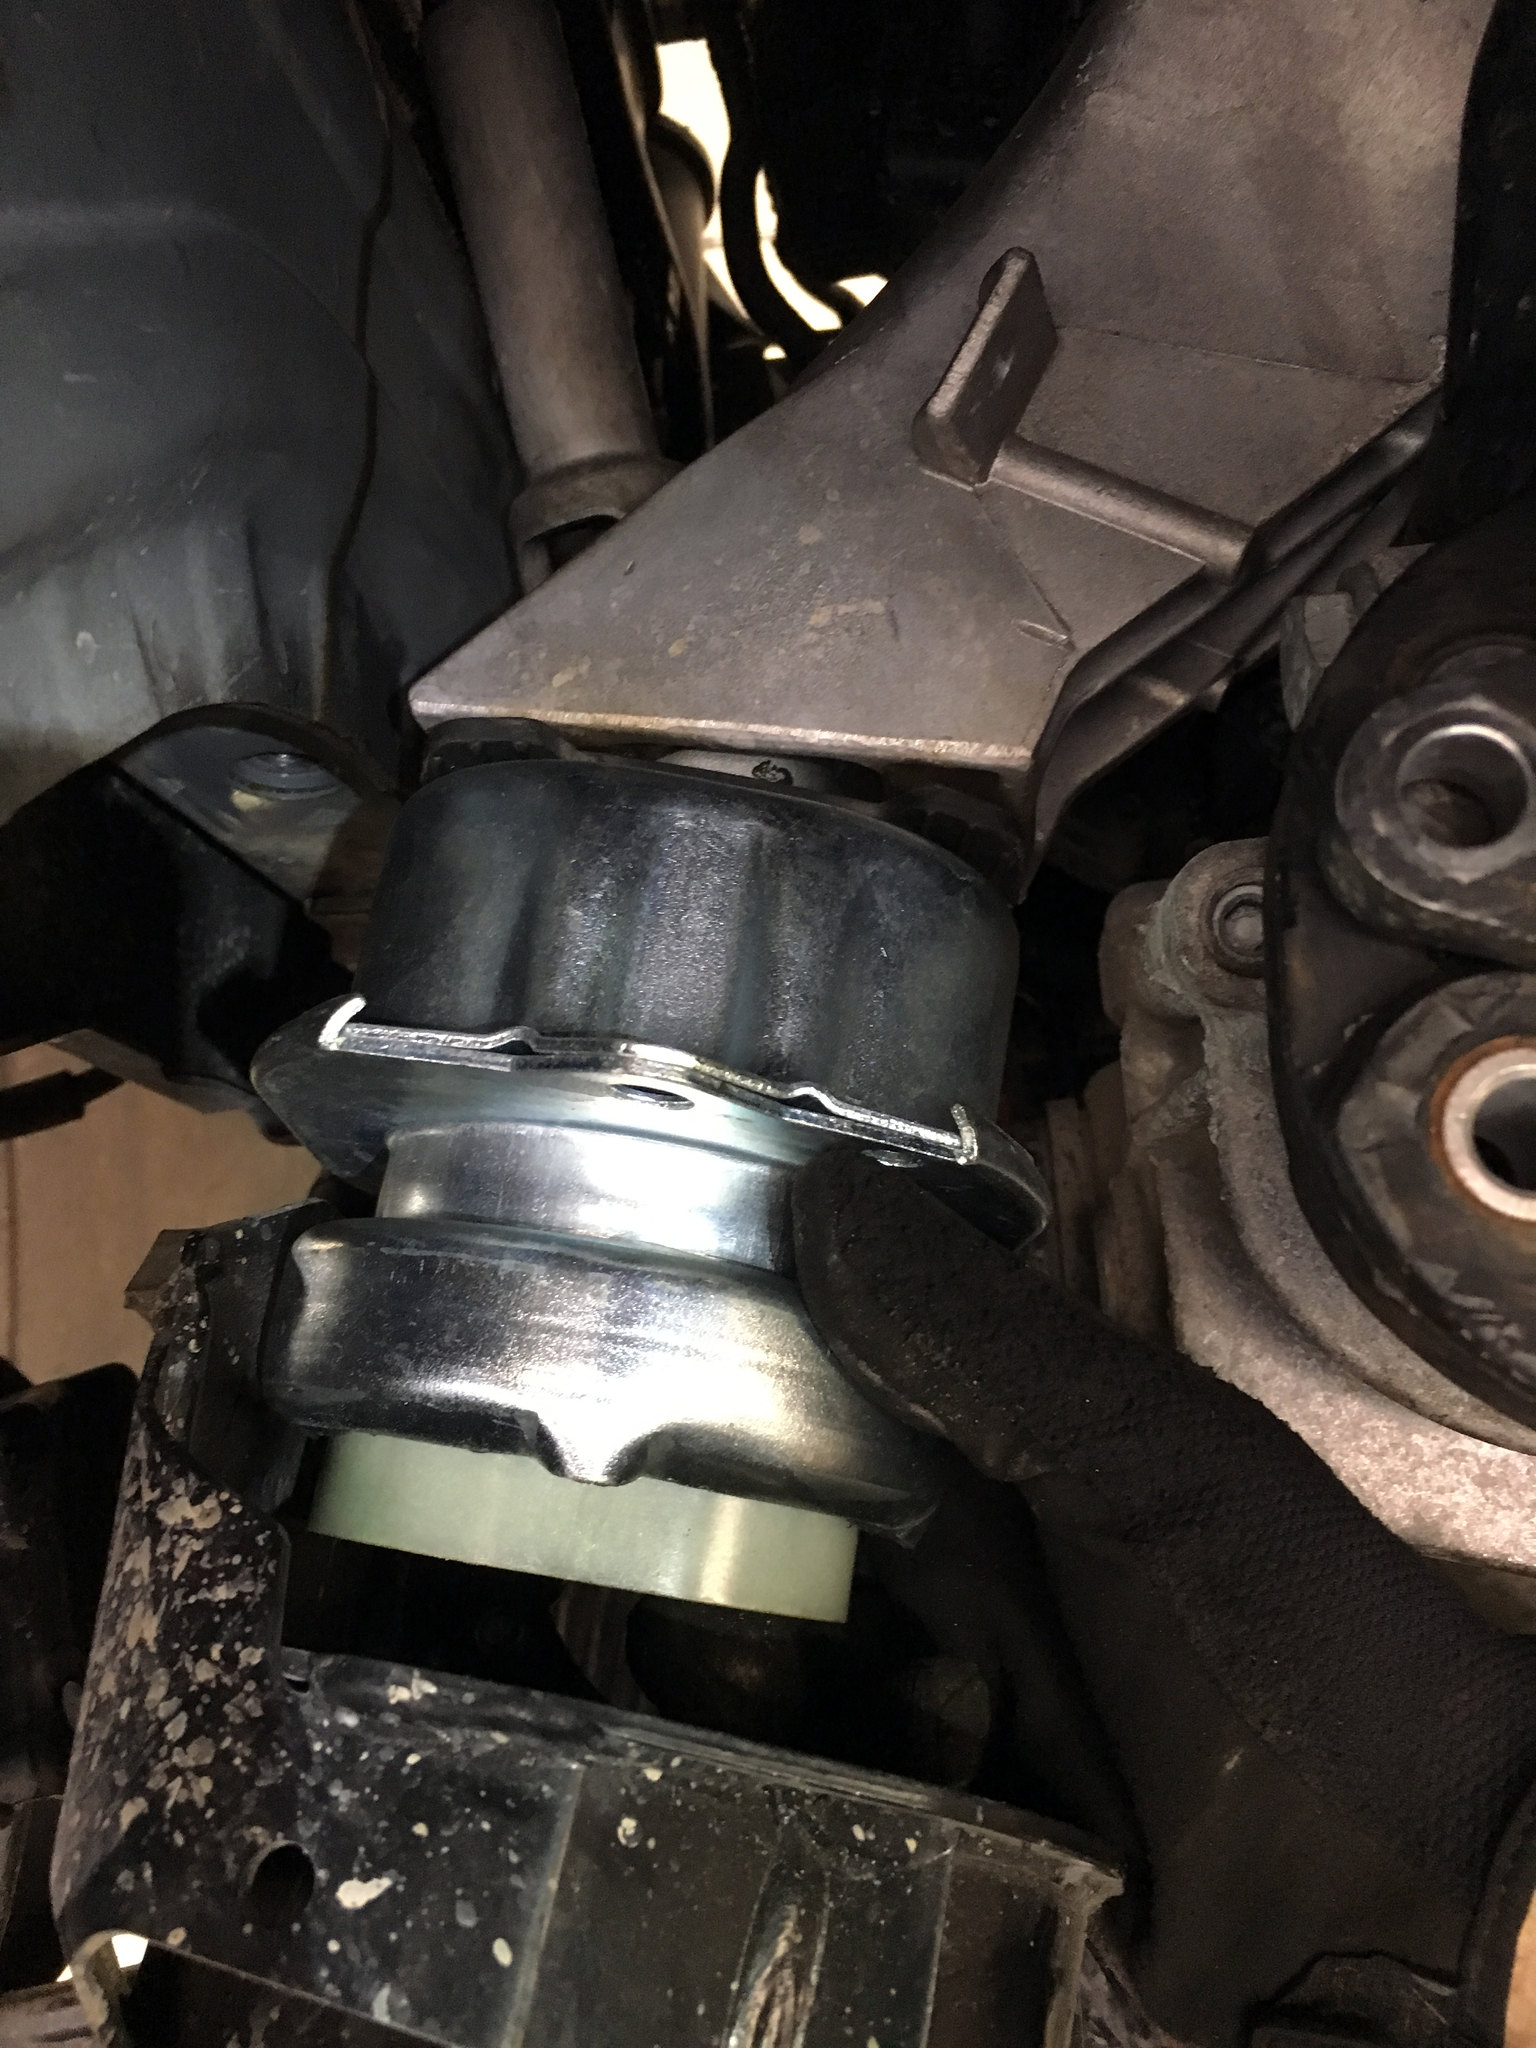 B) Unbolt and replace tension rods, reuse combination nut if required (21mm Wrench, 21mm Socket, 1/2 to 3/8 Adapter, 1/2 drive 24 Drive Breaker bar, 3/8 Drive Ratchet, 8mm Allen Key?, 27mm Socket) C) Unbolt and replace Lower Control Arms, (18mm socket, 1/2 to 3/8 Adapter, 1/2 drive 24 Drive Breaker bar, 3/8 Drive Ratchet, T25 key, 27mm Socket) D) Unbolt and replace Tie rods, measure old rods first to ensure the same setting (27mm Socket, 18mm Wrench) E) Rebolt Steering rack to the subframe F) Align and lift subframe, inserting steering rack into column, and rebolting subframe to chassis G) Align and rebolt lower motor mount bolts then ratchet tighten upper nut from below H) Reconnect Hydraulic lines and oil cooler lines to subframe I) Double check torque on all J) Lower vehicle K) Rebolt steering rack L) Torque upper motor mount nuts M) Remove Engine Support N) Reinstall all engine plastics and airbox N) Remove old oil filter and replace then fill oil STEP 7 A) Unbolt Strut Mounts, 6 bolts total, 3 each side B) Lift vehicle C) Unbolt and remove upper control arms D) Unbolt lower strut mount E) Remove Strut F) Compress spring on Struts G) Remove Strut mounts and install new mounts H) Reinstall and rebolt struts I) Install new Upper control arm and rebolt J) Lower Vehicle K) Tighten strut mounts L) Reinstall Wheels and hand tighten M) Lower vehicle to ground N) Torque wheel bolts O) torque suspension P) Drive backward then forward Q) Retorque suspension STEP 8 A) Beer LONG SAD STORY In late-2015 I was doing an oil change on my Wifes 2008 E70 X5 and noticed that the oil pan gasket was leaking. I came to a decision of whether or not to sell the car, fix the car, or deal with it. I asked around for some quotes with BMW saying $2500-2700 and indy shops saying $1600-1800 just to replace the $30 gasket and do an oil change. I decided to go for a massive DIY and replace a bunch of the suspension in the process. I couldnt find a manual or an established DIY for this so I watched several videos of other BMWs and of other xDrive vehicles until I figured I could handle it. I ordered all the parts and when they arrived my wife and I got ready to knock out the easiest DIY ever, not. After the initial steps and lifting the vehicle, I found that the front drive axle runs through the Oil Pan. Improvise time, I decided to drop the whole thing with the differential attached after draining all fluids to make it light. After dropping the subframe I took a better look at the oil pan and noticed, to my horror, that there are super long bolts securing the pan to the engine and to the transmission. I ran to the parts box and found my new bag of bolts which were all short, very short, and had large washers on them. I double checked the parts numbers, the ECS website, and finally realoem. Turns out that the ECS website auto populates the 330i N52 Oil Pan bolts. I pulled one bolt and checked it against the ones in the bag and without the washer they were the same size, awesome! I went on my merry way deciding to drop the pan. I made it all the way to the drivers side of the oil pan when I realized that I couldnt reach the bolts behind the differential. My wife did a video search for differential removal and found a clip. She showed me that it was super easy to do this. We started tearing away at the suspension and I hit a snag removing the half shafts. Turns out she skipped the whole beginning of the DIY where I need to remove the hubs and replace nuts etc. At this point we were desperate and trying to decide whether or not to give up. I started messing with different wrenches till I found that the 10mm will work to remove the E12 bolts where I couldnt reach with a ratchet. I used the wrench for a few bolts then ended up starting to strip a bolt head. More desperation. Turns out that the shop I was at had an E12 wrench and I went back at it. We finally got all the bolts out and the pan dropped, hooray! I replaced the oil level sensor and the gasket and we went to reinstall. This was very difficult by hand so I went and grabbed a hydraulic engine jack. We kept adjusting and moving it till it seemed aligned then I pumped away until I heard a snap. The new $206 oil level sensor broke. Now the anger and frustration was over whelming. We both started to panic as we were now 12 hours into the job and only had 2 hours left to finish before closing. My wife started to cry and our DIY was becoming a spectacle for the other patrons. We kept at it until finally the pan went up, but the gasket was misaligned. We dropped it a bit then realigned and put it back up. Then I pulled out the new bolts and attempted to remove the large aluminum washers without luck. The washers could not be removed because the inner diameter was smaller than the threads. We had to use the old bolts. I started reinstalling the old bolts but then 3 bolts wouldnt go in so we lowered slightly and put it back up finally getting all of the old bolts into their holes. We tightened all of them then realized that the flex disc and coupler were missing. We searched everywhere but it was nowhere to be found. Finally I decided to check the oil drain pan and found that it was stuck in there. After attempting to reinstall I realized that there was no way to get the coupler inside without removing something. Time was up for the shop though so we packed up and left the truck hanging. MLK weekend meant the next time in the shop was open was the single remaining day before flying out on vacation. I took an extra day off of work and began prepping. I called ECS and they hooked me up by overnighting the correct bolts, which must have been a fortune since Im in Hawaii. I bought a low-profile ratchet and socket set and a 10mm socket for tightening bolts. I also started on this writeup to remind myself of how I got here and how to put it back together. The next day of work is January 19, 2017 and I only have 7 hours to get the job done with no assistant this time. Hopefully it goes well.
__________________
 2020 G01 X3 30e CURRENT M Sport Package 2019 Ford Raptor SuperCrew CURRENT 802A, KN Drop-in, RB Flaps, Husky Well Liners 2012 E70 X5M SOLD Stg 1+ Turbos, DPs, Velos Stg 2+, JB4, Race Cats, Bavauto Coils 2003 E46 M3 SOLD aFe CAI, AP Axleback, SSK, H&R Springs, TMS CMBR Arms, PF RTABs Last edited by jandref321; 03-24-2017 at 04:47 PM.. Reason: Update with completion |
| 01-20-2017, 01:48 AM | #3 |
|
Captain
344
Rep 728
Posts |
Update: I fixed the car enough to drive!
It turns out that because of the misplaced flex disc I did need to drop the oil pan, again. I got to it right away and found that the broken oil level sensor had shattered into several pieces so I'm glad that I had to drop it in the end. I pulled out the pieces and started the very long process of aligning and lifting everything back into place while also holding the flex disc and coupler in place. It took a very long time but it came together and I replaced the bolts with the new set ECS sent me. When I finally filled the front differential and started looking at the suspension I had 3 hours left and decided to focus on getting the car together. Reassembly took the whole 3 hours as getting the steering rack aligned, moving the power steering lines, and aligning the motor mounts was very difficult. I finally got the subframe back up but with 30 min left I quickly reinstalled only the reinforcement plate and the engine air intake then filled the oil and put the wheels back on. I went 10 min over but got it all done and threw the parts in the back of the car. No leaks thus far. I'll get to finish the job next weekend when I get back from vacation.
__________________
2020 G01 X3 30e CURRENT M Sport Package 2019 Ford Raptor SuperCrew CURRENT 802A, KN Drop-in, RB Flaps, Husky Well Liners 2012 E70 X5M SOLD Stg 1+ Turbos, DPs, Velos Stg 2+, JB4, Race Cats, Bavauto Coils 2003 E46 M3 SOLD aFe CAI, AP Axleback, SSK, H&R Springs, TMS CMBR Arms, PF RTABs |
|
Appreciate
0
|
| 01-20-2017, 09:05 PM | #5 | |
|
Major
 
234
Rep 1,491
Posts |
Quote:
 I am DIY owner... and reading through what you went through I could feel the frustration and thinking WTF did I get my self into moment. Props to you for the undertaking. Time and time again when I think about this $75k car/SUV I think WTF (why the f?@k) did I buy this car? To put up with all this shit and maintenance every year! Great job... I think I will just sell. |
|
|
Appreciate
0
|
| 03-24-2017, 04:46 PM | #6 |
|
Captain
344
Rep 728
Posts |
UPDATE
UPDATE: I finished the DIY a couple weeks after I returned from vacation. Sorry I didnt take too many pictures.
I got back into town on January 27th and spent all day the 28th working on the truck. I had my sidekick with me again (the wiff) and we started where I left off, with engine bay and lower plate reassembly. I was able to replace the lower control arms with the previous work but still had the following left: -Tie Rods -Thrust Arms -Upper Control Arms -Strut Mounts TIE RODS: 1) We measured the original rods and counted threads to try and keep the original settings. I wanted to compare the two when off the car, but the outer rod had to be removed to pull of the inner rod with the fancy huge socket tool. 2) Unbolt the rod from the hub and tapped with a hammer till it popped out. 3) Loosen retaining nut 4) Unscrew outer rod 5) Use pliers to unclip and remove boot 6) Use very large wrench or inner tie rod removal tool (still unsure of the size, the shop had the tool and they werent marked) 7) Install new inner rod (Use fancy tool to tighten) 8) Install boot (I used hose clamps instead of the CV joint style OE clamp on the inside) 9) Install outer rod and use previous measurement 10) Tighten retaining nut 11) Reinsert into hub and tighten nut THRUST ARMS: 1) Unscrew plastic panel around the thrust arm bushing. 2) Use wrench and ratchet to unbolt the thrust arm 3) Use wrench and torx to unscrew the ball joint end of thrust arm. 4) PAY VERY CAREFUL ATTENTION TO HOW THE THRUST ARM COMES OUT. You will need to use the same path to install the new thrust arm. I spent hours trying to get in the drivers side new thrust arm since I didnt pay attention to exactly how it came out. 5) Install new arm ball joint side first. BE CAREFUL WITH THE CV JOINT BOOT WHEN INSTALLING NEW ARM BECAUSE IT CAN TEAR THE BOOT AND CAUSE A LEAK. Ask me how I know. 6) Install bushing side but do not torque bolt yet (torque with wheel on the ground or with loaded suspension. UPPER CONTROL ARMS 1) Make sure you identify where the control arm bolts protrude in the engine bay (these are forward and to the rear of the strut mounts) 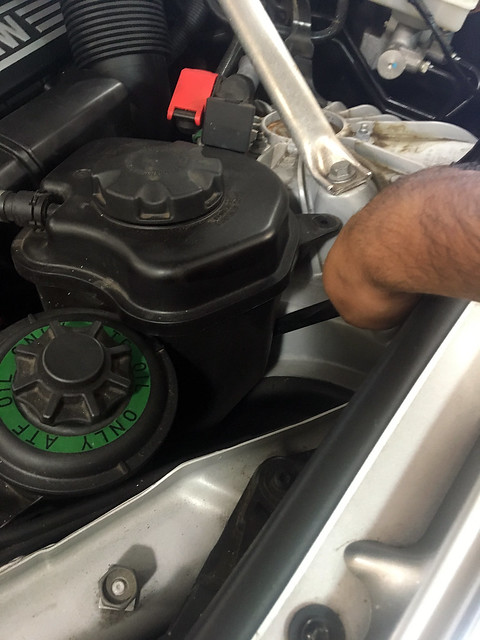 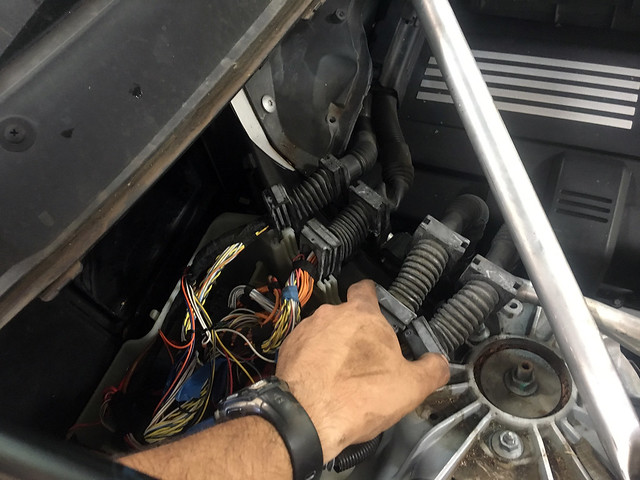 2) Driver side: Unbolt the coolant reservoir and move it toward the engine 3) Passenger side (Most Difficult): Remove HVAC Filter housing, take off DME housing cover, pull up wire bundles 4) UNBOLT THE LIGHT LEVEL SENSOR ARM FROM THE CONTROL ARM 5) You need to remove the ball joint from the hub arm thing but just unbolting it and tapping up on the joint, it should pop out. (I took a picture of the resting position of the control arm at this point so Id know where it needs to be to torque) 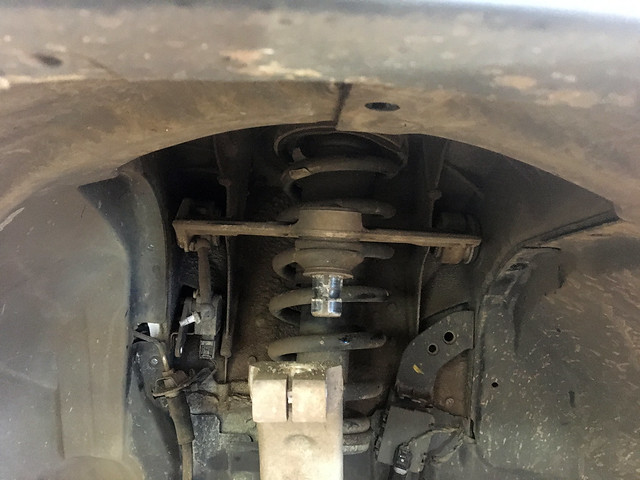 6) Use wrench on engine bay side and breaker bar to break the bolts on the wheel well side to loosen the control arm bolts 7) Once you have broken the bolts you will need to use wrenches on both sides. 8) Bad news: the spring is in the way so you will need to pull down on the hub to use a jack to compress the spring to allow the bolt to come out. 9) BE CAREFUL NOT TO DROP THE NUT INSIDE THE ENGINE BAY! 10) Remove the old arm and install the new arm then push in the bolts. 11) CAREFULLY USE A WRENCH TO LINE UP THE NUTS IN THE ENGINE BAY AND START TO TIGHTEN THE BOLTS. (Keep the bolts a little loose until you either load the suspension or place the arm in the appropriate position) 12) Put the ball joint back into the hub arm and reinstall the bolt. 13) Torque the bushing side of the arm with loaded suspension. STRUT MOUNTS This I actually waited on (Which was a bad Idea). I returned the mounts and ordered some coilovers. The mounts failed a few weeks later and the coilovers still arent here a month after. I had to overnight a strut mount and do the install at home. I recommend doing this with two people. A second person is necessary to stand on or pull down the hub. 1) Remove all engine bay plastics around the strut mount bolts. 2) Properly lift vehicle and remove wheel. 3) Disconnect all brake wires on the strut. 4) Unbolt the lower strut mount from the lower control arm. 5) Unbolt the lower strut mount from the strut and start to slide down. 6) Unbolt the upper strut mount. 7) Pull down on the hub and remove the strut assembly. 8) Place spring compressors at 180 degrees from each other at the farthest coils top and bottom 9) Compress the spring. 10) Unbolt the mount from the strut. 11) Install new mount and torque down. 12) Release the spring compressors. 13) Set assembly back into position. 14) Pull down on hub and insert lower portion of strut into lower strut mount. 15) Tighten down upper strut mount. 16) Reconnect the lower strut mount with the lower control arm. Do not torque yet. 17) Replace and tighten the bolt holding the strut into the lower strut mount. 18) Load the suspension and torque the lower control arm bolt. 19) Reconnect all wires. 20) Reinstall the Engine plastics. 21) Reinstall wheel and lower then torque wheel bolts. I got an alignment right after finishing the suspension and after a couple of hours everything was in spec and equal! The guy did a great job, but admitted it was frustrating with the design of the suspension. Im still waiting on the coilovers from Ceika Performance. The truck is at 93k miles so I figure if Im going to replace struts/dampers/springs for preventative maintenance then I should look at coilovers. Ill update this and probably do a review thread for the coilovers.
__________________
2020 G01 X3 30e CURRENT M Sport Package 2019 Ford Raptor SuperCrew CURRENT 802A, KN Drop-in, RB Flaps, Husky Well Liners 2012 E70 X5M SOLD Stg 1+ Turbos, DPs, Velos Stg 2+, JB4, Race Cats, Bavauto Coils 2003 E46 M3 SOLD aFe CAI, AP Axleback, SSK, H&R Springs, TMS CMBR Arms, PF RTABs |
|
Appreciate
0
|
Post Reply |
| Bookmarks |
| Tags |
| diy, e70, motor mount, oil pan, suspension |
| Thread Tools | Search this Thread |
|
|