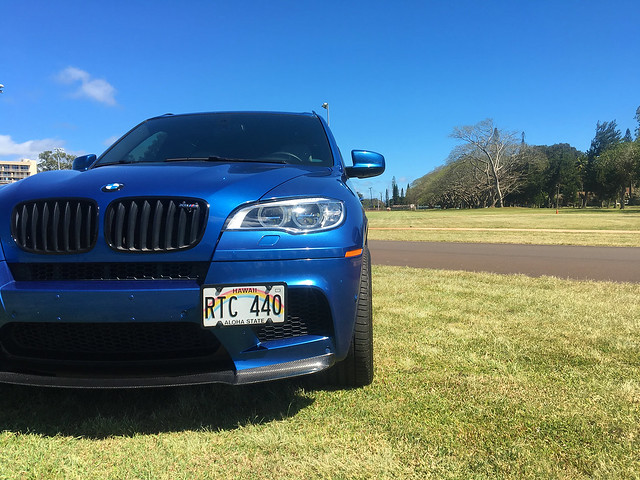
I’ve been busy with my wife’s truck lately, but have finally gotten around to bringing back the beast!
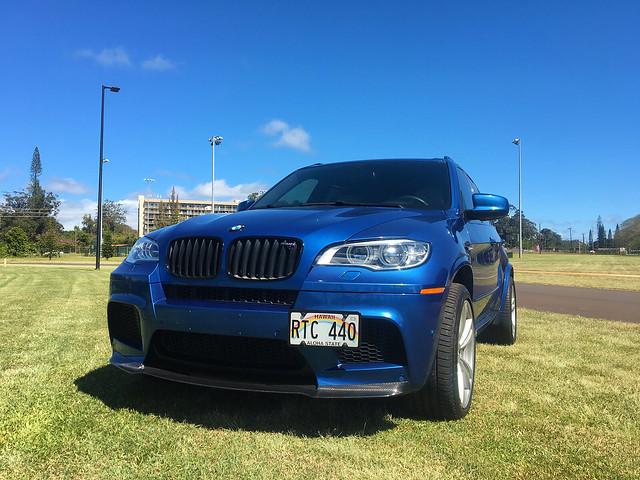
After the accident in November, my body shop worked with BMW to get all the OE parts to bring her back. The rear diffuser had about a 4” hairline crack on the very top near where the car hit me. Vorsteiner has officially discontinued this part, but they did a special order and really anyone who wants to wait 6 weeks for the part can do the same. I got the truck back nice and fresh and the shop installed the diffuser when it came in. I also threw on a set of gloss black badges from IND on the rear end.

When I picked the truck up from the dealer it still had a couple suspension mods Kimo installed: Powerflex thrust arm bushings and Powerflex sway bar bushings. I ordered a set of 25mm spacers for the rear and picked up a set of 25mm spacers for the front from Kimo. So now the car sits flush on all four corners.
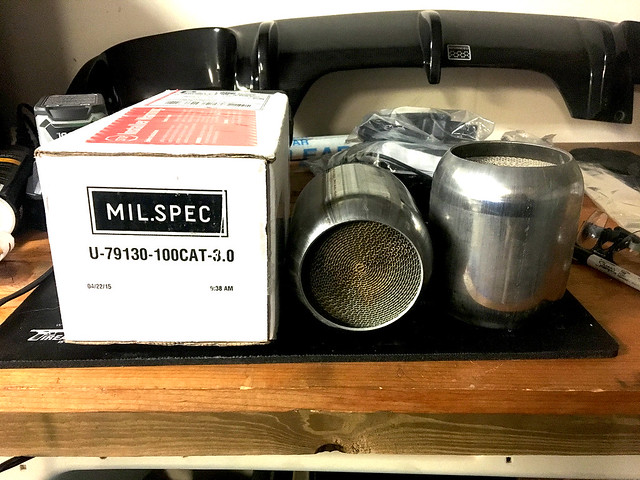
My income is a bit modest so I’ve been looking for the best options to bring the beast back inexpensively without trashing it. Used downpipes fell through so I looked at a cheaper new option and decided to go with catless Ultimate-Racing downpipes. They hooked me up with a forum member discount and super cheap shipping to Hawaii. I wanted cats but decided on catless to remove the heat from the engine bay. I took a page from Kimo’s book and went catless but also ordered Mil.Spec 200 cell weld in cats.
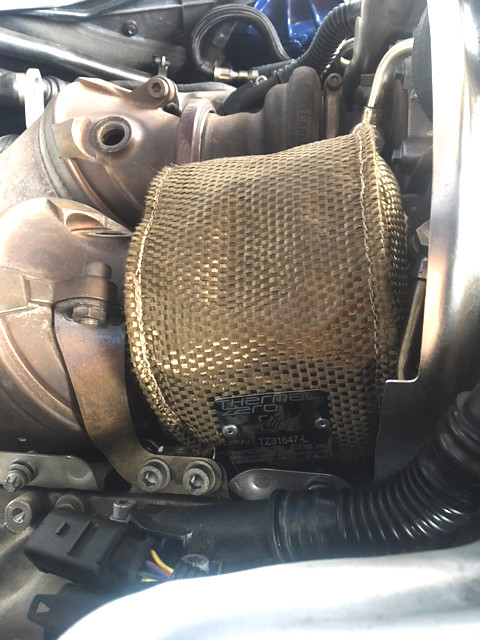
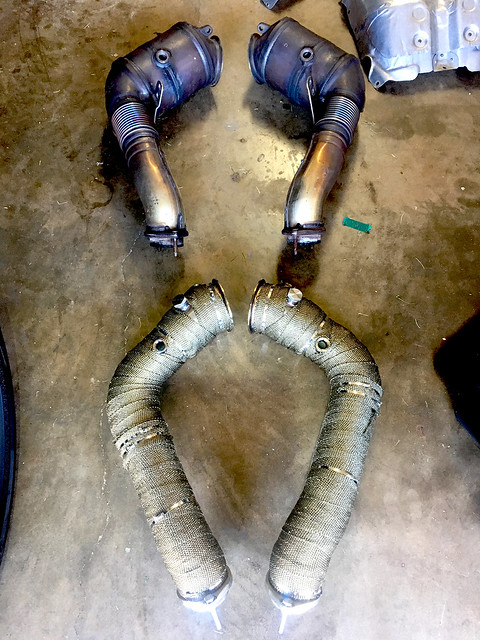
While waiting on the pipes and cats I wanted to check out options to reduce heat. The best option would be coated DPs and PTP blanket, but lack of exhaust coating locations on Oahu and cost of the blankets led me to wrapping and individual blankets. I went with Thermal Zero blankets and wraps off Amazon, which was cheaper than direct from their website. These were the “lava” blankets and wrap which don’t require soaking before wrapping.
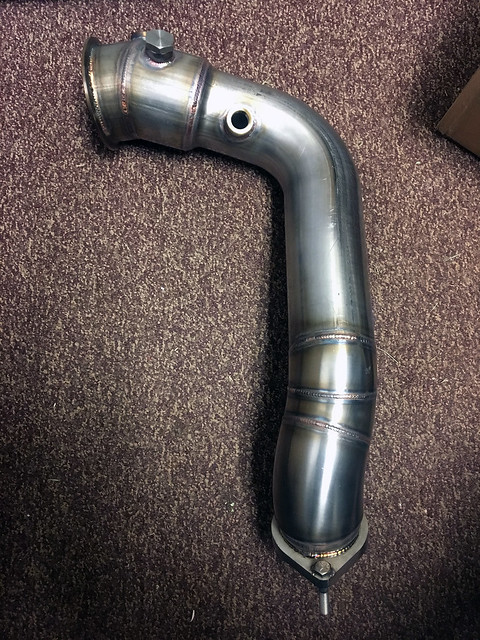
I got the downpipes in after a lengthy stay with Customs at the Canada-US border. The next day they were wrapped. The pipes look very well done, and they came with the bolts welded on, which is a huge help with installation. They did not come with new nuts like in the picture so I grabbed some from the dealer when buying new gaskets. Gaskets were a very expense at the dealer (3 X pelican cost) so make sure you order online.

I can get access to a lift bay but it would require a 25 min drive to get there and then I’d have to wait hours for the truck to cool down so I decided to install at home. I got the truck on jack stands the night before and started on installation first thing in the morning. The install took 6.5 hours but I had to go back and spend another hour trying to fix the heat shield.
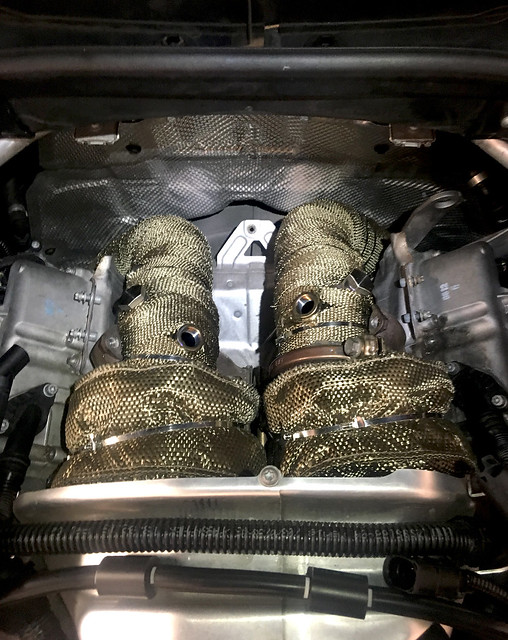
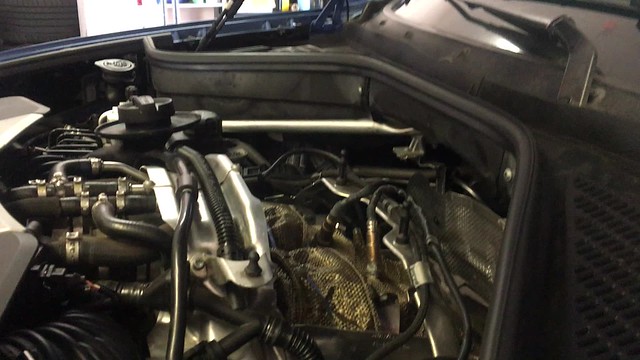
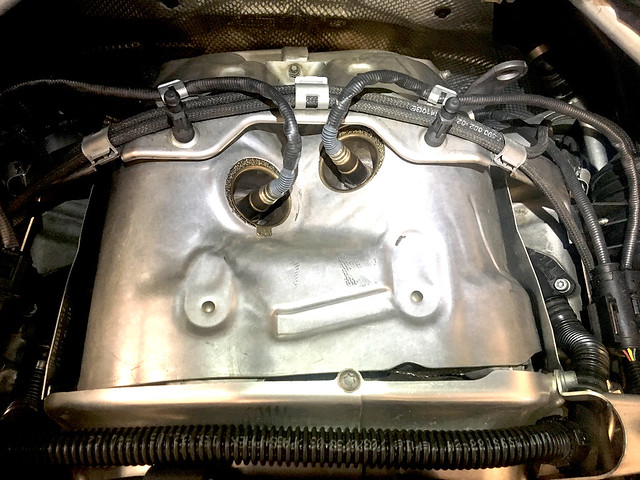
Having already disassembled most of the engine bay stuff before to do spark plugs, this DIY was fairly easy. I followed the akra install instructions and things went pretty smooth. I will say that the Akra instructions only show the easy half of the engine bay and the easy half under the car. The disassembly of the passenger side of the engine bay and the driver side of under the car were the hardest. You need a u joint and long extensions to loosen/tighten the pipes under the car and to remove the lower heat shields. To get at stuff in the back of the engine bay you need to be really tall or just climb inside. I’m only 5’7” and I actually spent a lot of time kneeling in the engine bay on top of the forward brace. I had to remove the airbox to do this and made sure I had jack stands under the subframe forward of the axles. Once I got the old downpipes out the new ones went right in…easy to feel around, line up, and drop into the midpipes from above. The turbo blankets took me a while to get in since there is very little space, this accounted for probably 90 min of my install time. I tightened the blankets down with exhaust ties. When I first tried to install the heat shield it wouldn’t go so I figured I’d see how the temps were with it off.
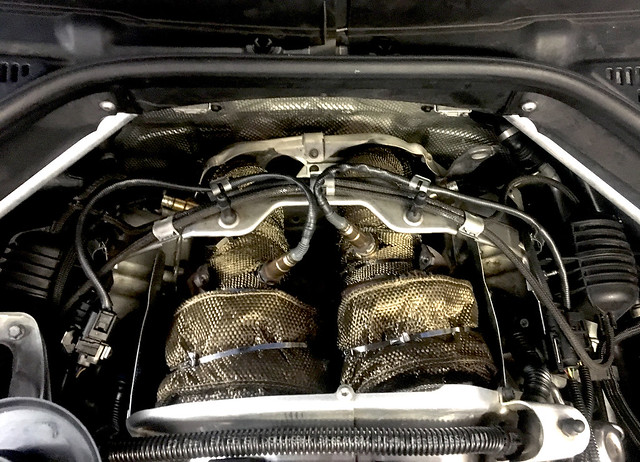
First thing I noticed on startup is that it was super loud! I thought it was too loud but that was just cold start. I drove around until I got up to operating temp and pulled back into the garage. I immediately noticed that there was smoke pouring out from under the car…then out from all seems around the engine bay. I popped the hood and found that it was just the wrap and blankets breaking in. I double checked the torque on the pipes just to make sure there were no leaks under the truck. Once it cooled down I gave the heat shield another shot and found I was misaligning it the first time. This time it went right on, but was still a tight fit around the turbos. All of the bolts went on to secure the heat shield, but the ones closest to the turbos barely grab.
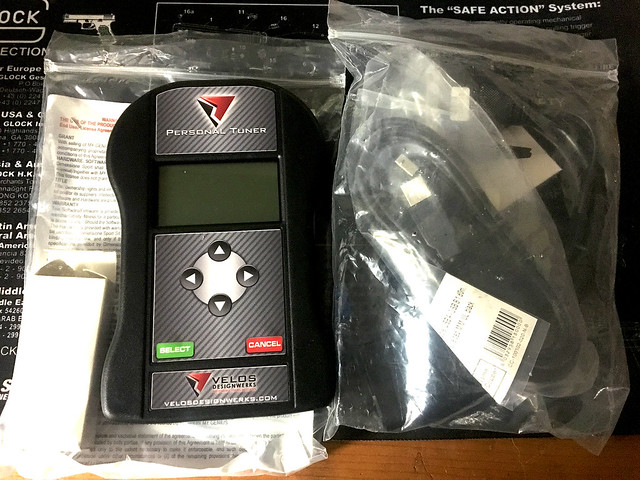
The next step was the tune. I was able to link up with Kimo and grab the Velos Stage 2+ tune for the Blue Beast. After a short install the beast is back!
I still need to get the Mil.Spec cats welded in, which should be next week. Other than that, my wife says I’m done for a while…but looking forward I’m thinking:
-Dinan Springs (Keep high ride height and EDC but eliminate some of the gap)
-BMC filters
-Painted Reflectors
-Upgraded Paddle Shifter/Pedals
-F85 Rotors (I’m about to throw on new pads with stock rotors, so this won’t be for a while)
-Megan Racing Axle Back Exhaust (Maybe; I’m not sure about losing the flap function)