Gents,
A few months back I did a front suspension refresh on my wife’s 2008 X5 3.0si and decided that I was going to order some coilovers to round out the refresh. I have a 2012 X5M so the sporty truck is already called. I wanted to make the wife’s truck a bit of an offroader…or at least more capable. So I decided to order Ceika Performance Coilovers made custom with a suspension lift.
I’ve never adjusted, installed, or even owned coilovers so this is less of a review and more of an explanation of the experience and then you guys can tell me what’s what. You can skip the stupid long read and see pics at the bottom.
ORDERING PROCESS:
Terrible. From research, I’ve found that the company is owned by some European guys, but is financially based in Hong Kong, but they are produced and assembled in Taiwan. I could only ever reach anyone in customer support from 2-6 AM HST or 8AM to 12PM EST. I’m not sure what this means. The people emailing seemed to understand English very well but they kept saying they needed to check with the engineering team and get back to me. It took 3 weeks of emailing for them to finally get the order placed and then another 5 weeks to get the coilovers due to customization.
I attempted ordering the adjustable camber and caster fronts but they are unable to manufacture the parts with these. I did order helper springs, but the parts didn’t arrive with the helper springs. I requested comfort springs and they recommended 14kg front and 19kg rear. I also requested that they attempt to make the set lift the vehicle 25mm or 1”. In the end, they stated that they will only be able to extend a set to allow for stock ride height…after installation I was able to safely get 1” lift in the front and 3/4” lift in the rear.
PRICE: Very inexpensive, cheapest coilovers you can buy for the E70 other than the current BC sale price. The Ceika come with free shipping also.
IN THE BOX:
No instructions; from what I understand most kits don’t come with any type of instructions anyway. It came with everything assembled and a separate bag for the adjusting spanners and allen keys for damping.
INSTALLATION:
Very easy in the front. I’ve had to take apart the front a couple times to replace suspension components and the strut mounts so it was quick. Putting the truck on stands, installing the front coilovers, and making adjustments all took under two hours combined. The rear was the pain just because I’ve never pulled a rear spring from an E70 before and it’s very difficult. It took me another 15 hours to complete the rear suspension. I’ve completed a written DIY below and have split directions between front and rear. This is just to show what I did, I don’t recommend anyone do this themselves.
FRONT DIY:
1) Remove all engine bay plastics around the strut mount bolts.
2) Loosen wheel bolts
3) Lift vehicle using center front jacking point and place jack stands under the front side jacking points. Make sure you rest the weight on the jack stands but leave the jack in place just in case.
4) Remove the wheels and place under vehicle for some extra safety.
5) Disconnect all brake wires on the strut.
6) Unbolt the lower strut mount from the lower control arm.
7) Unbolt the upper control arm ball joint from the hub carrier.
8) Unbolt the lower strut mount from the strut and start to slide down.
9) Unbolt the upper strut mount.
10) Pull down on the hub and remove the strut assembly.
11) Set preload on new coilovers
12) Adjust desired height on new coilovers
13) Align upper bolts of new coilovers in place of old strut assemblies.
14) Pull down on hub and insert lower portion of new coilovers into lower strut mount.
15) Tighten down upper coilover bolts.
16) Reconnect the lower strut mount with the lower control arm. Do not torque yet.
17) Replace and tighten the bolt holding the strut into the lower strut mount.
18) Jack up the hub and replace the upper control arm ball joint bolt in the hub carrier.
19) Load the suspension and torque the lower control arm bolt.
20) Reconnect all wires.
21) Place damper allen key in the top of the coilovers and adjust to desired setting (Mine are at 23)
22) Reinstall the Engine plastics.
23) Reinstall wheel and lower then torque wheel bolts.
24) Roll/Drive the truck back and forth.
25) Check ride height and adjust as necessary.
26) Drive around and adjust preload as necessary.
REAR DIY:
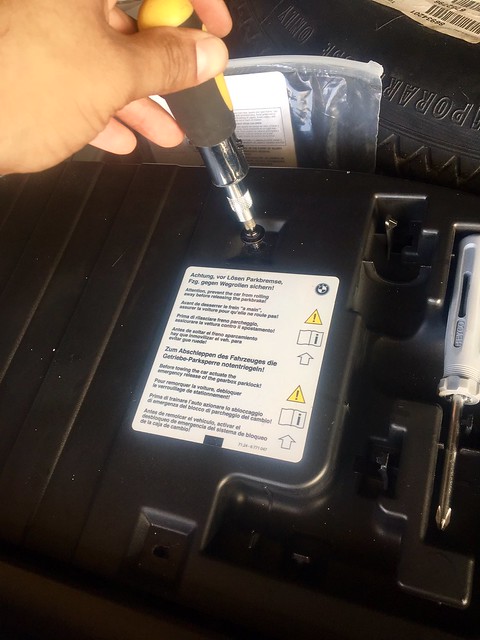
1) Open the rear hatch and raise the spare compartment cover.
2) Use Philips head screwdriver to remove plastic storage/battery cover.
3) Use Philips head screwdriver to remove spring operated tailgate cover screws.
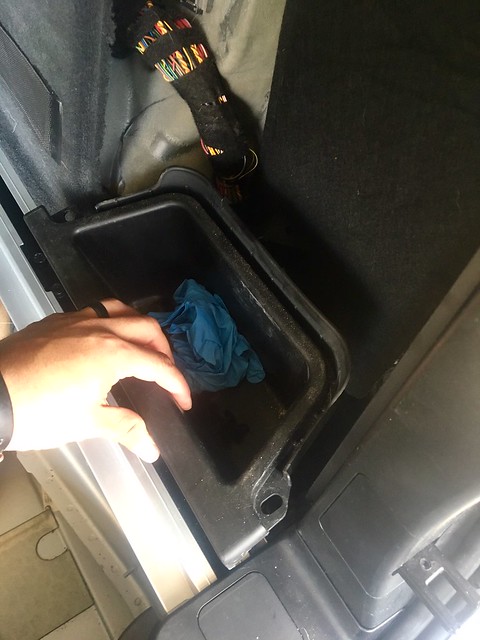
4) Pull out carpeted side compartment covers on the left and right.
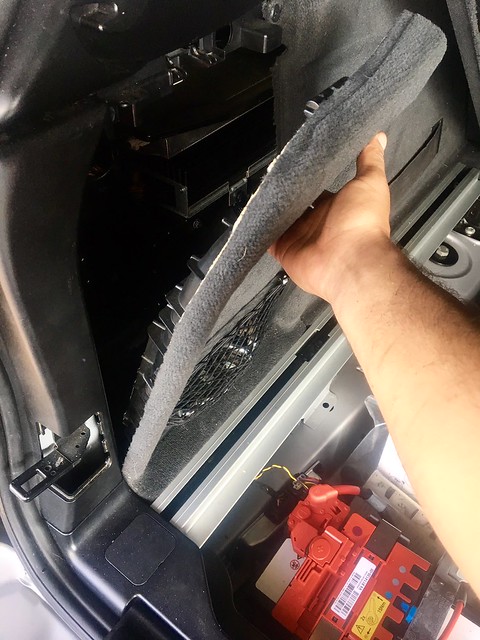
5) Pull the rivets out of the plastic trays under the covers and remove the trays.
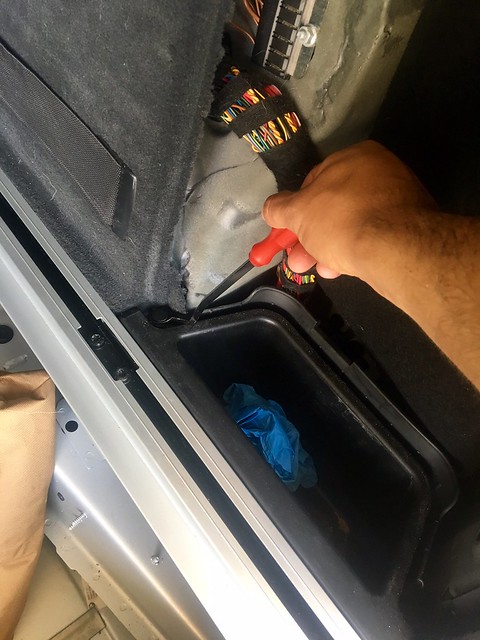
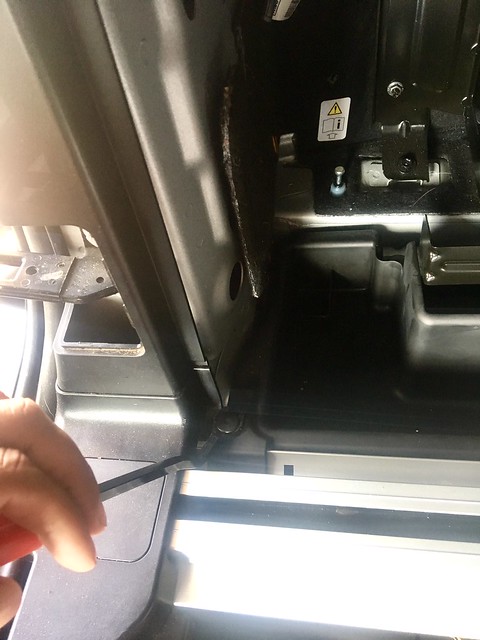
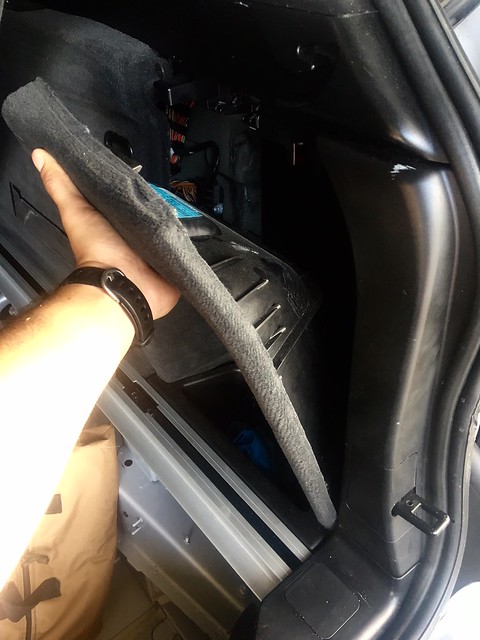
6) Pop off plastic covers from hatch latches located on either side of the chassis.
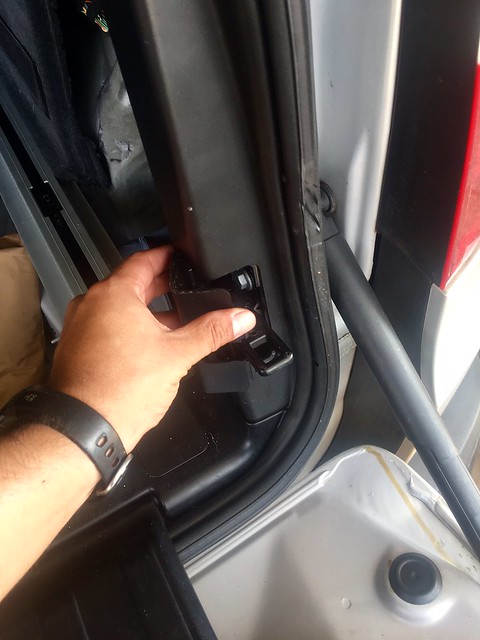
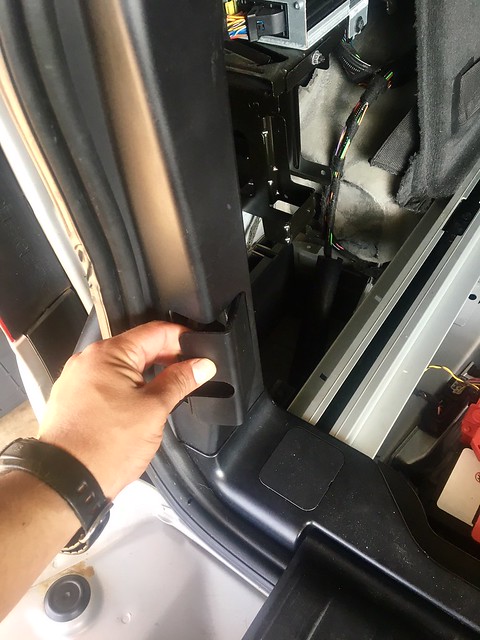
7) Use Philips head screwdriver to remove 2 screws from each side trims piece.
8) Pop out the side trim pieces that were held in with screws and a trim rivet…just pull and remove from gasket.
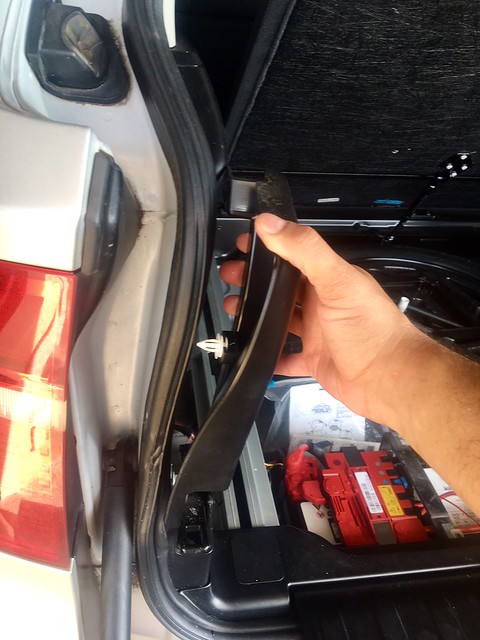
8b) Pull out the spring loaded tailgate trim.
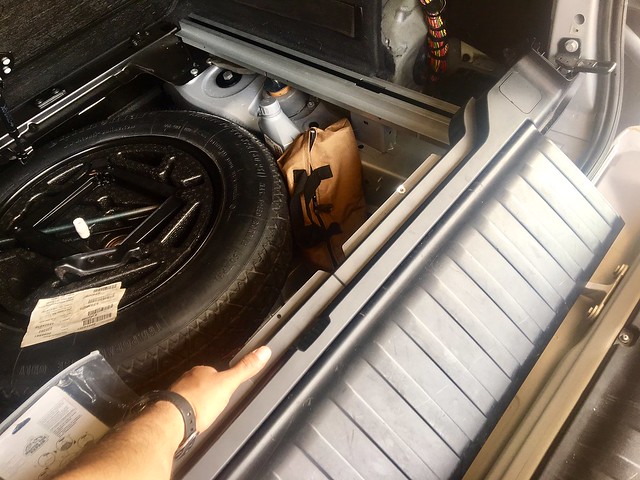
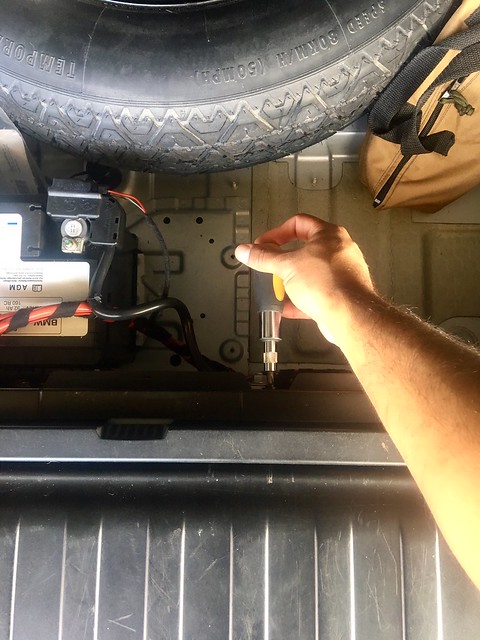
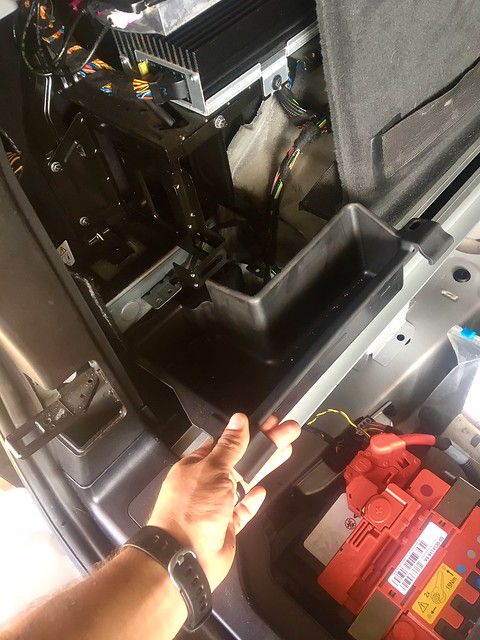
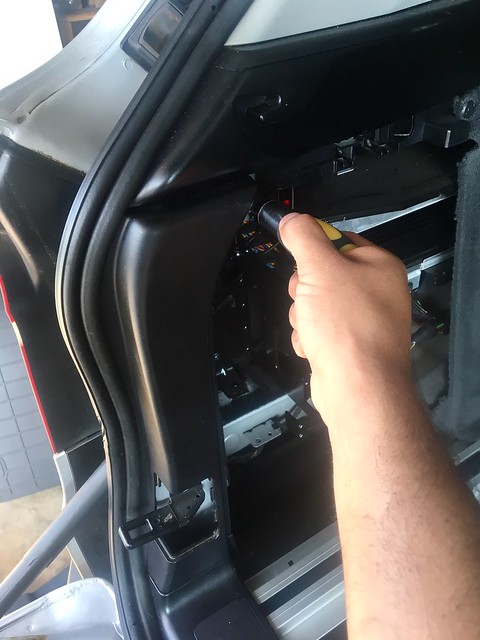
9) Use torx bit to remove three bolts from each storage rail.
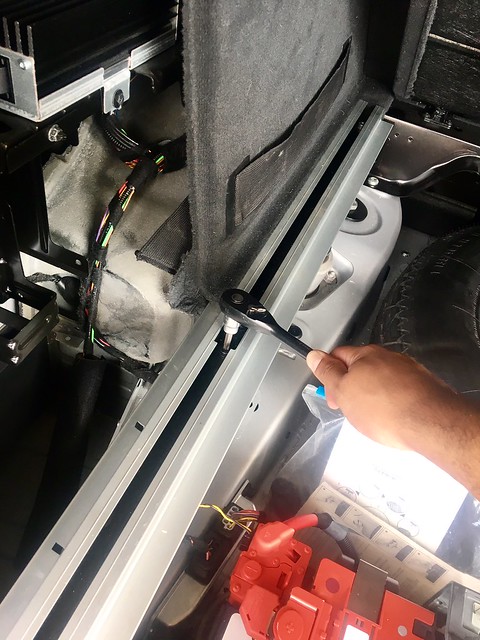
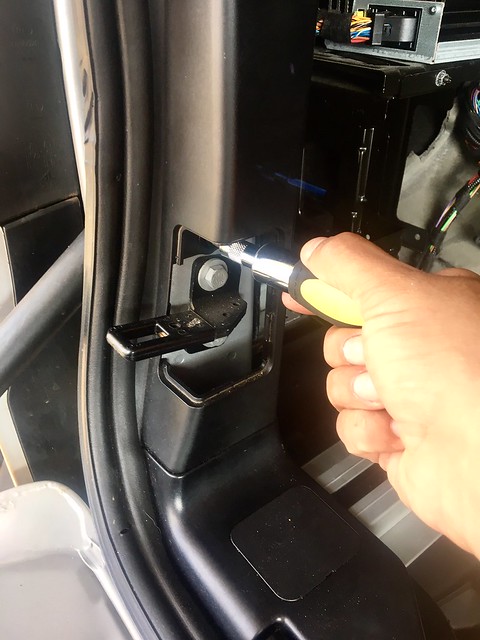
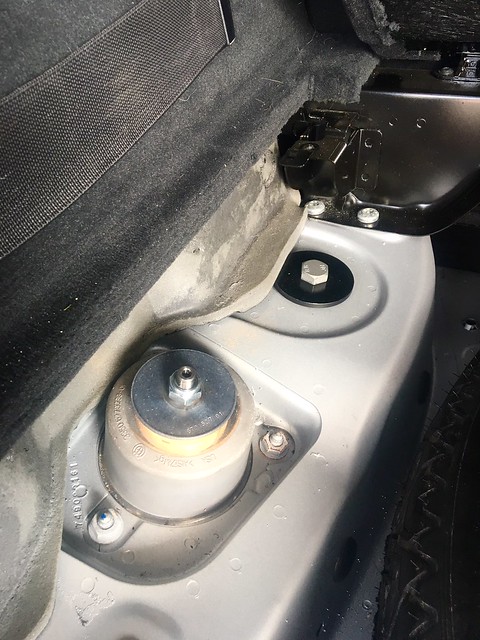
10) Remove the storage rails, exposing the damper and spring mounts. (New suspension is pictured below)
11) Loosen the rear wheel bolts.
12) Make sure you chock both front wheels.
13) Jack up the rear end using a block of wood on the bottom of the rear differential.
14) Place jack stands under the side jack points
15) Place vehicle weight on the jack stands but leave the jack in place for safety.
16) Remove Wheels and place under truck for some extra safety.
17) Jack up hub slightly.
18) Remove brake lines from damper.
19) Unbolt damper from hub assembly.
20) Unbolt damper from upper damper mount inside the storage area.
21) Remove damper.
22) Unbolt level sensor arm and sway bar end link.
23) Unbolt rear upper control arm ball joint from the hub assembly.
24) Unbolt rear forward control arm from the subframe and then the ball joint from the hub assembly.
25) Release the jack and lower the hub.
26) Place spring compressors on the lowest and highest coils possible then tighten all the way down.
27) Pop off lower spring perch plastic cap (shaped like a cone) using flat head screwdriver.
28) Unlock lower spring perch pressing up from the bottom and prying up from the top.
29) Rotate spring until the upper mount unlocks.
30) Remove the spring by pressing down on hub, prying up and out, and pulling (need two people).
31) Prep new rear springs with adjustable perch on the bottom and lowered all the way.
32) Install new upper spring mount.
33) Place new spring and perch into place and hand tighten bolt (this is difficult as the lower control arm will be at an angle).
34) Slowly jack up the hub and tighten the lower spring perch bolt, ensuring the washer aligns with the notch in the bottom of the control arm’s spring mounting area. (this takes patience)
35) Torque upper and lower spring mounts and adjust height.
36) Reinstall control arms, sway bar, and level sensor.
37) Install new dampers and torque into place in the mount.
38) Jack up the hub 10mm and adjust the damper to correct height.
39) Bolt damper into the hub assembly.
40) Load suspension and torque control arms.
41) Insert damper allen keys and adjust (mine are at 25).
42) Reinstall Wheels.
43) Lower vehicle and torque wheels.
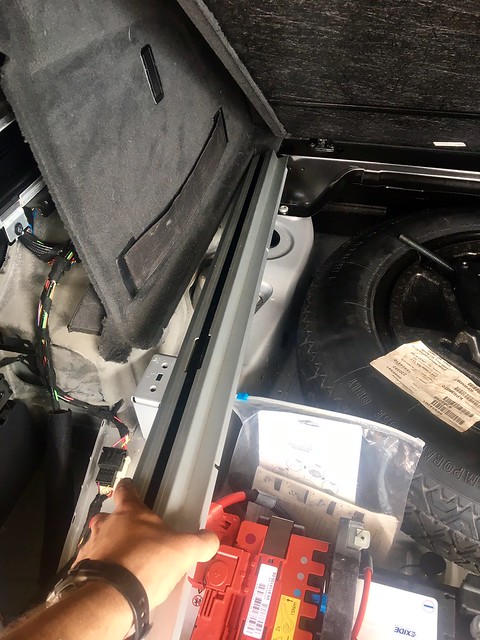
44) Reinstall all storage rails, trim, etc.
45) Roll/drive truck back and forth.
46) Check Height, adjust height
47) Get alignment/adjust height.
DRIVE IMPRESSIONS:
The suspension has definitely improved the drive. The truck used to dive into the corners but is now very stable and I have great confidence rounding a corner at speed. The only problem I have is tuning the rear. It can be bouncy on the highway but too firm on city roads at the same setting. I’m thinking this is possibly because of the negative rake angle I have currently setup and/or the lift. I’m still playing with it, but difficult to tell how things are for the rear passengers. I feel fine in the front but hear whining from the rear…those people aren’t there when I make adjustments though. I’ve been emailing Ceika about it also and they have been great offering advice.
QUALITY:
Everything is legitimately rubber or powder coated and appears to be well made. No complaints.
CONCLUSION:
I wanted new struts/springs/dampers and that’s what I got. I wanted a small lift and I got that. I wanted it to be inexpensive and I got that also. I was pretty surprised at the difficulty level of installation and annoyed that I adjusted the height prior to alignment then had to adjust again after alignment, so not really perfectly aligned…I ended up with everything in spec except the rear camber in the negative. I’d recommend going to a proper shop for them to adjust height/alignment/corner balance/damping for you. If you go crazy with lowering or lifting then buy some KMAC adjustable bushings. Next is some rims and oversized tires! If you’re wondering…I can still lower the truck 1” from stock also if I decide the lift was a bad idea later.
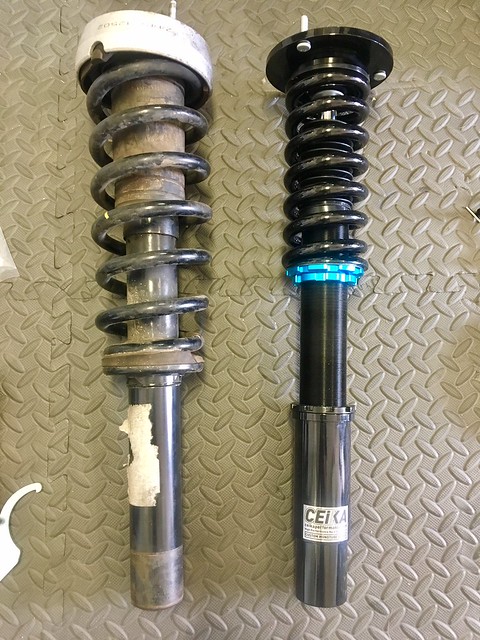
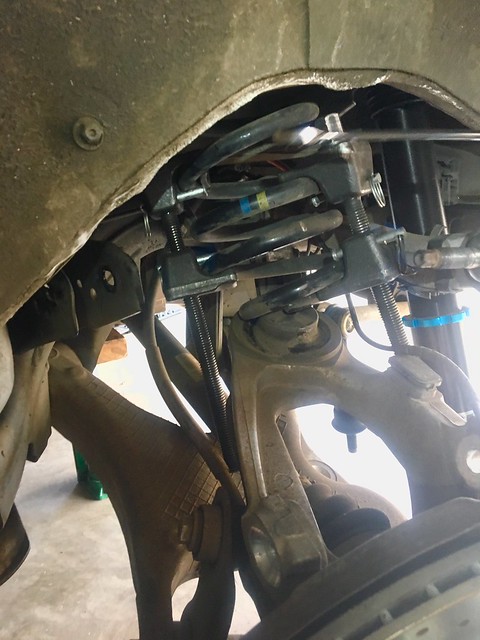
Front Struts:
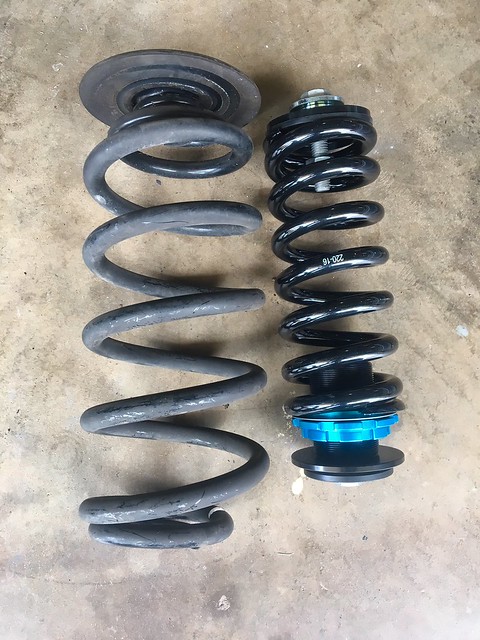
Rear Springs and Dampers:
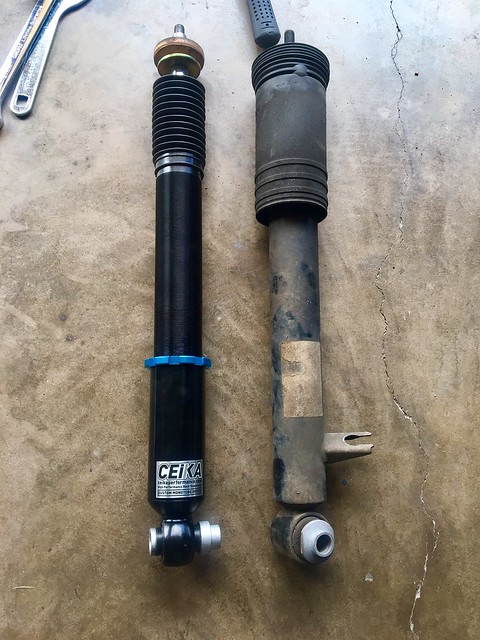
Removing old rear spring:
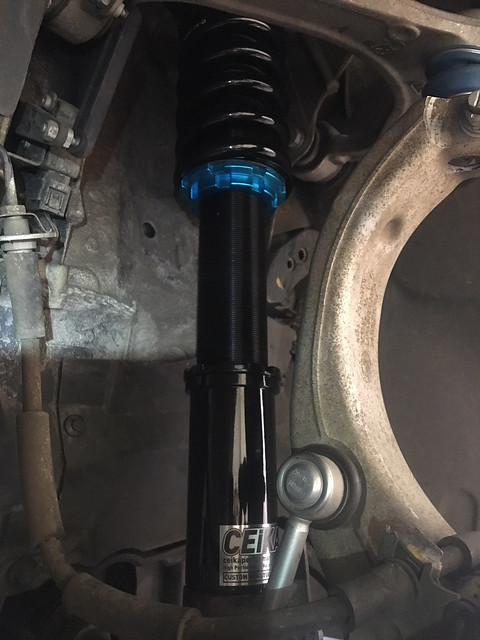
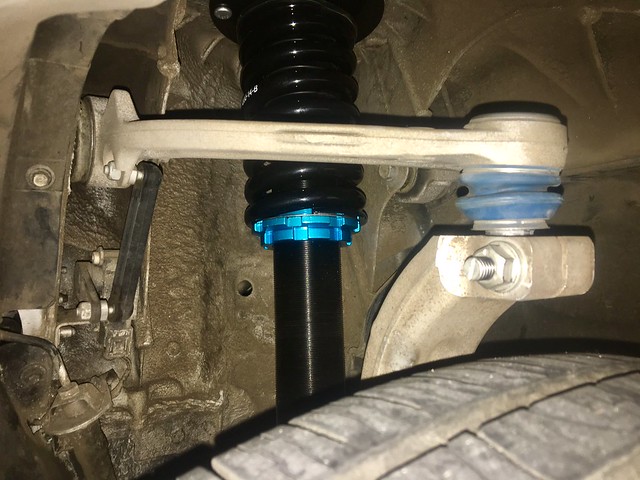
Installed Front Struts:
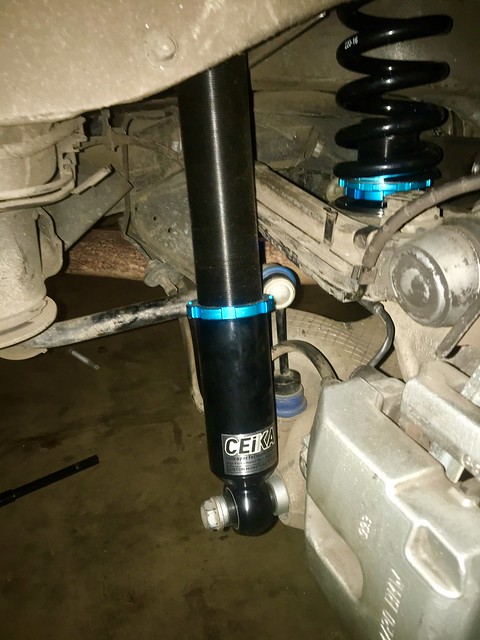
Installed Rear Springs and dampers:
Ride Height: 1” lift front 3/4" lift rear